
Modified 48mm Throttle Body mark 2.

Used some epoxy resin from poundland to fill the holes in two stages after slightly filing the inside of holes for it to grip to.
Little filing to smooth out and then to the little screws to decrease their profile and hopefully get a result. Even if it just works as a normal one without any gains will be a result.
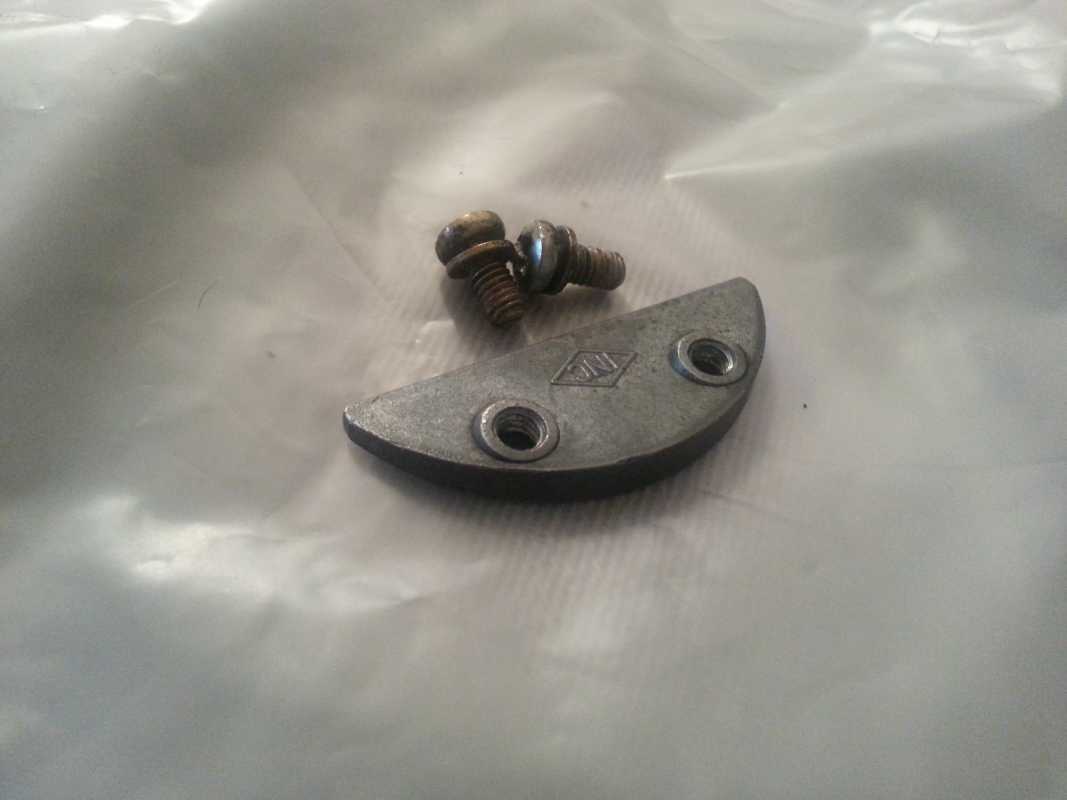
Here's what I removed to improve airflow through the throttle body.
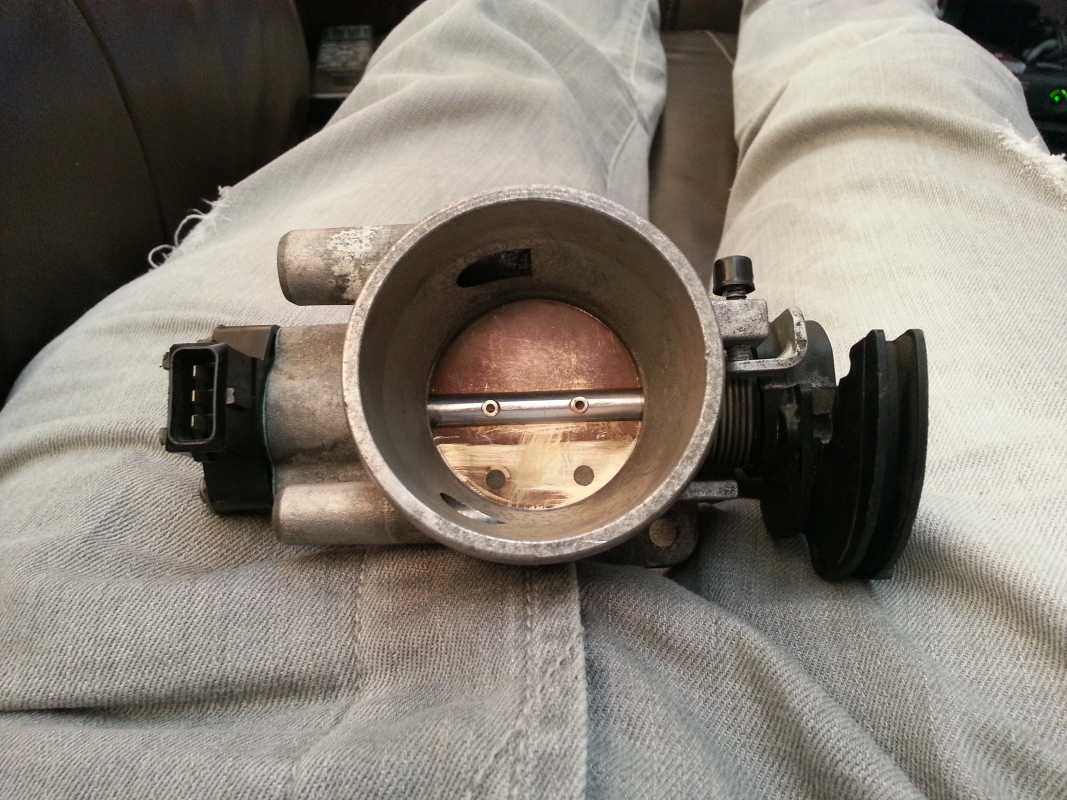
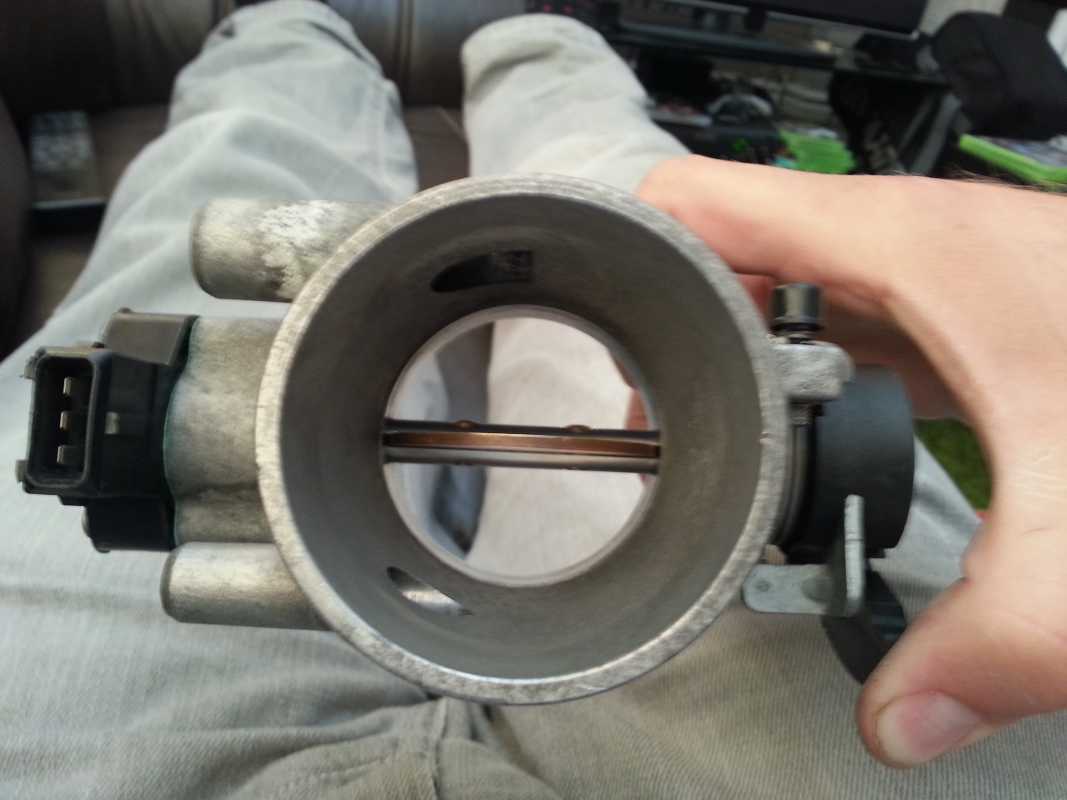
Phase 2 - I swapped the epoxy resin, which filled the screw holes, for some 'Quick steel' with more robust properies.
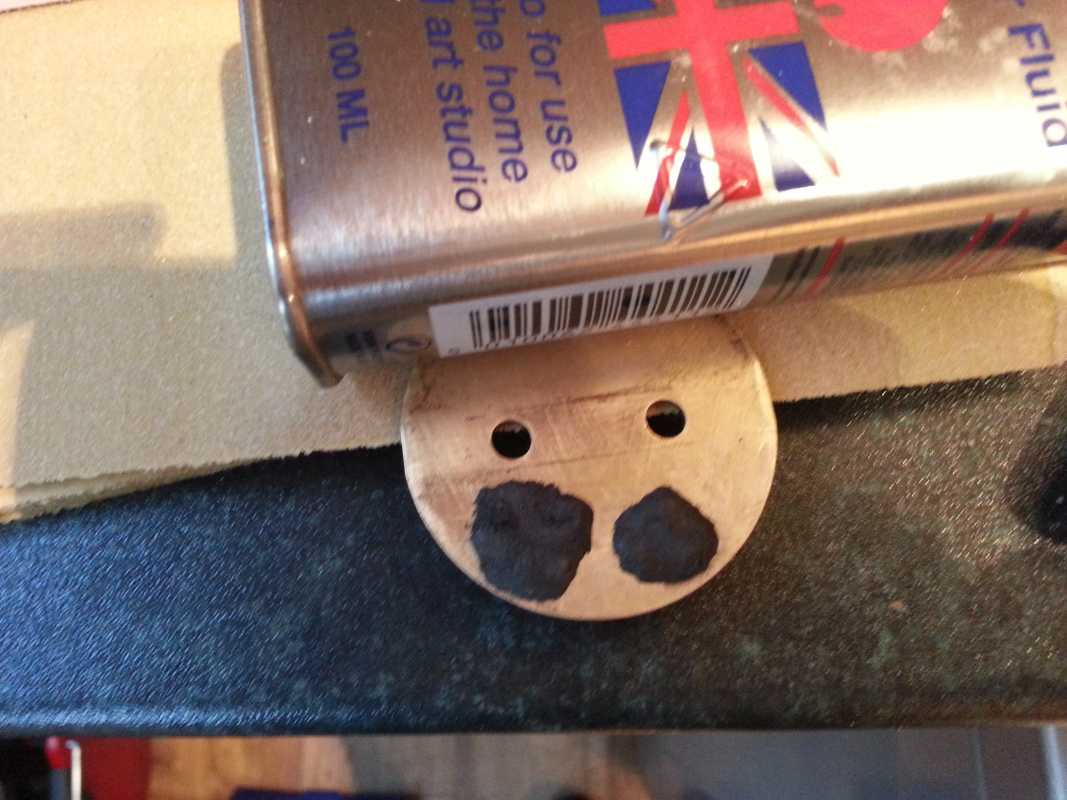
Quick steel fix I hope for butterfly...
Cut off quick steel.. there seemed to be two parts to it. Equal ball of black and grey stuff and using cold water, just a dribble , to mix and soften. Put some on hands to so that it doesn't stick to you...
Rolled into ball and then halved, pushing each bit through hole and spread slightly either side...
A quick file to be less protruding although will keep a slight lip each side - like so...
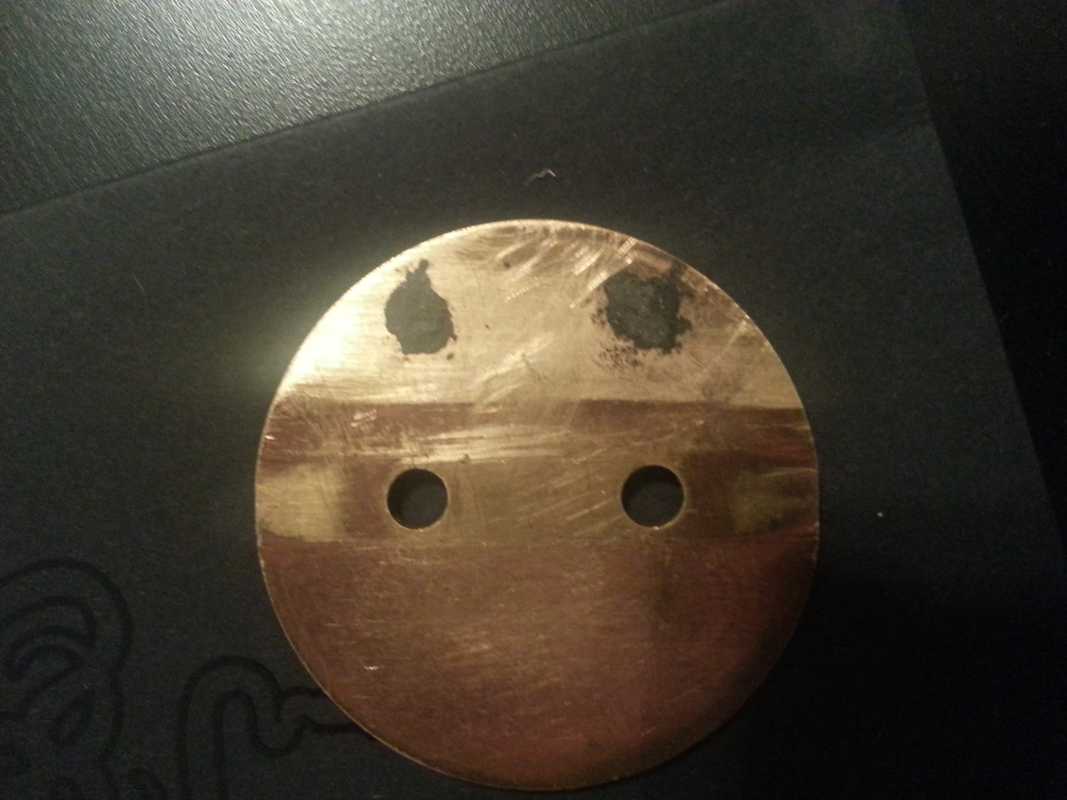
In situ :woohoo:
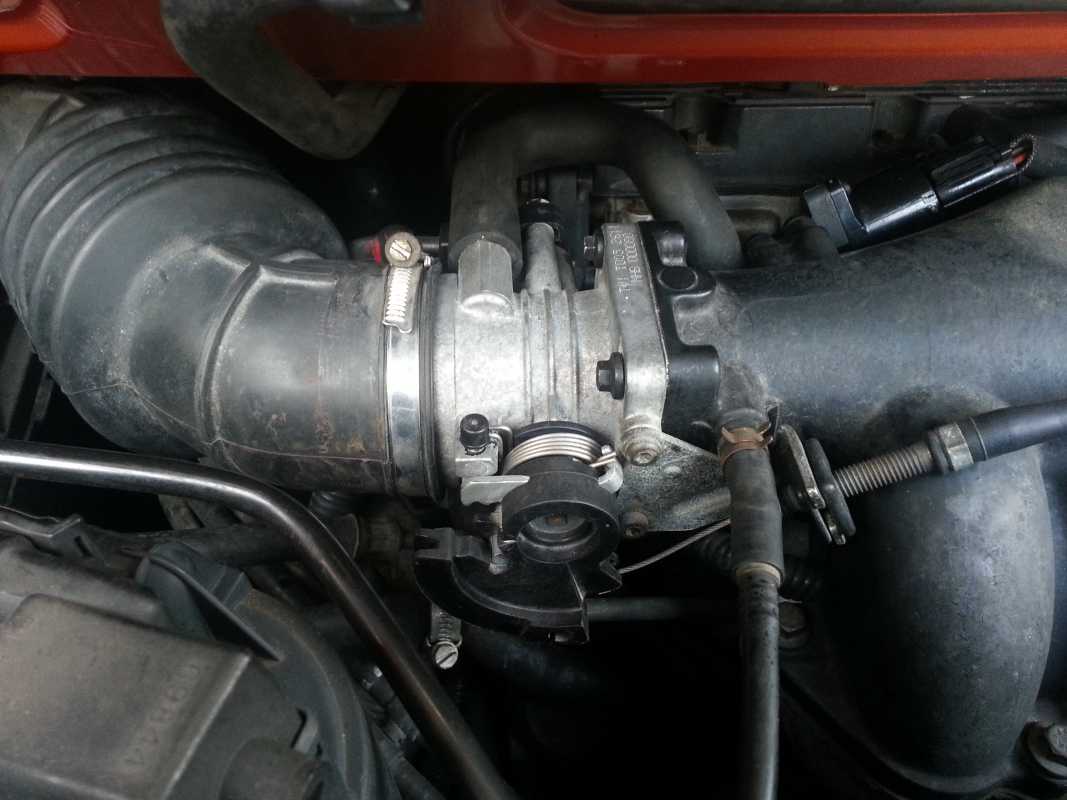
Thanks to PQD44 'Paul' for the inspiring Mark one version of the 48mm throttle body mod.


Please Log in or Create an account to join the conversation.


 Any problem? Poundshop usually has something that will help along the way.
 Please Log in or Create an account to join the conversation.
Silly question perhaps, does it matter which way up disc goes now that it's flat? It slotted in and closed like that but would that normally be upside down how I've got it?
Please Log in or Create an account to join the conversation.


If you would like to have a go at this mod we have a How To click here to view T-Bar how to; modifying the 48mm throttle body
Looks like you've made a good job of that Whiz, well done


Please Log in or Create an account to join the conversation.
- Leigh Ping
-
 Offline
- Moderator
-

Registered
- Posts: 6840
- Thanks: 1634

A lot of people are put off doing this mod because they have no soldering gear or are not confident enough to play with soldering. So, it would be interesting to see how the 'Quick steel' holds up. It's properties seem to be quite impressive - click click.
I think that you have done a good job with the application of the 'metal plugs' to ensure that it can't really pop out into your engine. Fingers crossed.
When it's all dried and cured and back in place, can you take the car for a good spin and let us know if you feel any noticable difference in lower end torque response and power and/or anything else you'd like to add.
Again, nice job and thanks for sharing it with the forum.
Please Log in or Create an account to join the conversation.
PQD44 wrote: Whiz, you have the disc or butterfly in the correct way. I am quite sure that it doesn't matter which way you put it in.
If you would like to have a go at this mod we have a How To click here to view T-Bar how to; modifying the 48mm throttle body
Looks like you've made a good job of that Whiz, well done
Thank you. I did draw my inspiration from that

But in addition I filed the protruding ends of the spindle screws too.
Please Log in or Create an account to join the conversation.

Please Log in or Create an account to join the conversation.
Please Log in or Create an account to join the conversation.
paulsmgf wrote: so whats holding the screws in now ?
What screws? The spindle screws? They still threaded in but just the tips flattened flush with spindle...
Please Log in or Create an account to join the conversation.
Whiz wrote: ... But in addition I filed the protruding ends of the spindle screws too.
They should be filed down and once done why fill them?
Please Log in or Create an account to join the conversation.
Please Log in or Create an account to join the conversation.