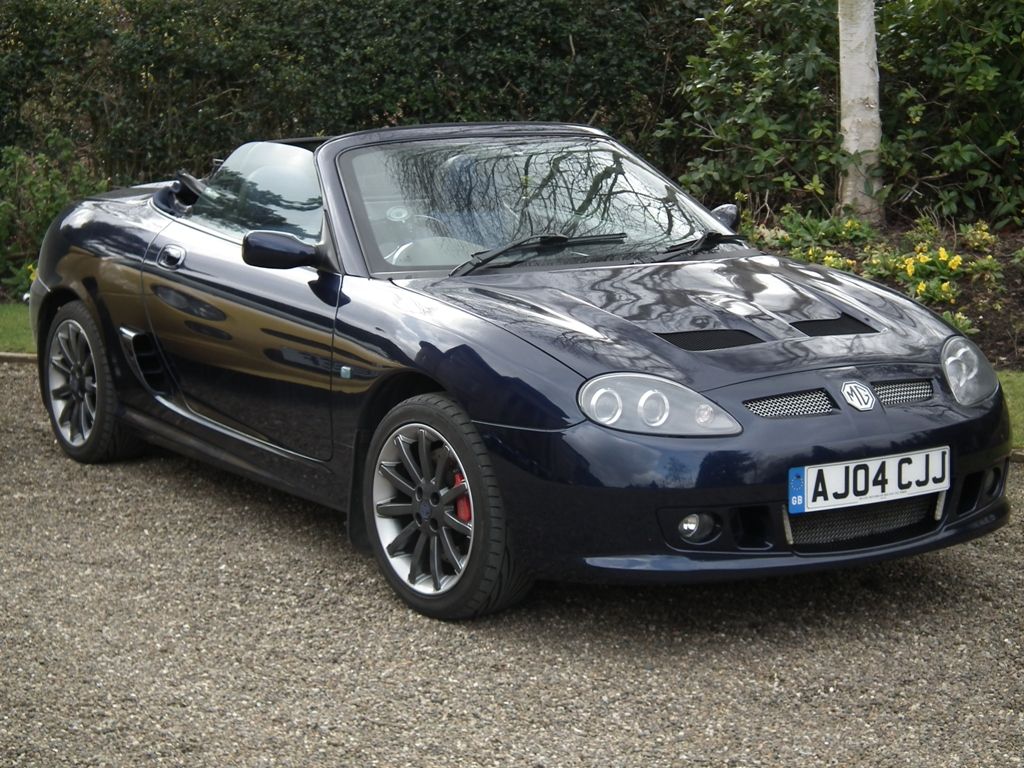
Whether it makes any real difference is up for debate but scoops are cool and if you want some on the cheap, this is how I made and fitted the air scoops and modified the air box feeds.
The main idea behind this is to collect cooler air for the engine induction than can be found in the engine area. It won’t act as a “ram air” system as, due to its size and position it could never deliver a positive pressure.
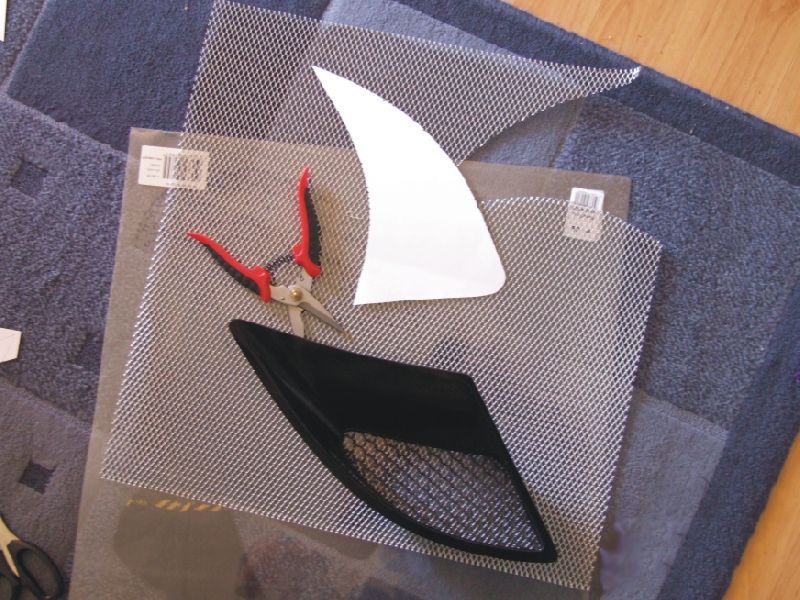
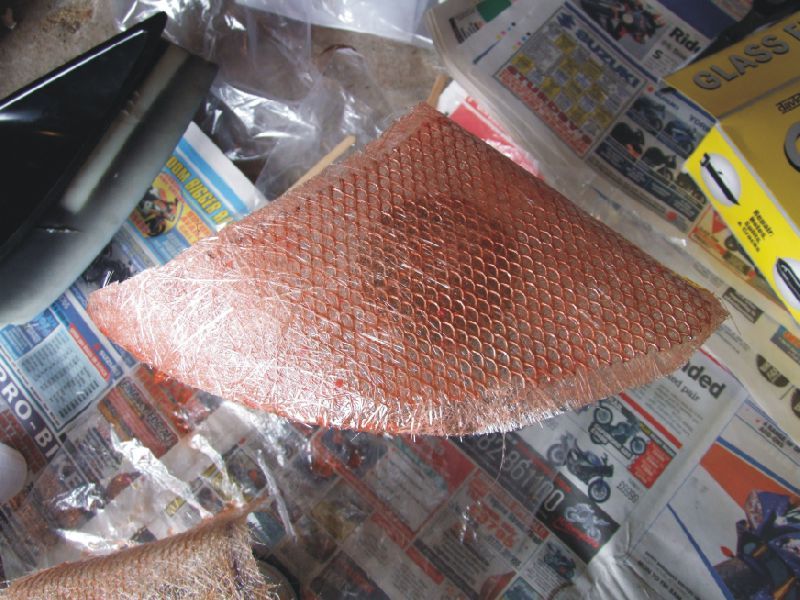
The first thing I did was to make a card template that was roughly the shape I wanted and then trial fitted it against the vent. Several templates later and I had the rough shape I wanted. I then cut the shape out of a sheet of aluminium mesh that I bought from B&Q.
I chose the aluminium mesh so that I could bend and mould it to shape before applying the glass fibre.
I then trial fitted it on the car and made any adjustments that I needed to.
This is the point I realised that silver would be a nice colour for it as I was originally going to colour match it with the car.
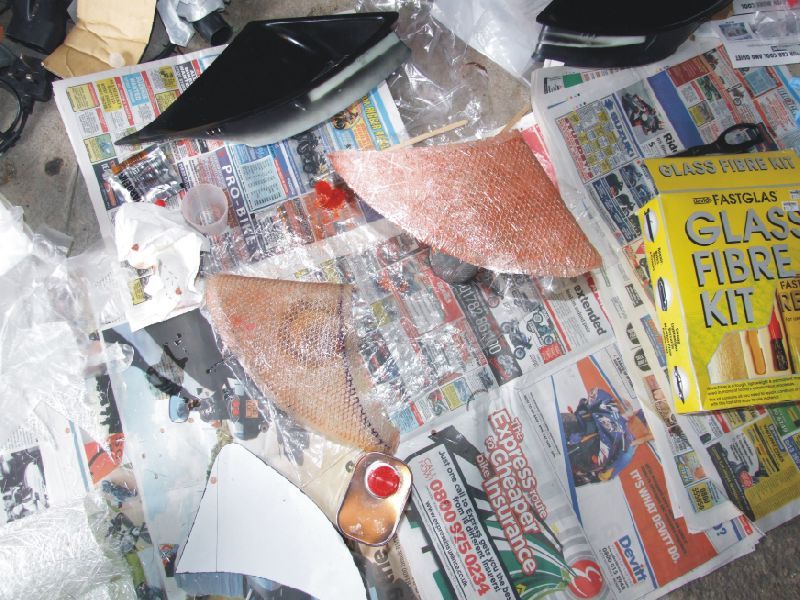
Next I used the template to cut some oversize glass fibre shapes. You need to cut them slightly bigger than the aluminium so that they overlap and seal the edges.
Apply the fibreglass matting to the aluminium using the resin and hardener supplied.
Build up several layers on both sides to add strength.
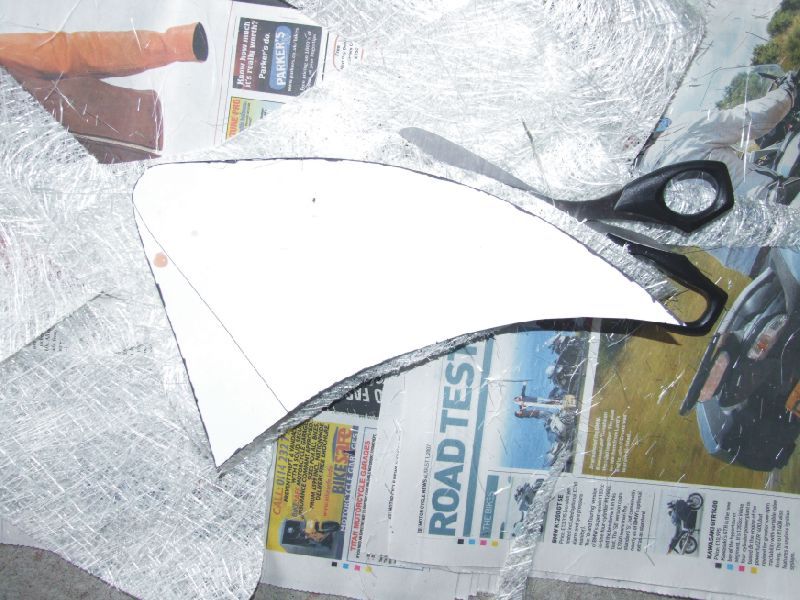
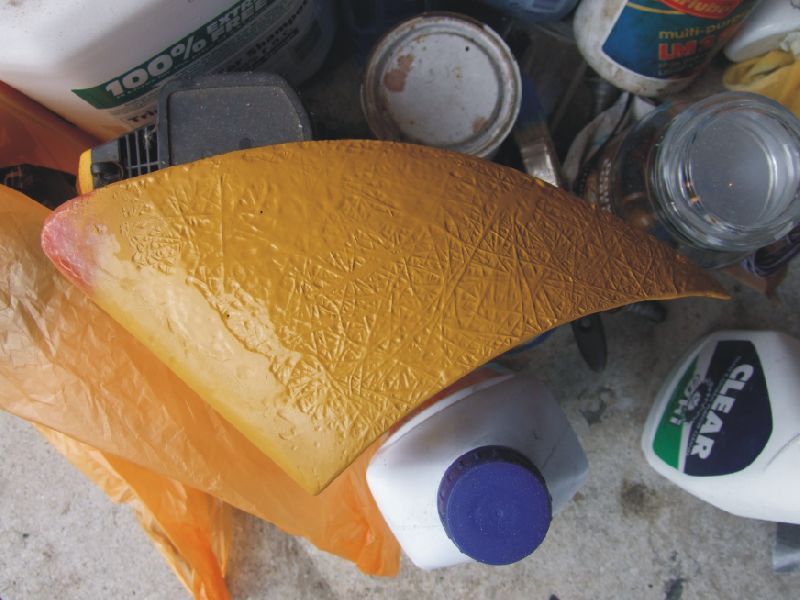
Trim the edges to shape and trial fit again to ensure that they are still the shape you want.
Sand down any large lumps or irregularities.
Warning. When using or sanding fibreglass use protective equipment. The fibres really cause itching if exposed to skin and if you inhale fibreglass it can give you lung problems.
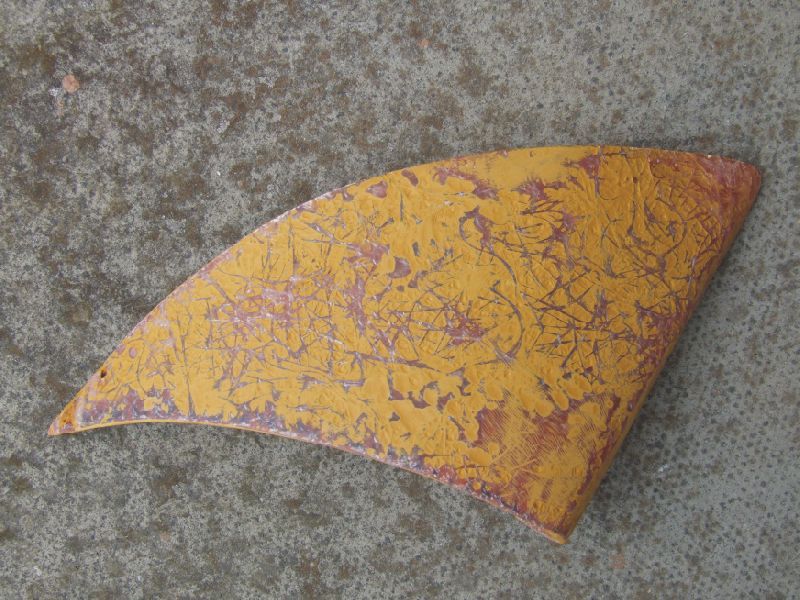
I then used spray putty to build up layers and sanded down with wet & dry to fill any irregularities.
This takes time and several attempts to get a nice smooth uniform surface. Allow coats to dry fully before sanding.
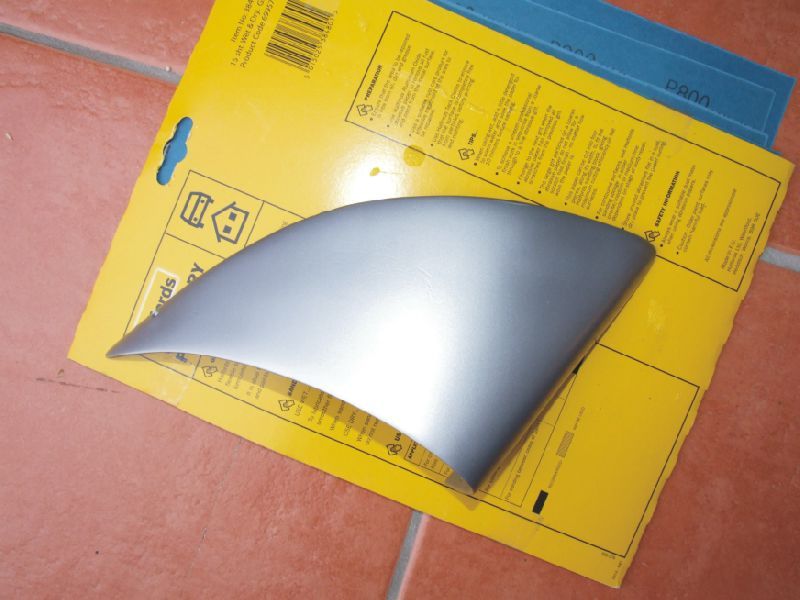
It is now ready to prime and paint the colour of your choice. I ended up using silver alloy wheel paint and lacquer. Again, you should build up the coats and sand back if there are any lumps or craters.
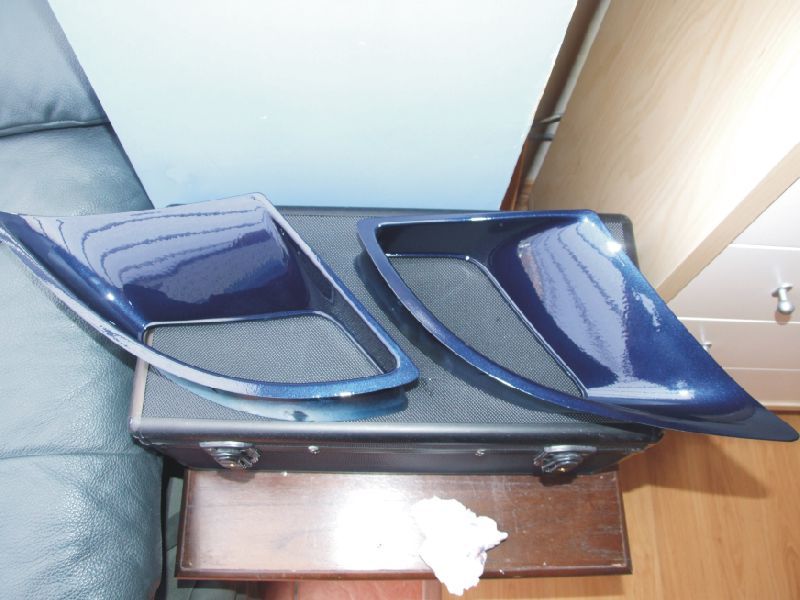
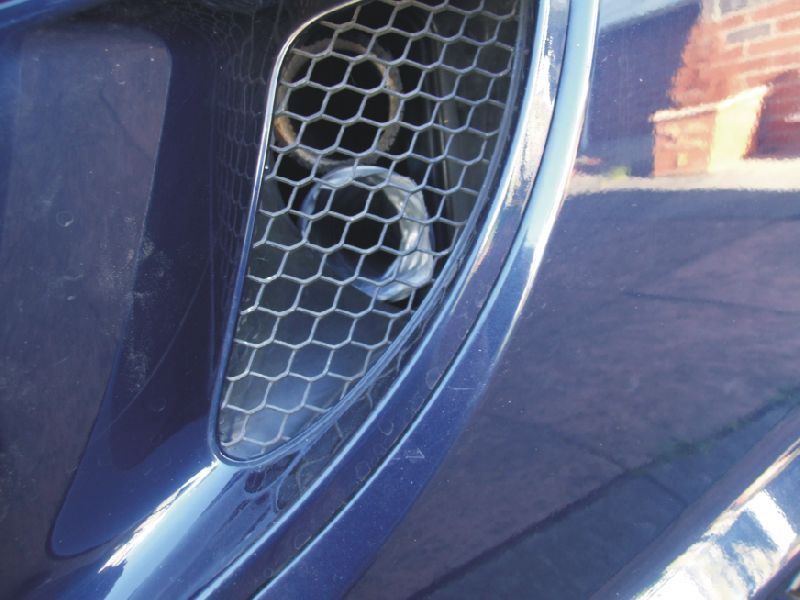
Next I colour coded the new air vents that I got from e-bay, which were originally black.
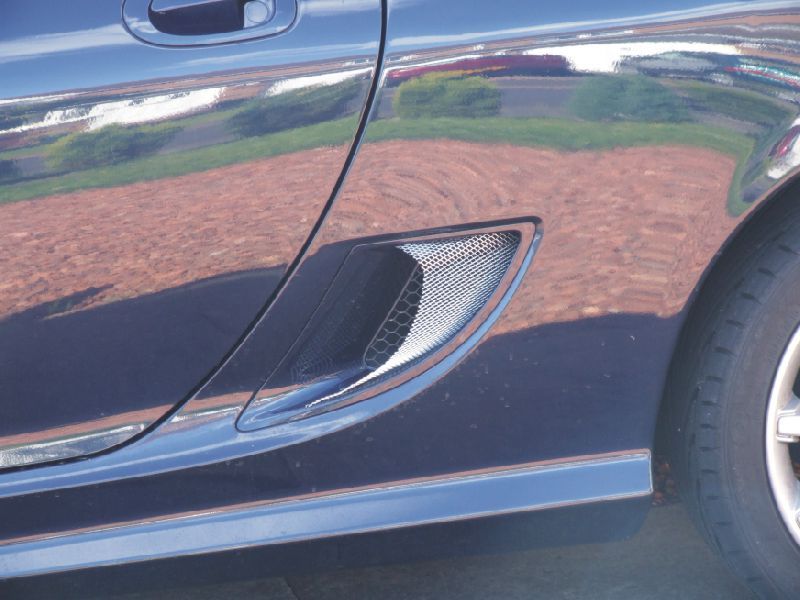
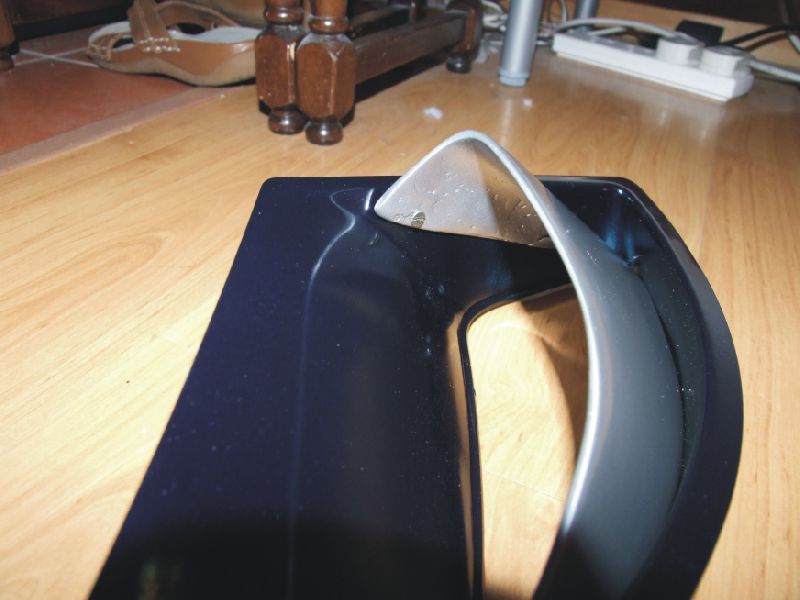
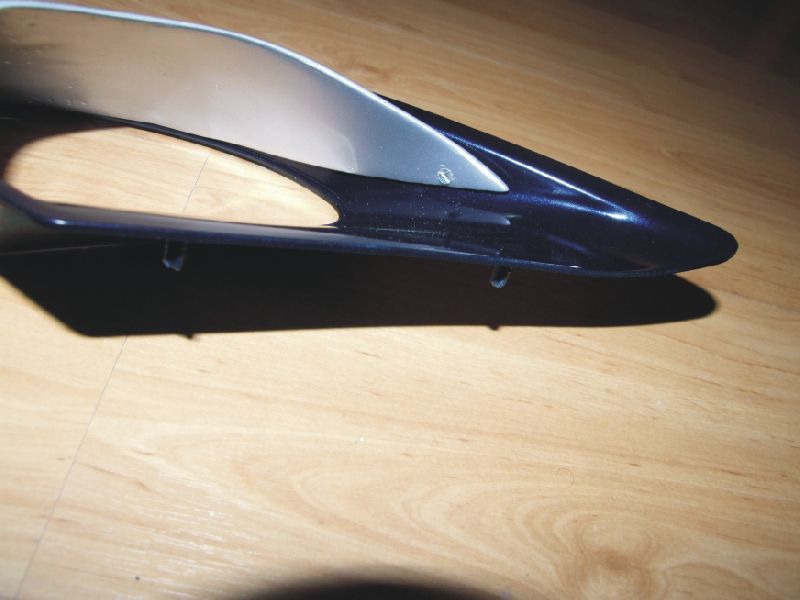
The scoops were then attached to the vents using 2 small screws at the top and bottom leading edges. I used this method for strength as I thought that at speed the wind would try to pull the scoop away from the vent.
The rear or the scoop rested nicely against the bottom ridge of the vent, where the mesh is bonded to the underside. I used araldite to bond the scoop to the vent at this point but nowadays I would use a bonding agent such as tigerseal.
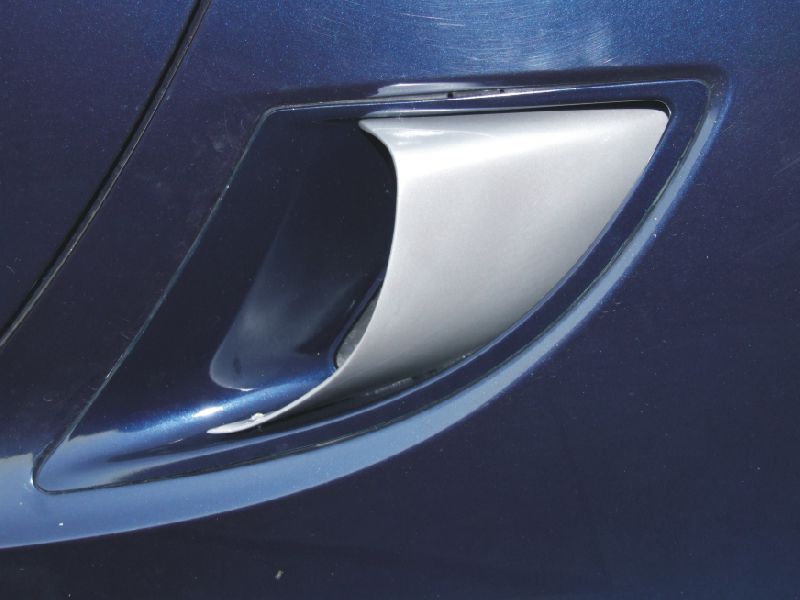
I then re bonded the black mesh to the back of the vent and fitted the scoop to the car.
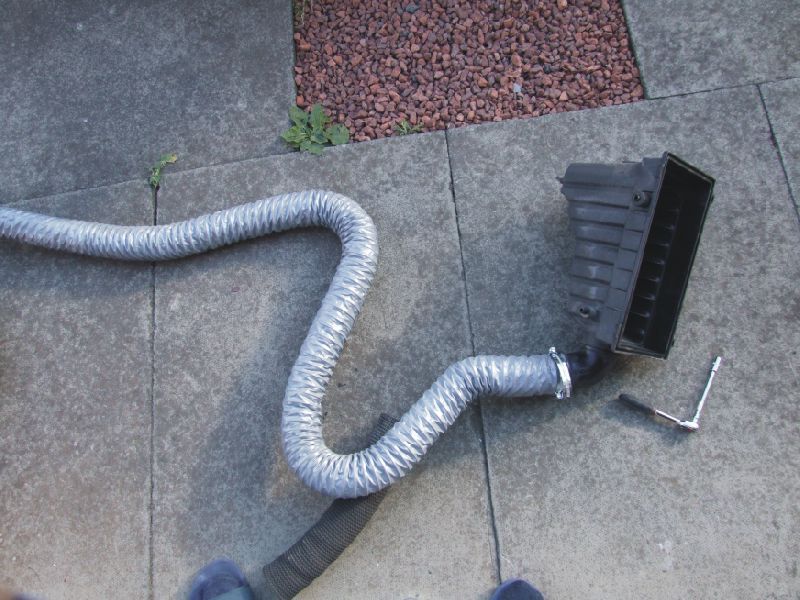
Next we need to direct the cool air from the scoop to the air box.
The air box was removed and some new ducting used to redirect the air intake back under the air box bracket to the vent. And no, that isn't off my tumble dryer. I bought it from a car tuning place at £5 a metre.
I would try and use plastic type ducting rather than aluminium as the aluminium will be more prone to heat soak from the hot engine area.
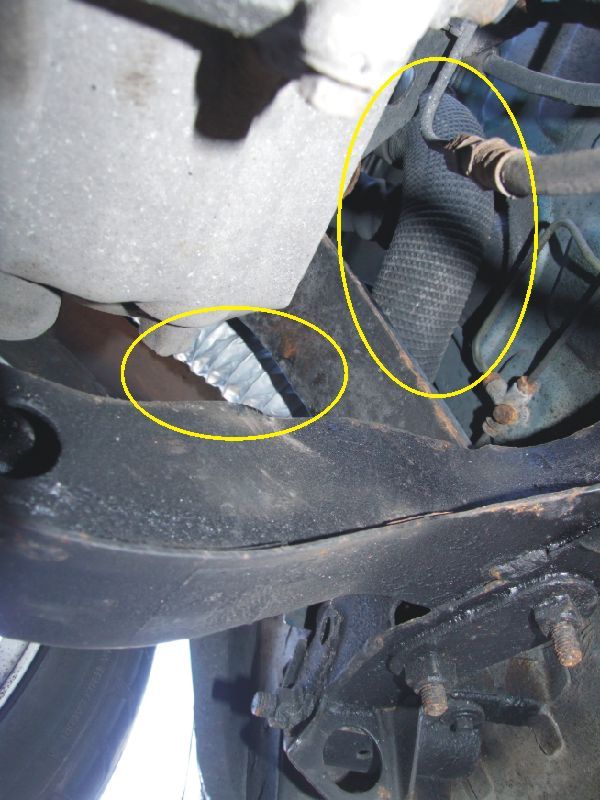
I also redirected the front air ducting from under the wheel arch to the air vent.
This means that both air intake tubes now take air from the scoop.
You cannot see them now with the scoop in place and I used a bit of black spray paint to tone them down.
I then took the car for a blast around some country lanes and dual carriageway and I have to say the perceived difference is more than I expected. It feels more lively and eager to rev while on the move. This may all be in my imagination, but there does seem to be an improvement.
You could also use this method to fabricate other one off parts. Go on, have a play.
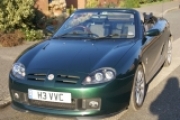
Just as an update, when I had the car re sprayed I had the vents filled and blended. They did look nicer but they did weigh a lot due to the amount of filler.
Unfortunately, in my quest to lighten them a bit, I gave them to someone in the Midlands to mould and make fibreglass copies. That was a few years ago and I have never seen them since.
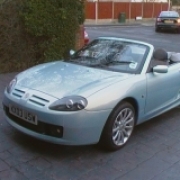
I do now have some that I bought from XR3TF.


")


 Here you go bud........


