Recently I have had to replace the oil pipes that go from the oil filter assembly to the oil cooler.
I noticed that I had a bit of an oil leak onto the driveway, so I thought I better investigate it.
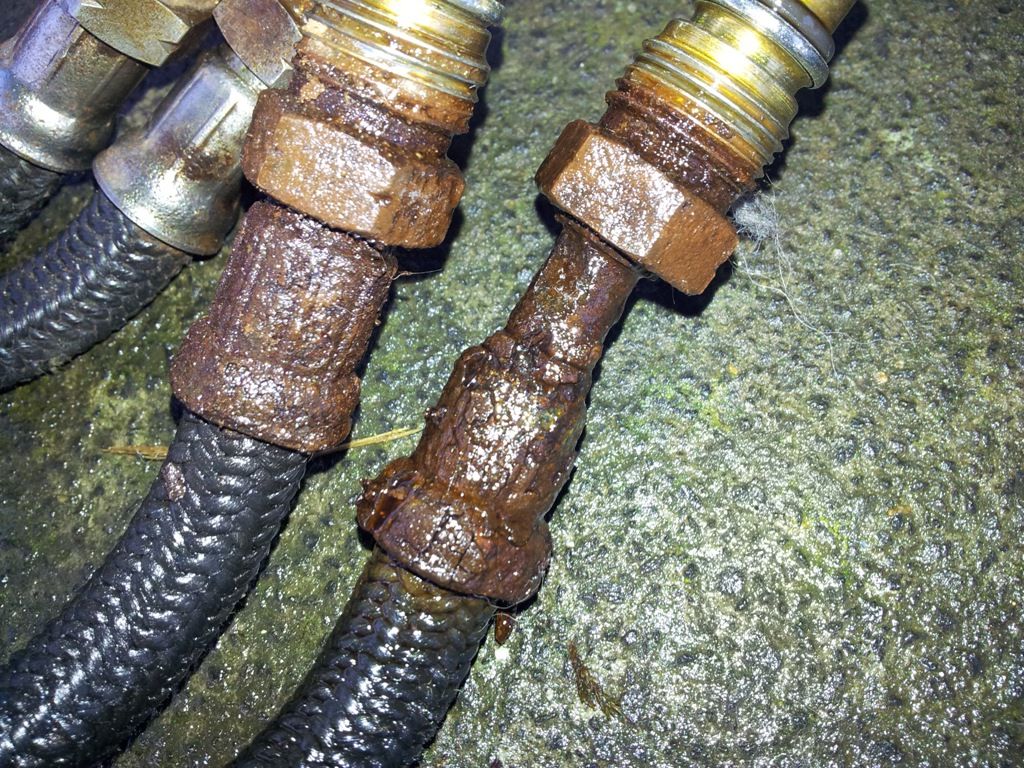
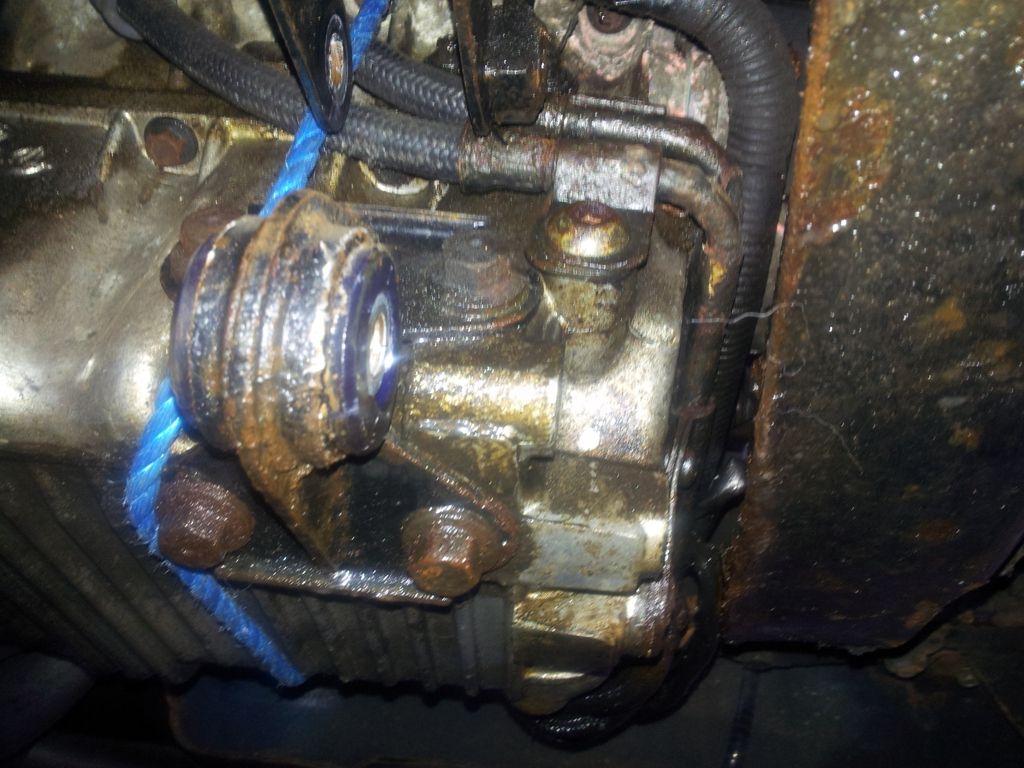
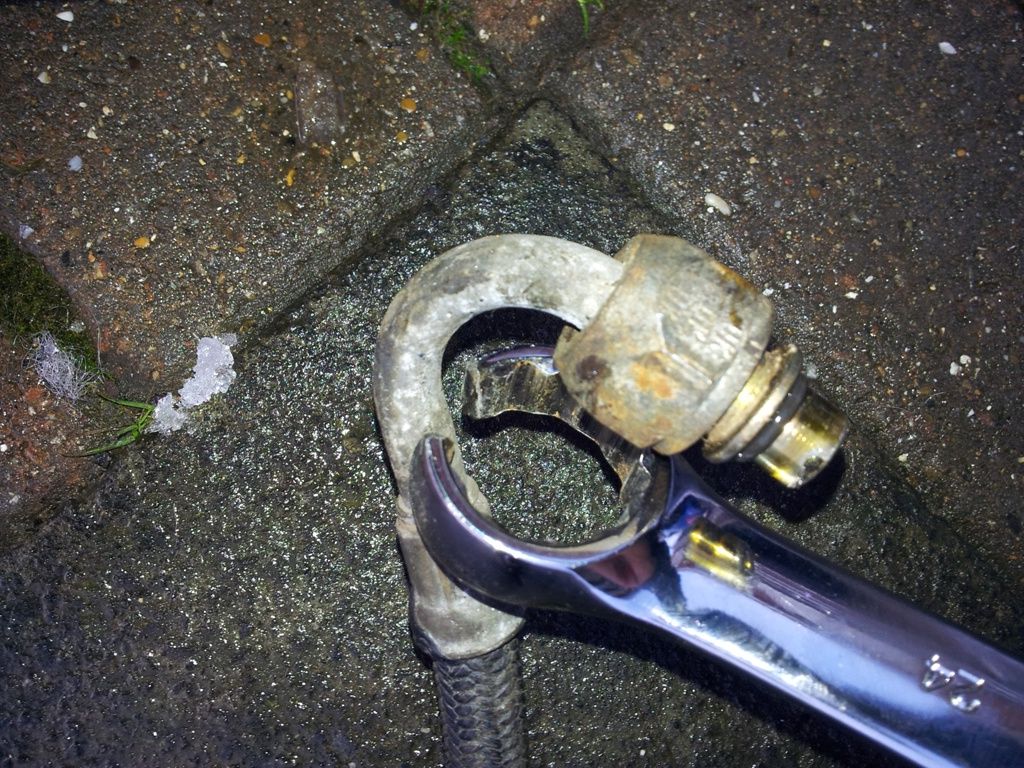
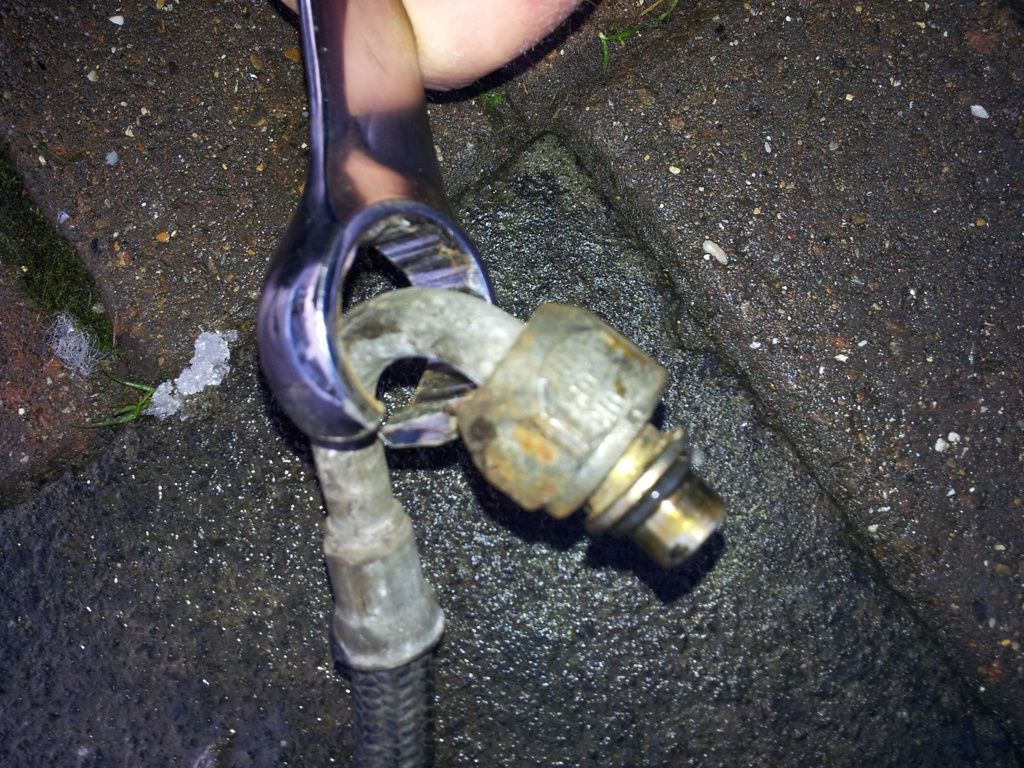
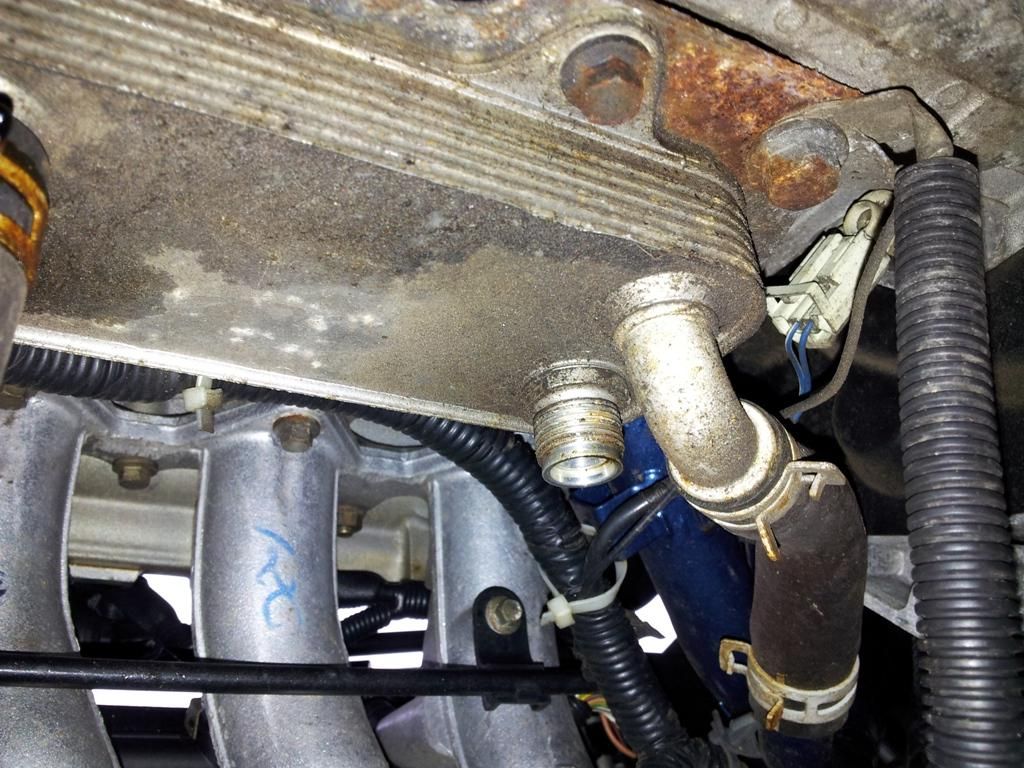
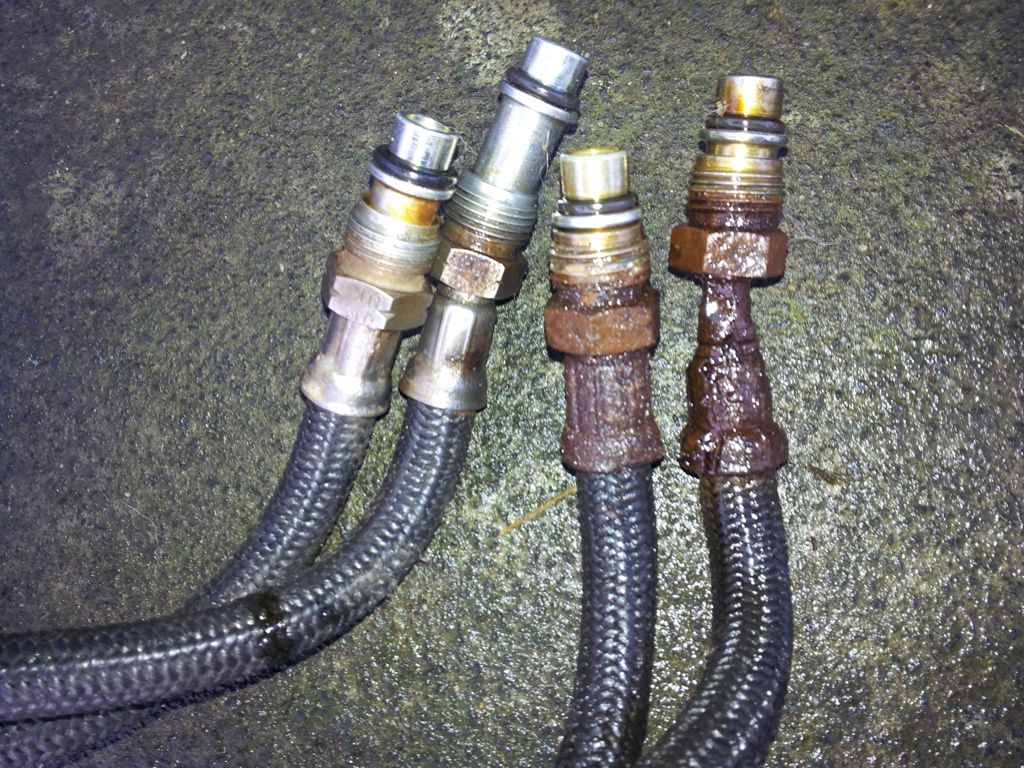
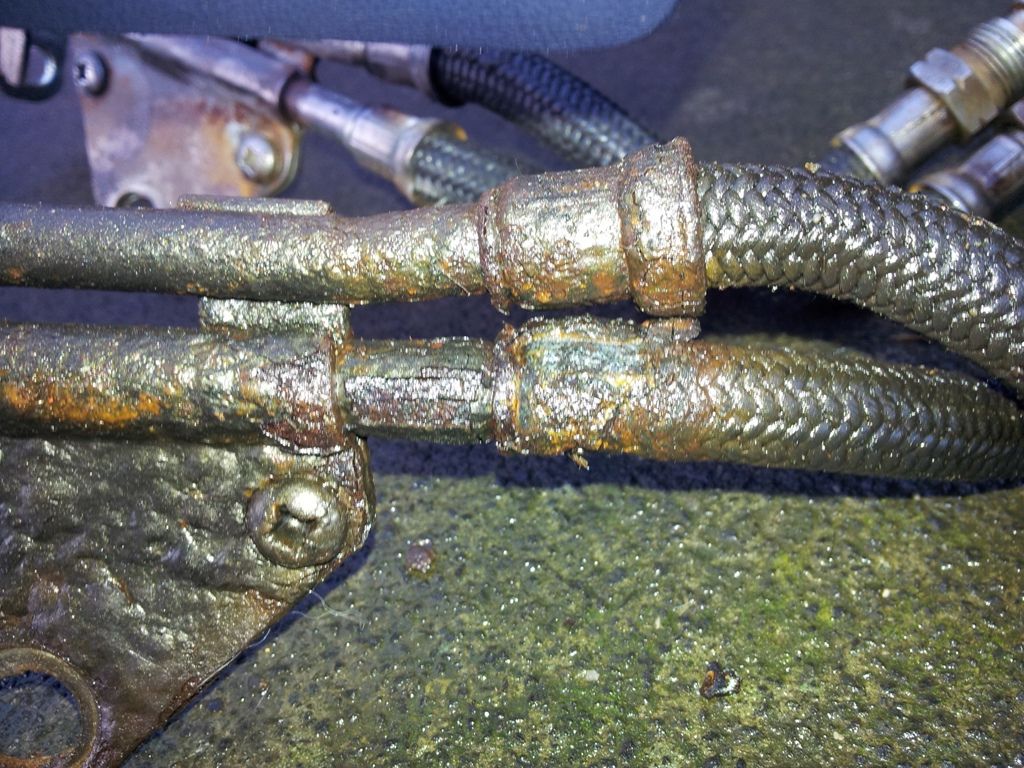
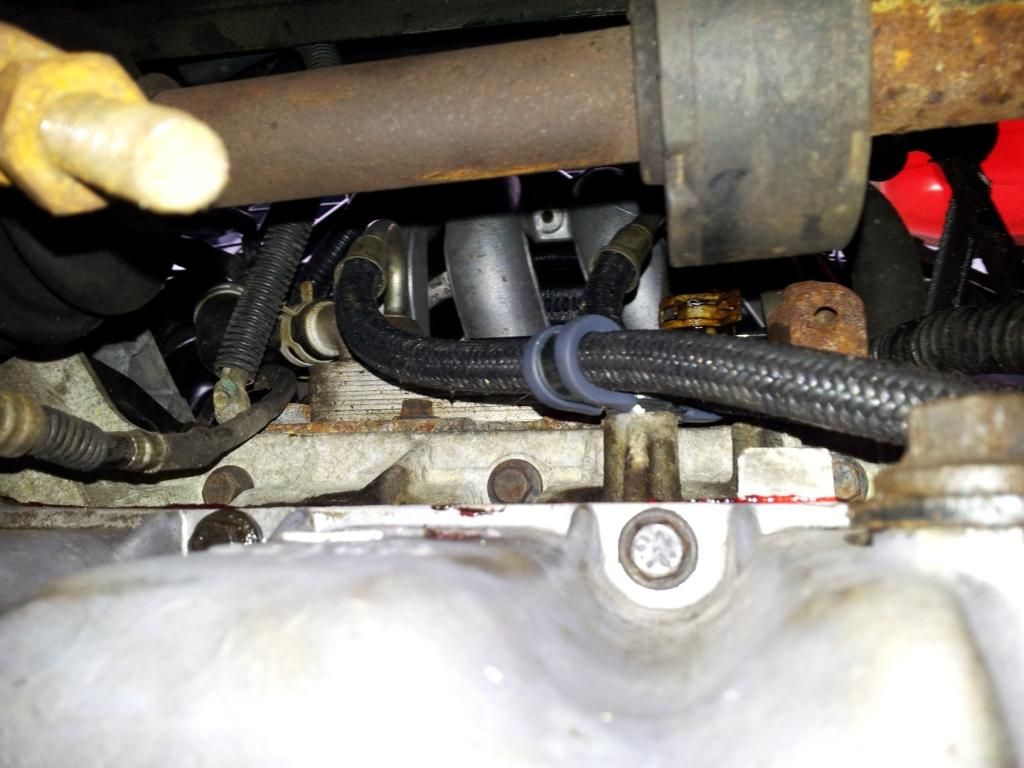
What I found was pretty shocking really. The metal union ends had completely rusted and developed a pin hole. When the engine got up to temperature there was a fine jet of oil from one union across to the other union. Wouldn’t have taken long to empty the sump.
You can see the rust in this pic
So the obvious choice was to get another set of hoses and “simply” replace the rusted ones. Well, in good old MG fashion, nothing is that simple. There is another option, which would be to get a short pipe made up that replaces the whole oil cooler circuit, but I wanted it to be standard.
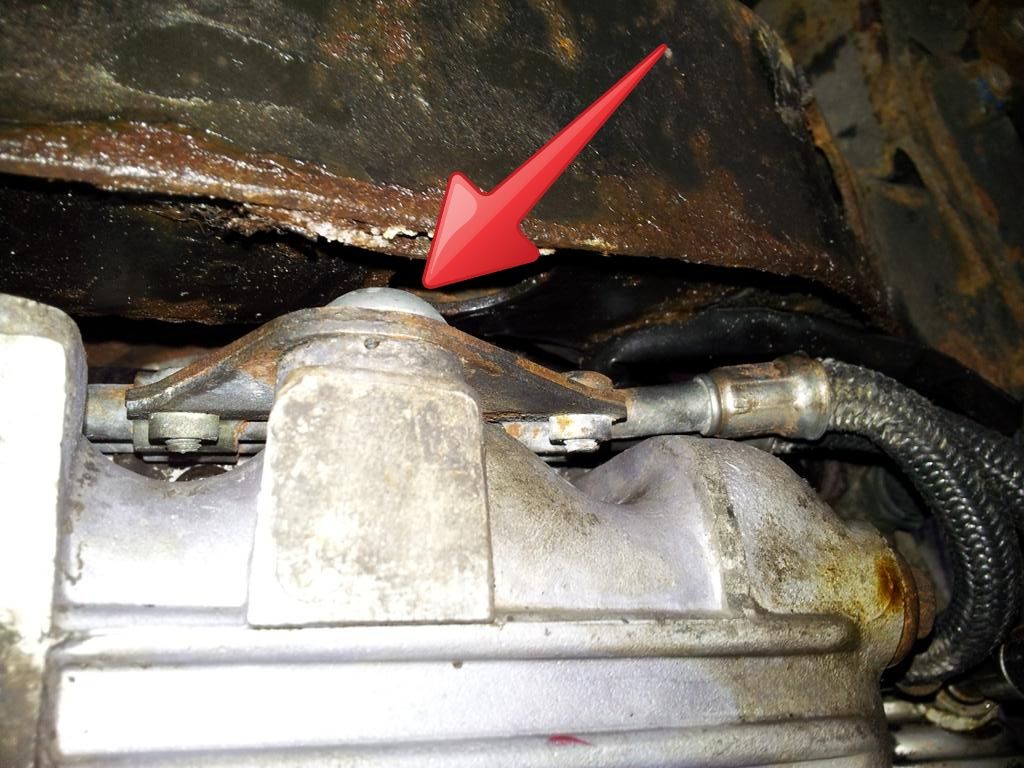
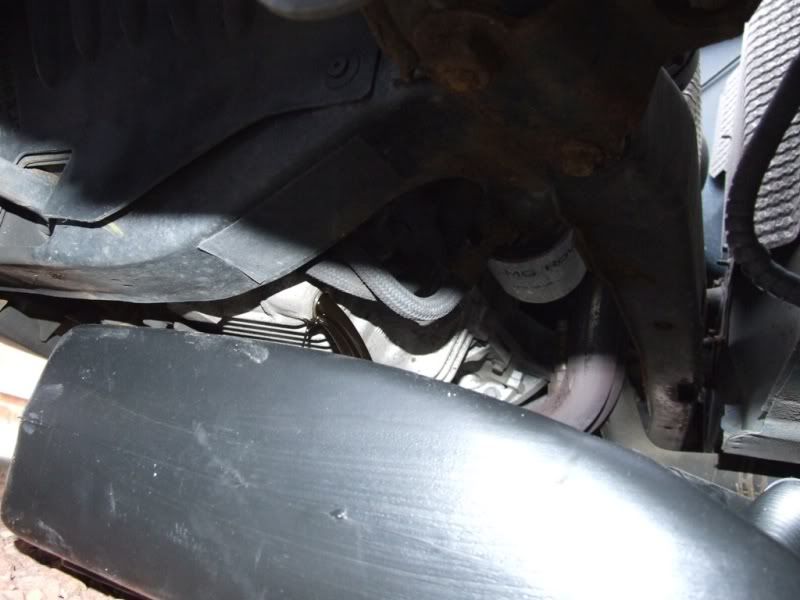
The main problem comes with one mushroom headed allan bolt that holds the oil pipes to the side of the sump. It is so close to the subframe that there is no way you can get at it without dropping the engine.
So the easiest way to do it is drop the engine enough to gain access to the bolt.
To do this you will need to remove the engine inspection panel.
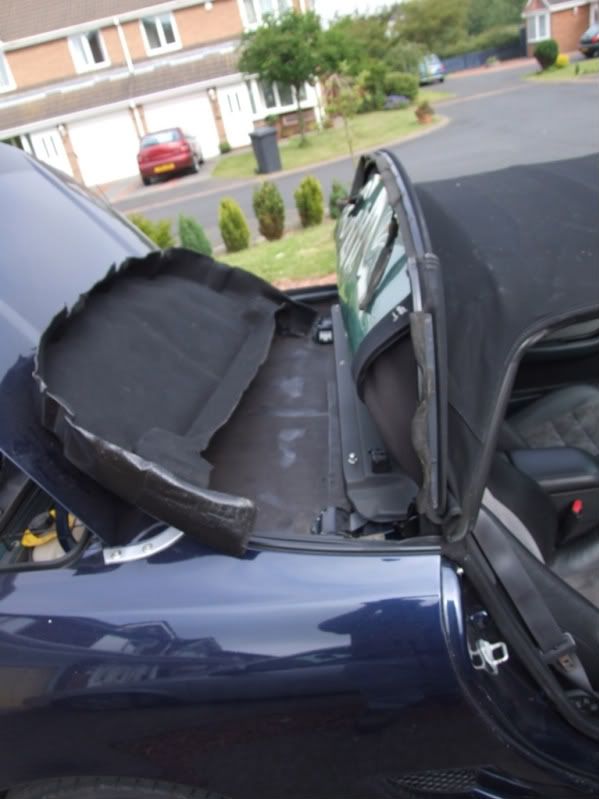
To remove the panel, first you need to get to it.
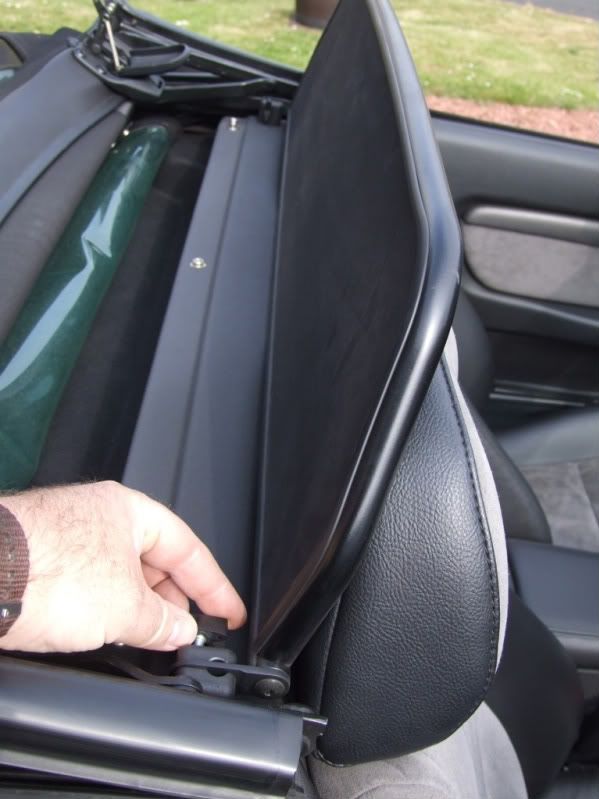
To do this you also need to remove the wind stop (for us shandy drinkers that have one). Fold the roof back, undo the butterfly bolt either side and remove the wind stop.
Now fold the roof forward and undo the clips that hold the rear of the hood to the car body (At least unclip the hood to windscreen clips when you do this as it releases a bit of tension).
and fold the rear part of the hood forward. Remember to avoid creases in the window when folding. If you cannot get the rear hood to stay up by itself you can tie it up.
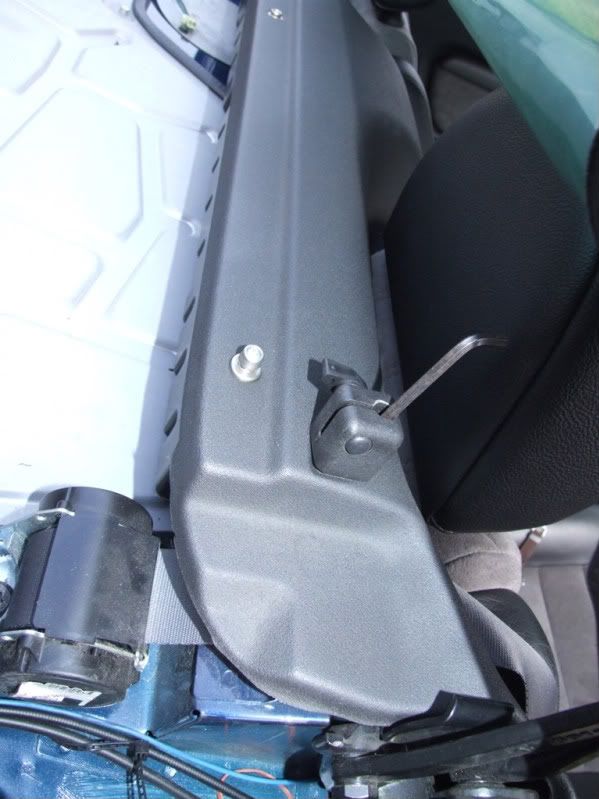
Next remove the wind stop brackets using an allen key
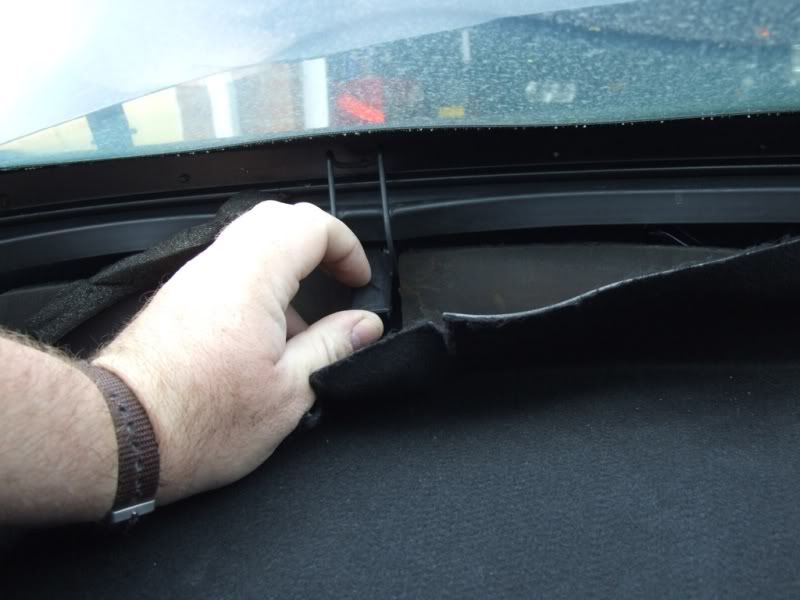
and the 3 cross head screws from the top of the T-bar cover.
The cover then pulls forward (you will have to move the seats forward first). There are 2 plastic push in fasteners at each end of the cover and two at the top of the arm rest. These simply pull out when you pull the cover forward, or break off if my experience is anything to go by. I am now sick of gluing them and I am going to use black plastic screws to hold in place. You may also need to pull the door seal off at each side to release the cover.
Pull the cover forward out of the way and rest on the seats.
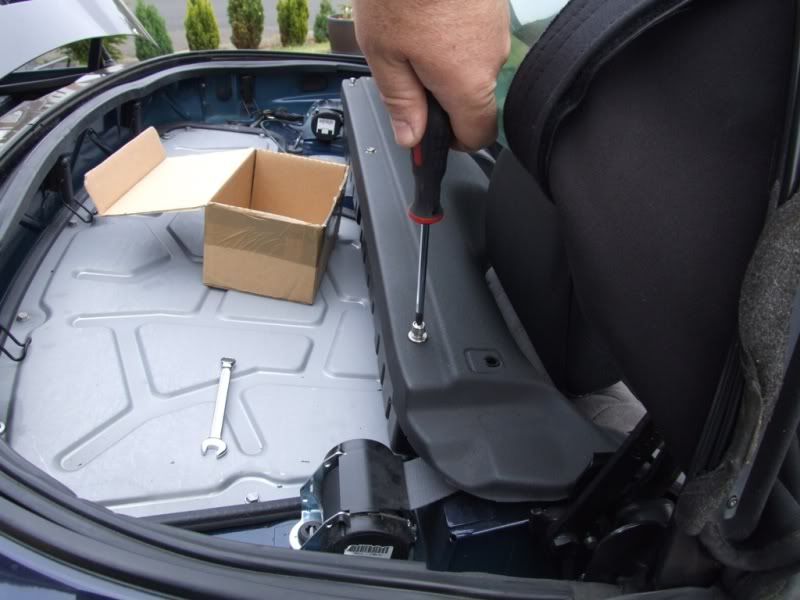
Next you need to remove the two 10mm bolts (one at each end) holding the speaker pods to the body, and place out of the way.
The box in the picture is for holding any screws and bits removed. I really recommend this as it saves you hours of searching for bits.
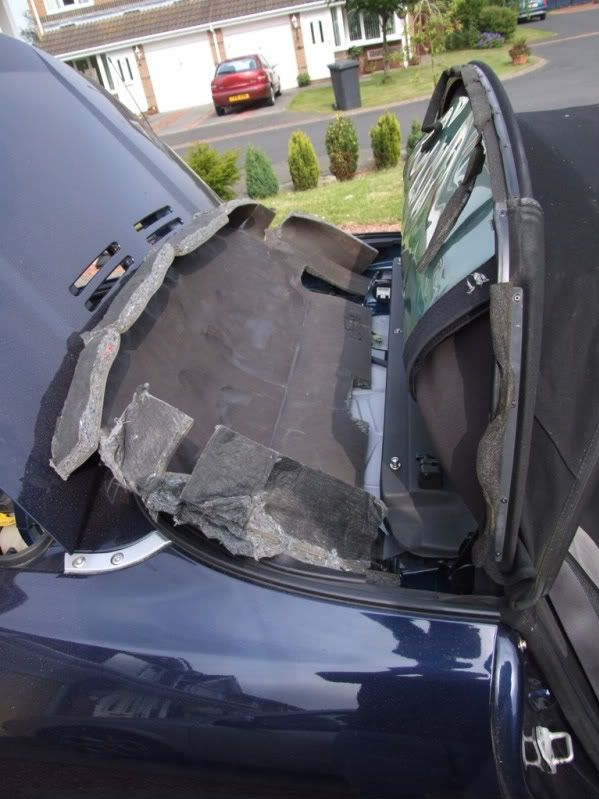
Next remove the parcel shelf cover
and the soundproofing
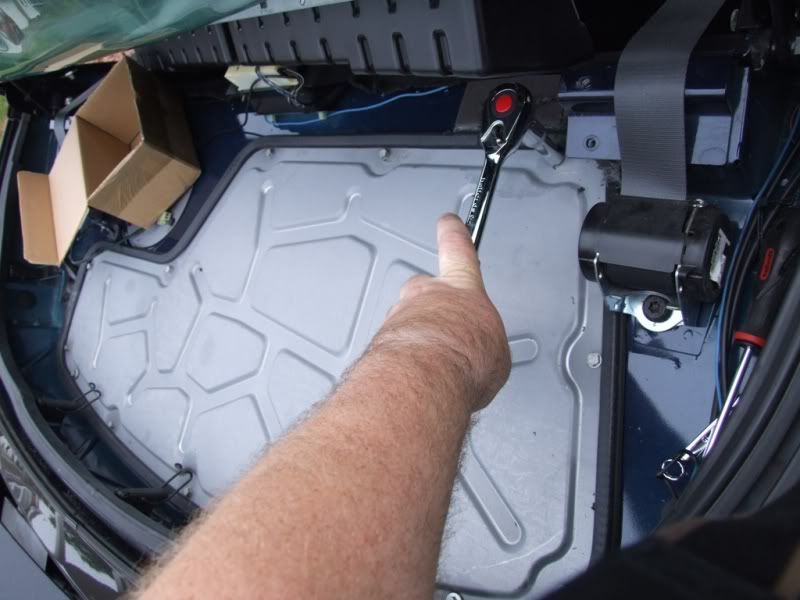
Now remove the 13 bolts holding the panel in place and remove the inspection panel.
You should now have full access to the top of the engine bay.
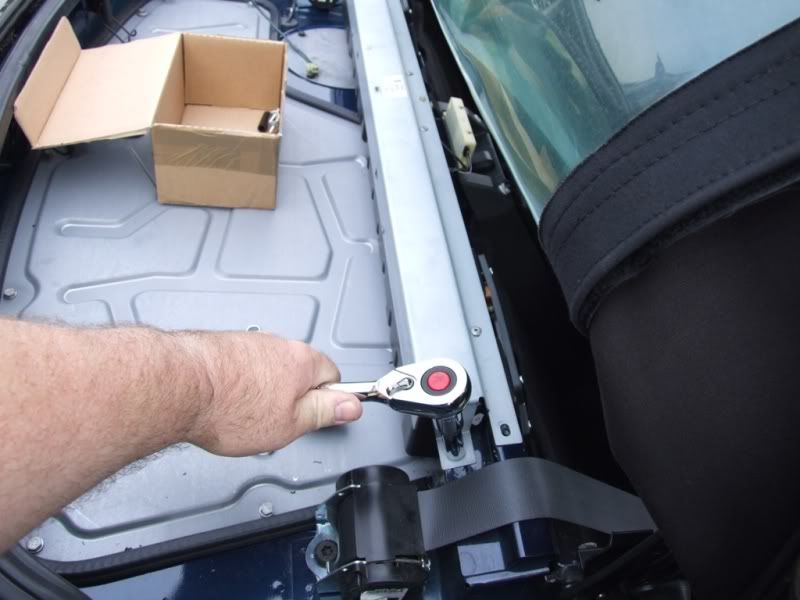
You can remove the engine inspection panel without removing the Tbar etc, but getting at the 3 bolts under the Tbar needs a 10mm ratchet spanner and a lot of patience. You also need to bend the panel slightly when lifting the edge nearest the boot up.
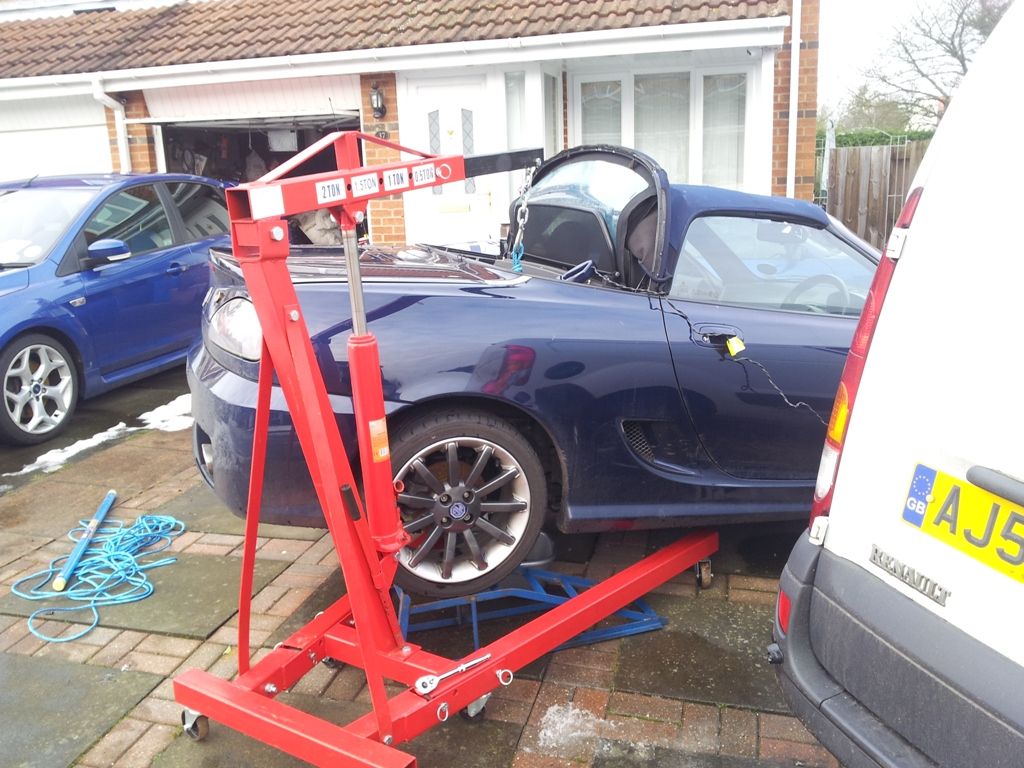
Now put the rear of the car up onto ramps.
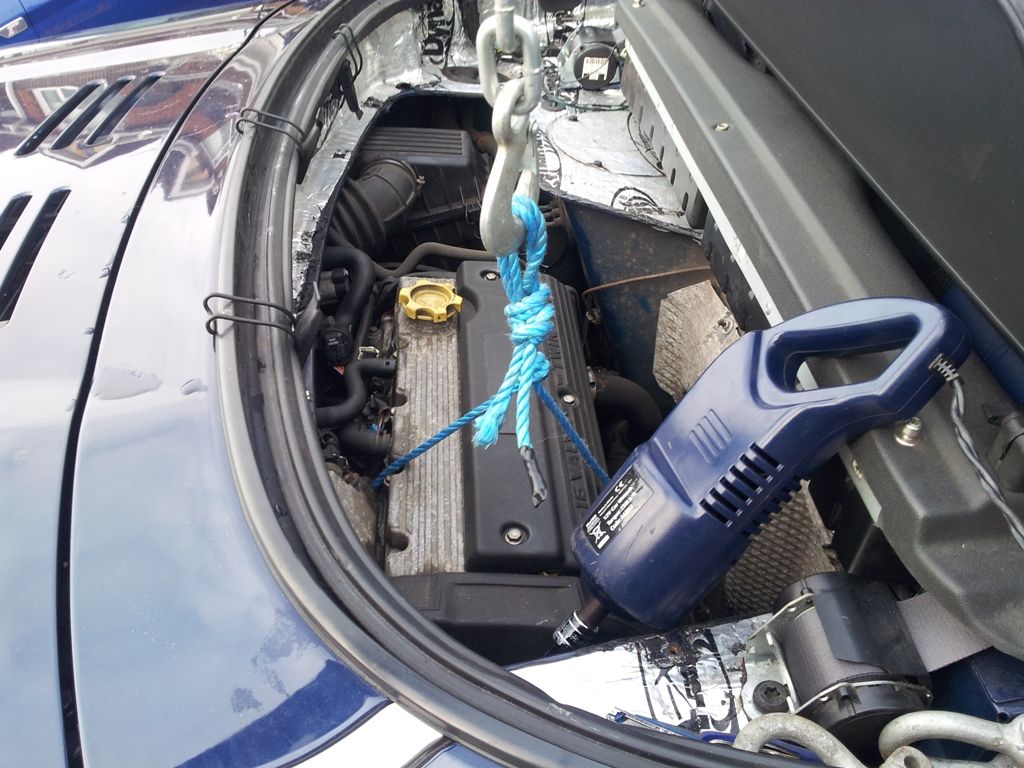
Once into the engine bay, you need to take the weight of the engine with an engine crane.
Disconnect the engine stay bracket
I also found it best to remove the flexi section of the exhaust to give better access to the oil cooler, but I have a 4-2-1 sports manifold so you might not have to.
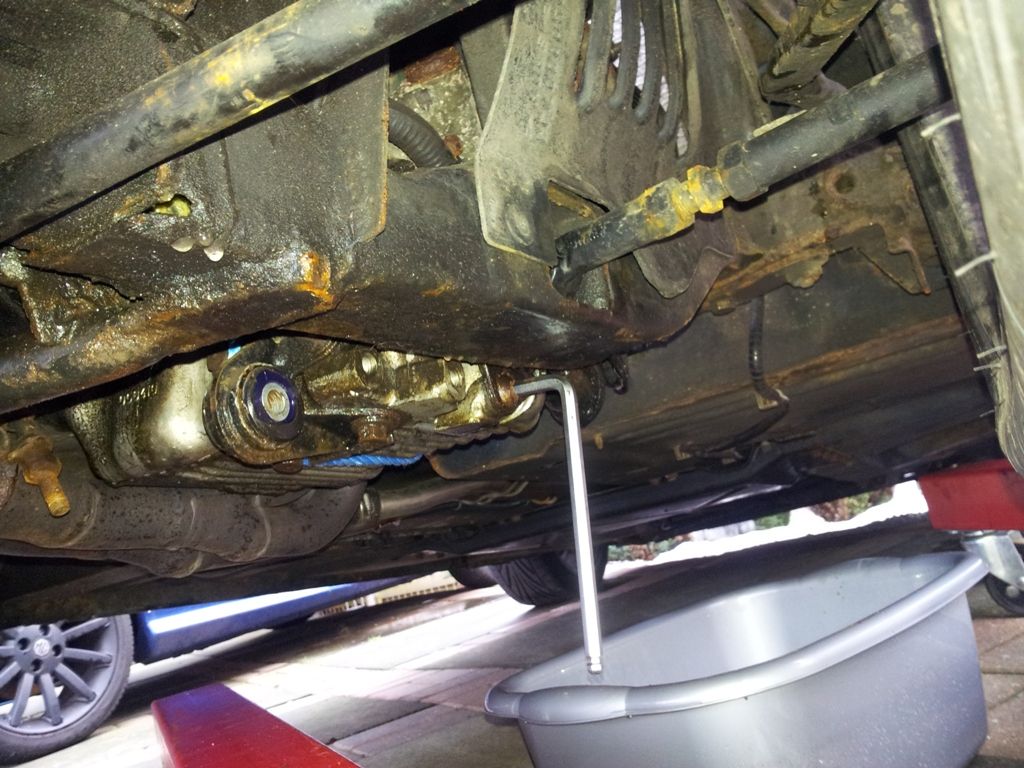
Drain the oil from the sump which will also allow the oil cooler to drain of oil.
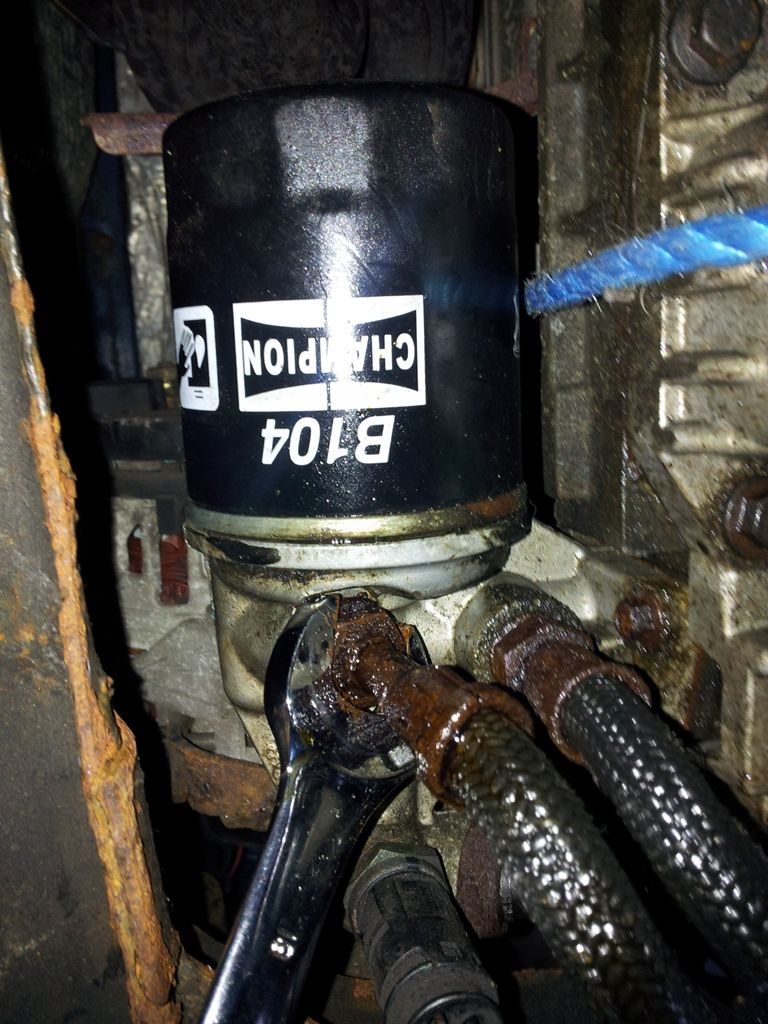
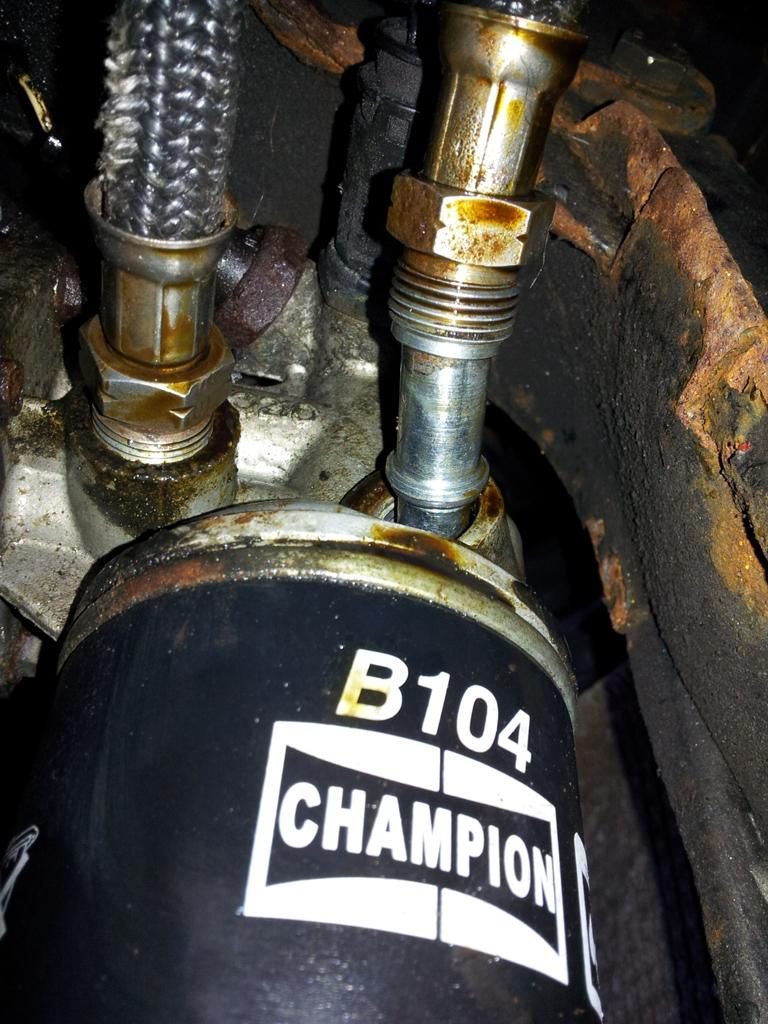
Disconnect the two unions at the oil filter housing using a 19mm open ended spanner.
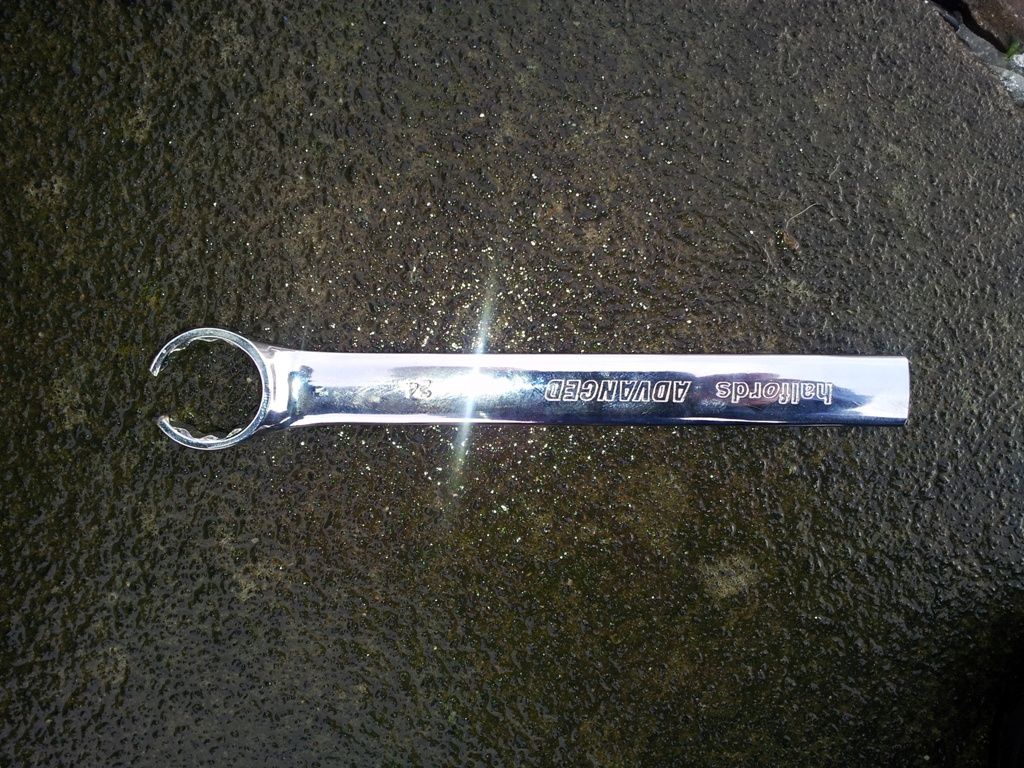
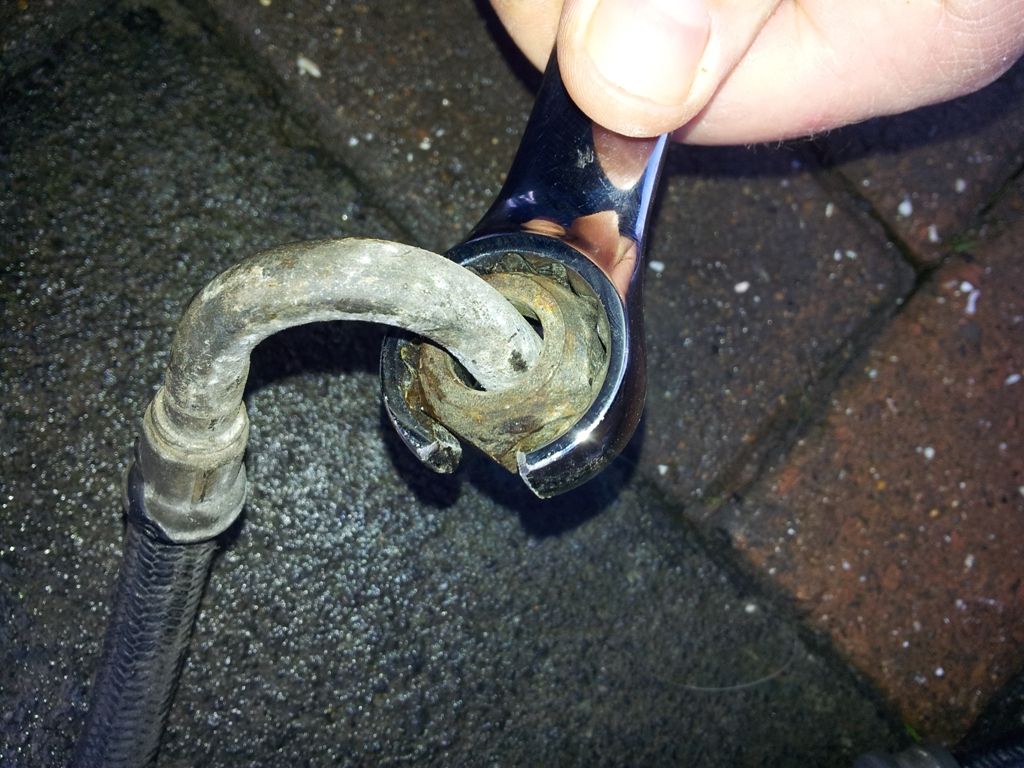
Cut off the open end of a combination spanner and create an opening in the ring end of the spanner so you can pass it over the metal end of the oil cooler unions.
Using the modified 24mm ring spanner reach up and locate it onto the oil cooler unions and loosen the nuts.
And remove the pipes from the cooler.
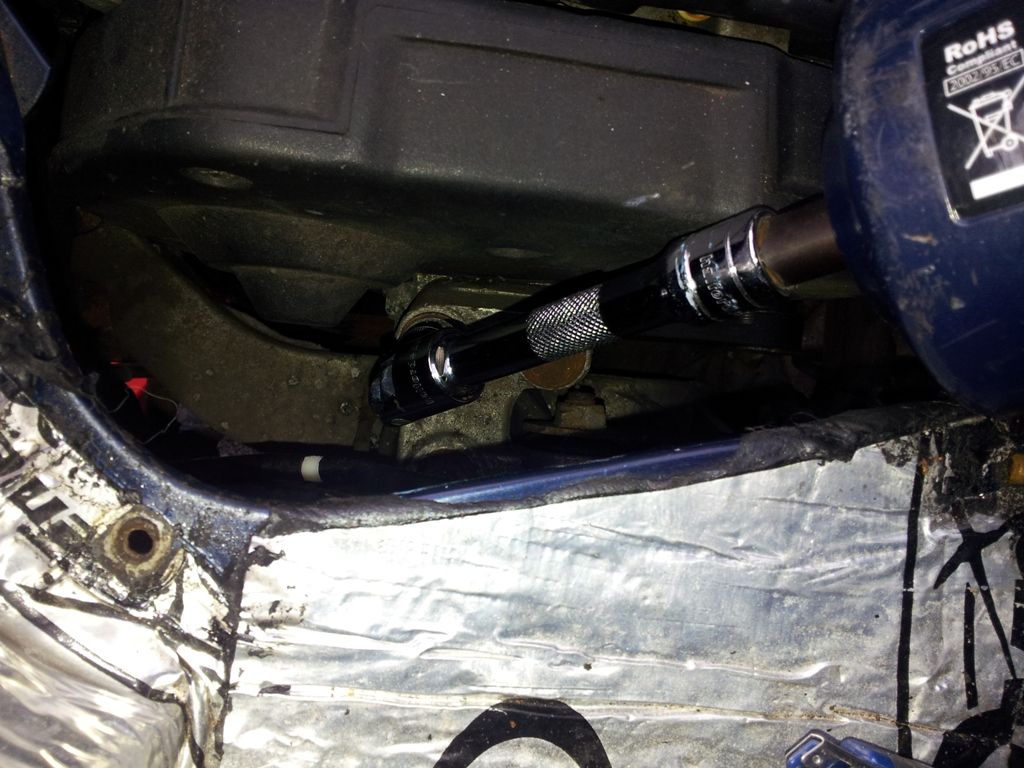
Now undo the 10mm nut that holds the pipes onto the stud under the oil cooler
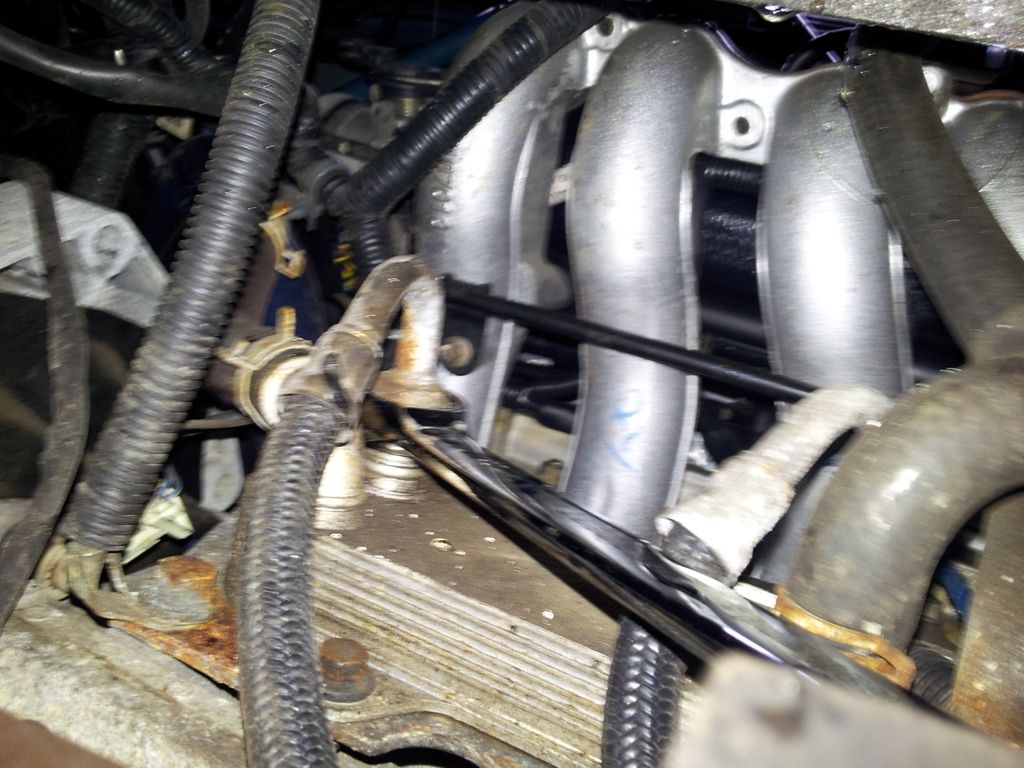
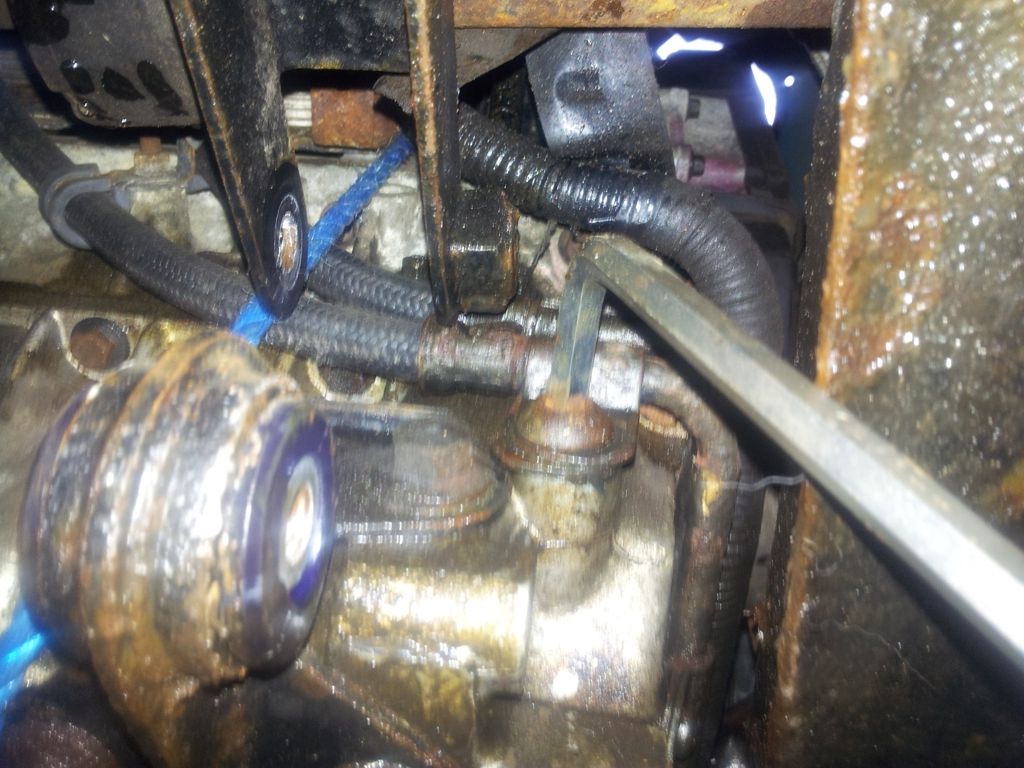
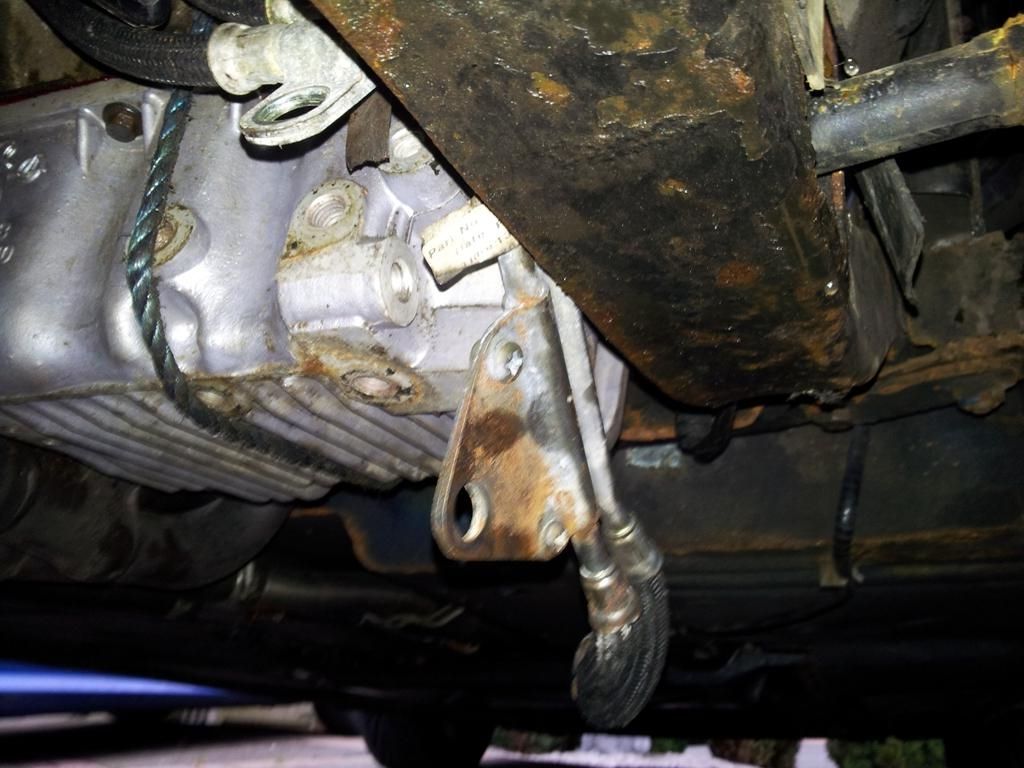
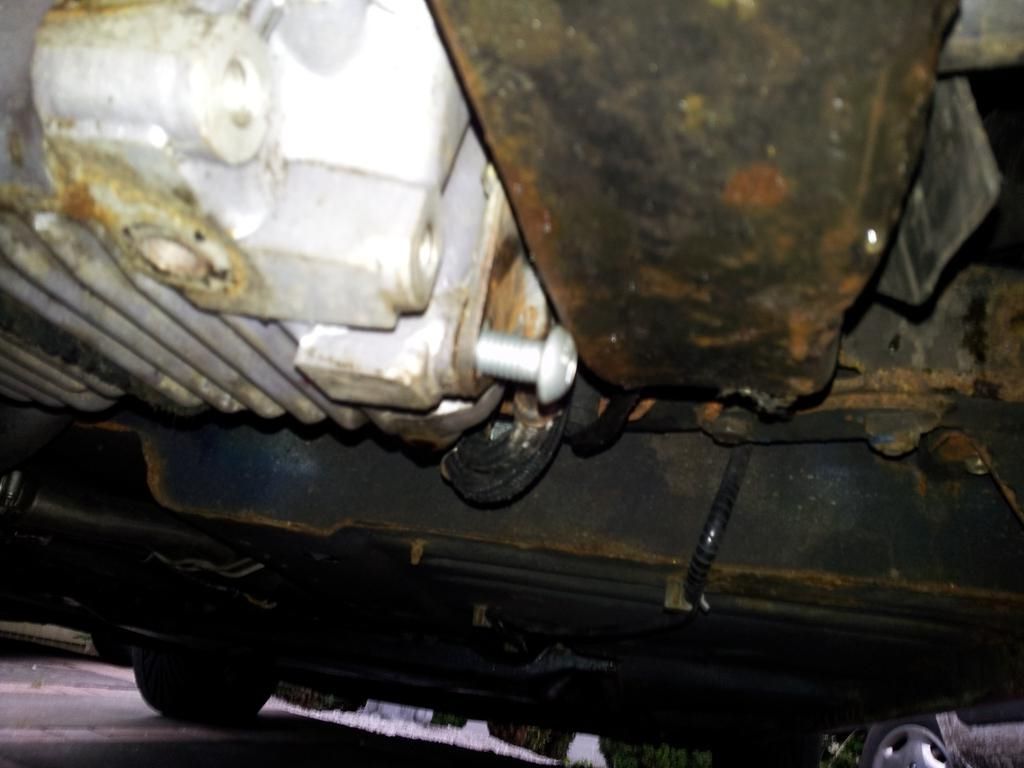
And remove the 8mm allan screw on the rear of the engine, beside the sump mount.
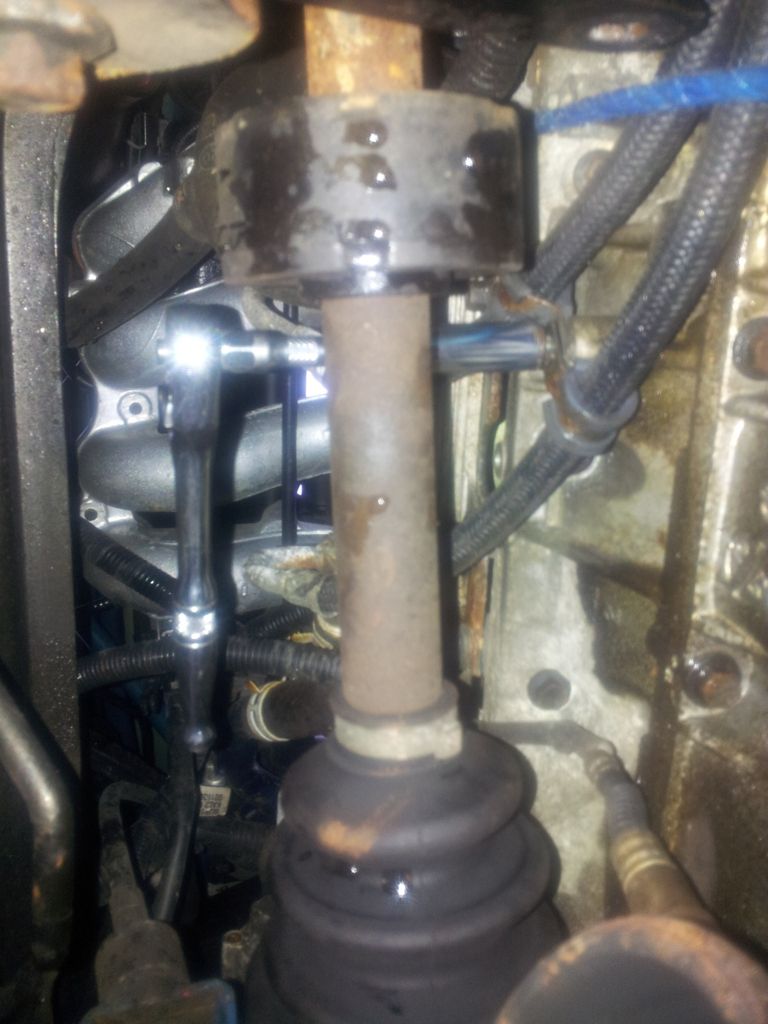
Now, you need to undo the two bolts that hold the offside engine bracket to the engine mount. I needed to use an impact wrench to loosen mine. Make sure that the crane is taking the weight of the engine as it will drop when these two bolts are removed.
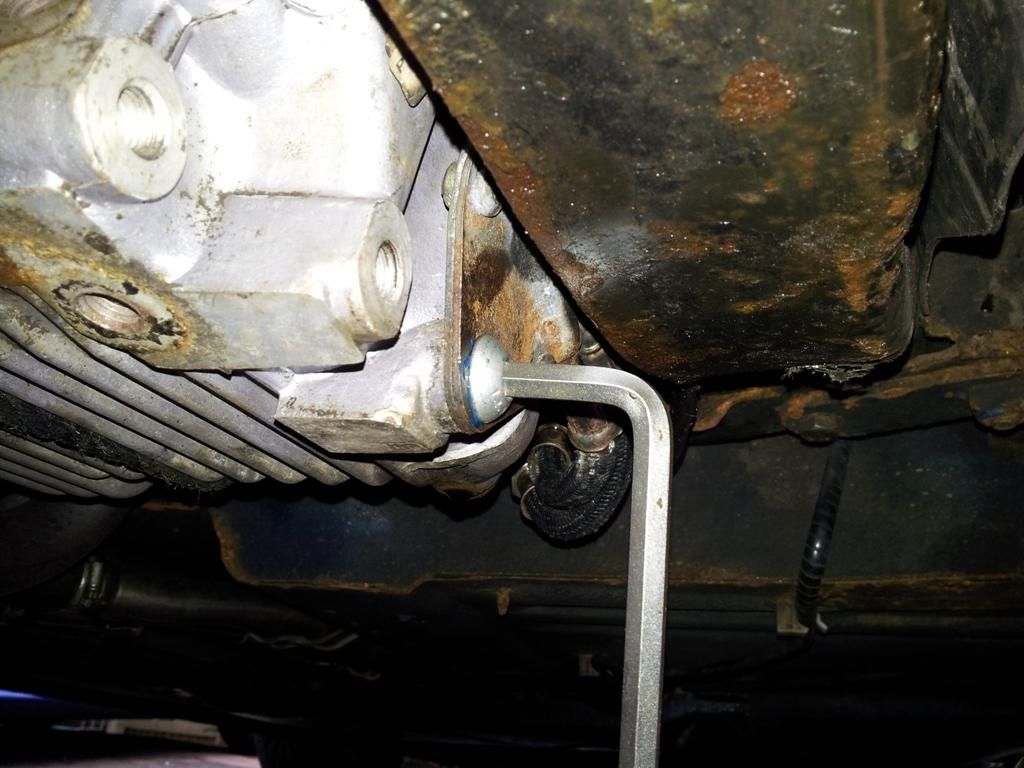
Once the bolts are removed, slowly lower the engine until there is enough clearance to gain access to the awkward 8mm allan bolt.
Now manipulate the pipes and bracket until you can free them from engine.
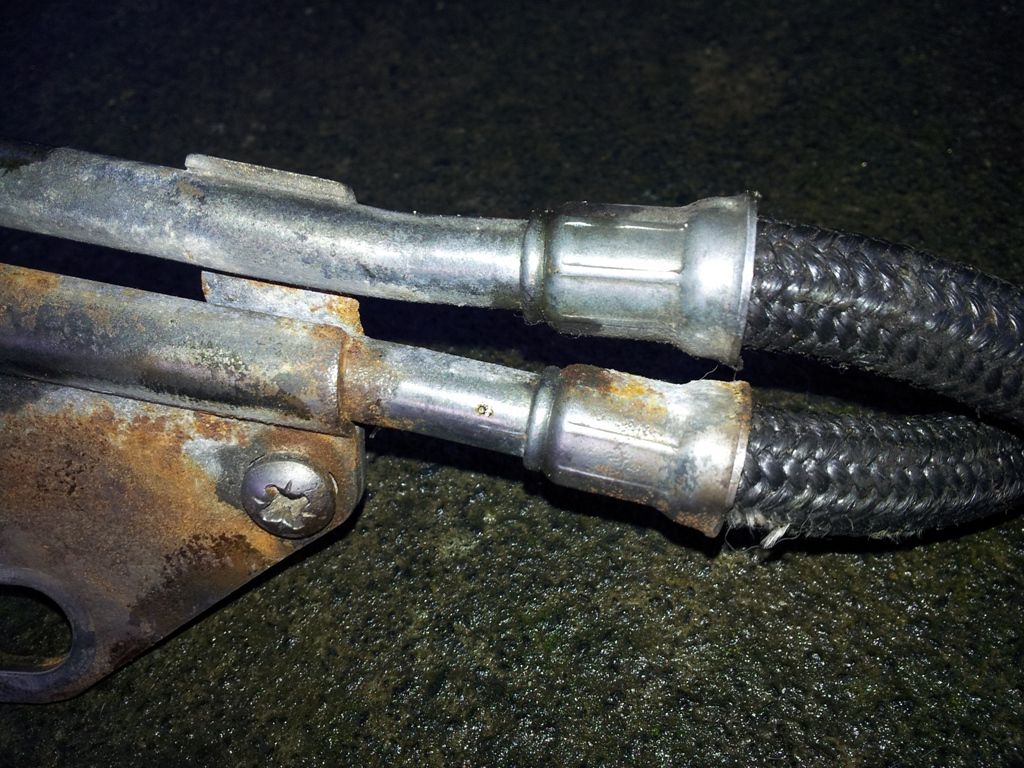
You can see here the difference between the new ones (New second hand) and the old ones. The collars around where they were crimped to the flexible pipes were just crumbling off too.
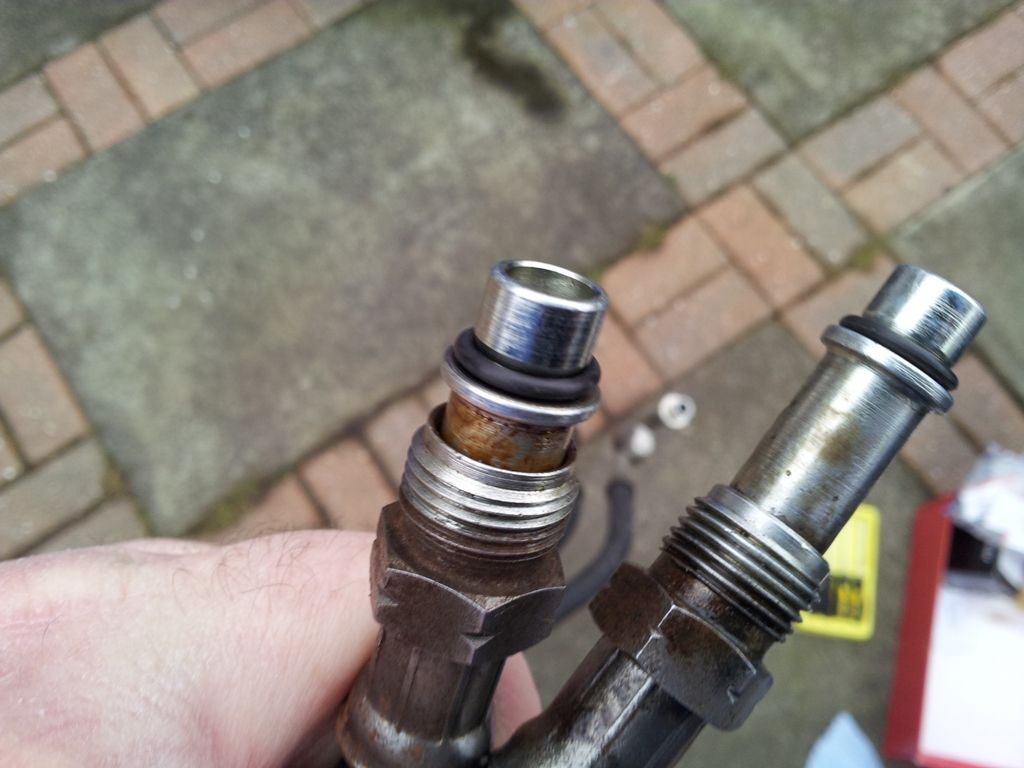
Remove the old “o” rings from the unions. Old ones will have hardened and deformed. Replace the “o” rings on the unions with new ones.
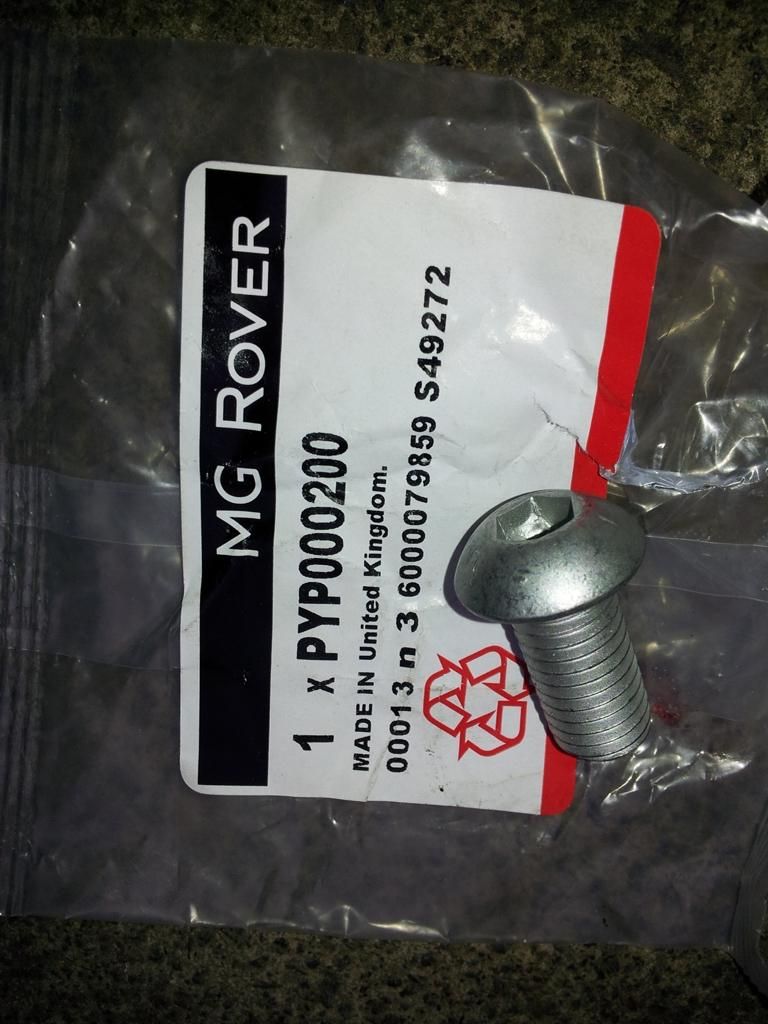
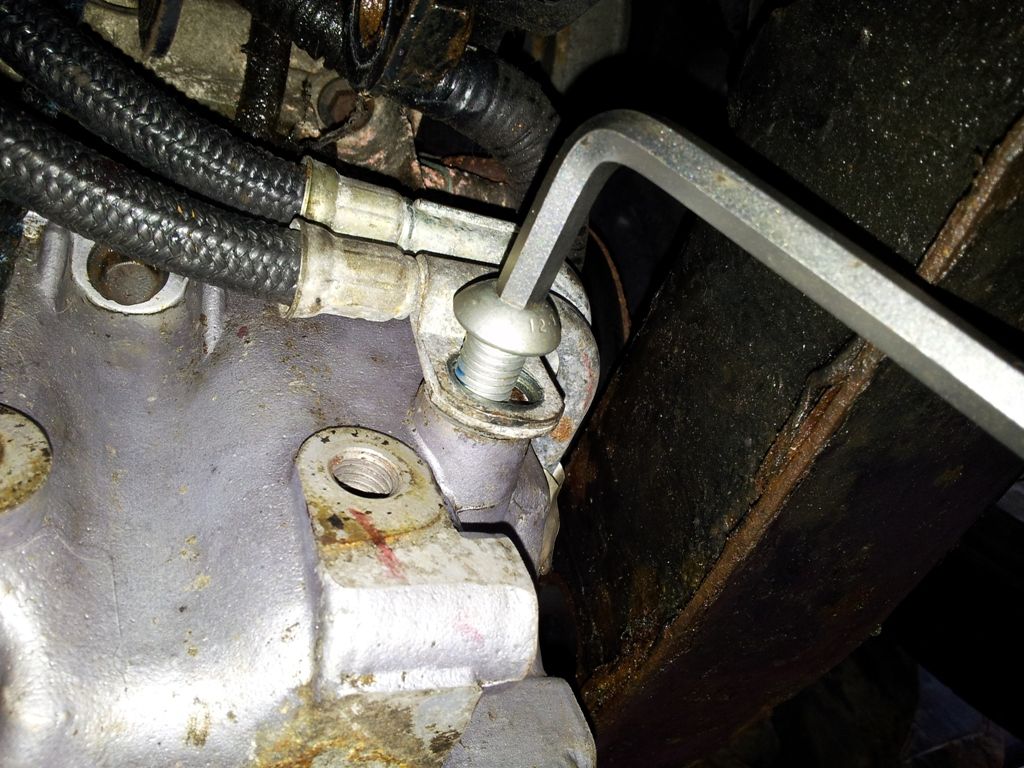
While the engine is still lowered, manipulate the pipes into position and refit the 8mm allan bolt that holds the bracket to the sump. I replaced with new bolt as the old ones were a bit rounded and rusty.
Now raise the engine and replace the two engine mount bolts. It does take a bit of manipulating to get the correct angle and start the bolt threads off. Using a suitable torque wrench, torque to 85Nm. I also added some threadlock as these bolts have been known to work loose.
Refasten the rear 8mm allan bolt to the rear of the engine.
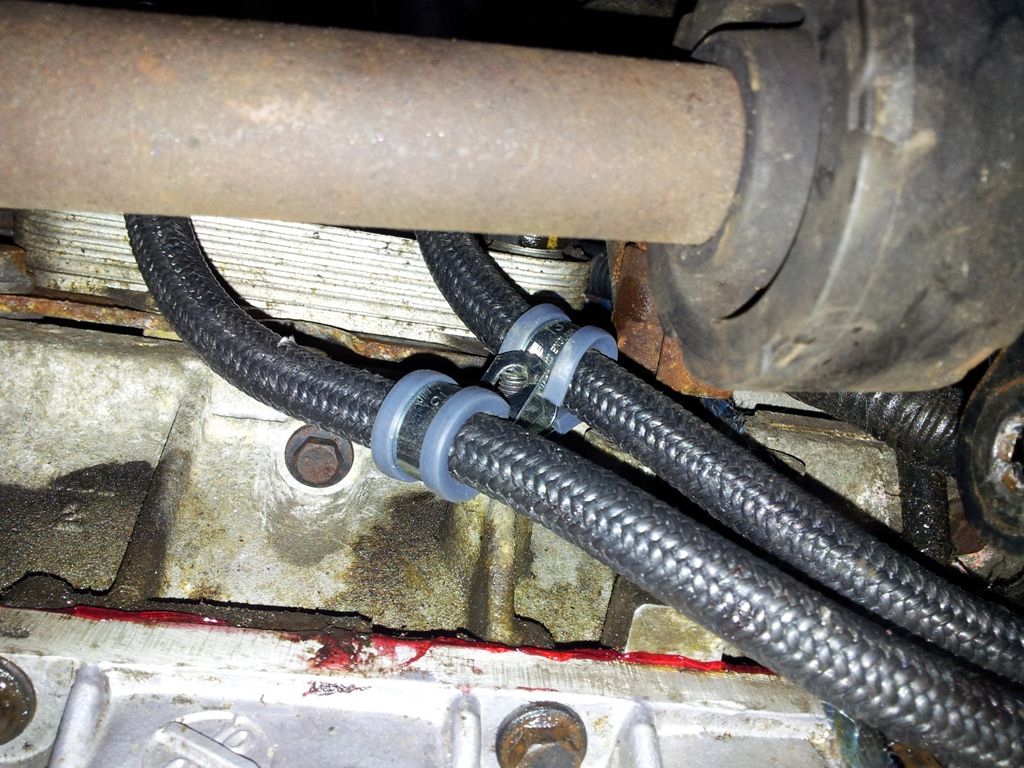
And the 10mm nut that holds the pipe clips in place.
Tighten the unions back onto the oil cooler.
And fasten the unions to the oil filter housing.
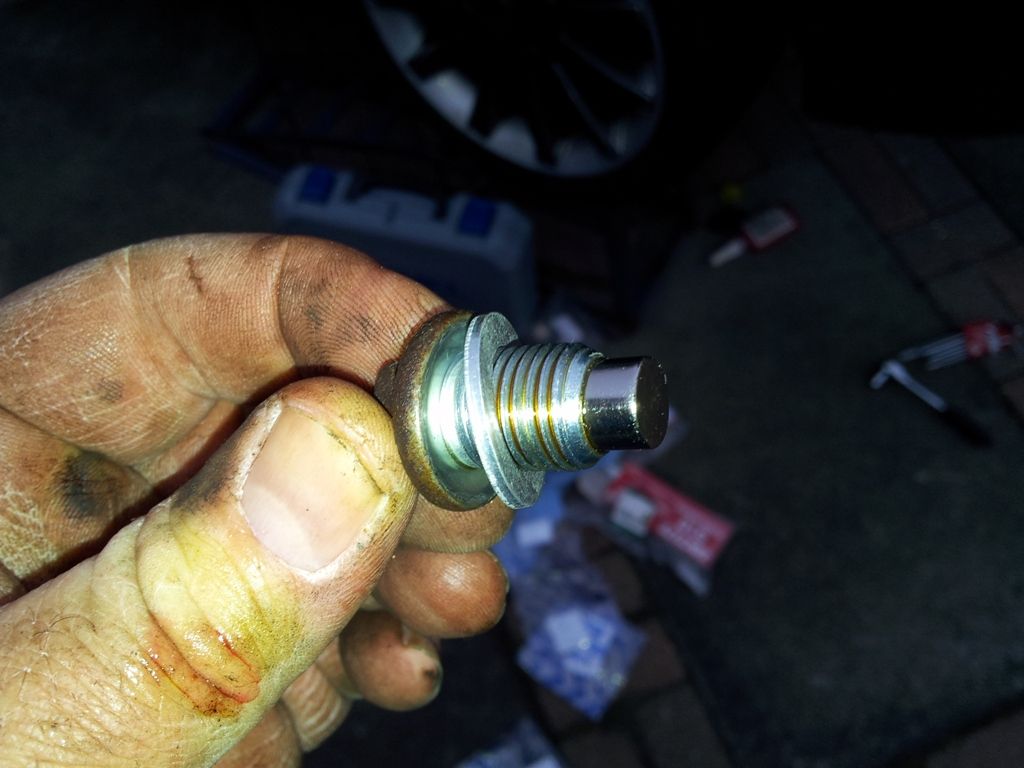
Don’t forget to refit the oil drain plug in the sump, using a new aluminium washer.
And refill the engine with new oil.
Refit the lower engine stay and exhaust flexi section if removed earlier.
Run the engine for a short while to allow the oil cooler and filter refill with oil and top up as necessary.
Refit the engine cover etc and clip the rear of the softop back into place.
You have now replaced your oil cooler pipes.


")