Sign In   Register

Topic

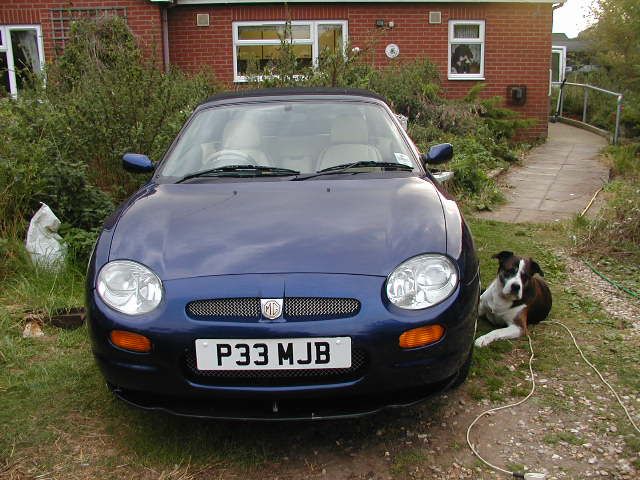
"Blue 33" so now named. Update 10 years 1 month ago #139656

Time to add an update..The conclusion is that she is now on the road all tested but we are still fettling here as we go this is how it sort of went:-


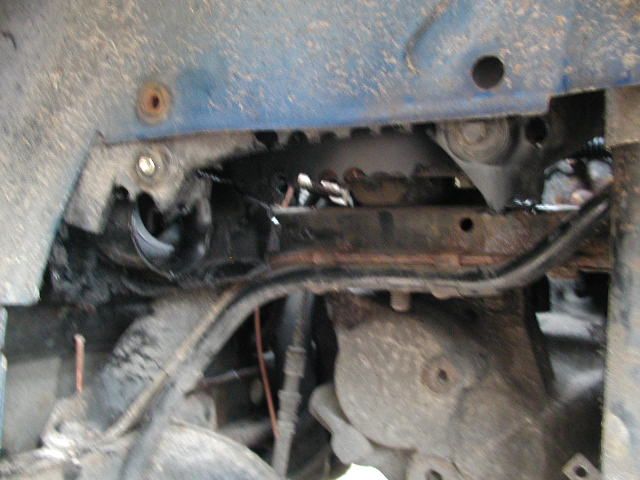
First the resonator box had to come out to access the N/S/R brake line and that proved to be a pig of a job :bang: .


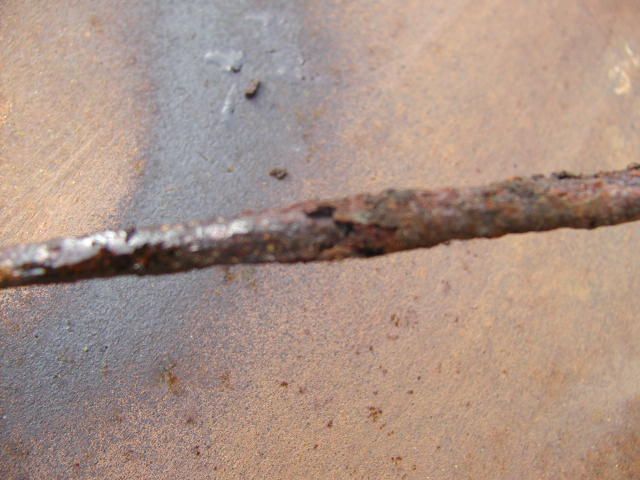
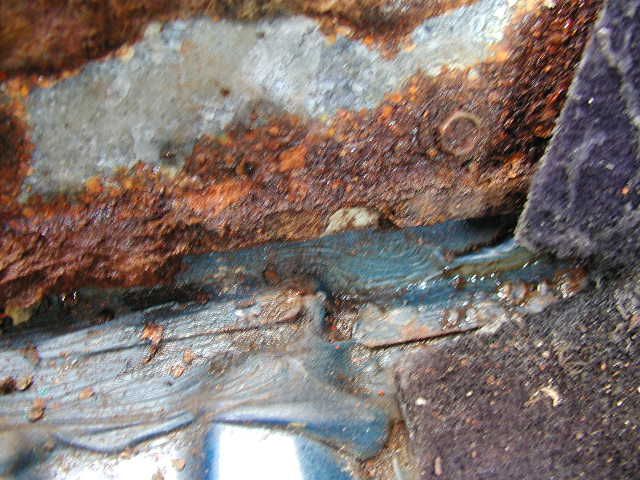
It eventually came out with the top part requiring the help of a large 25lb bar to smash it out the last bit.. This is what was found hidden up from view:-


Nasty indeed. This was the O/S/R the N/S/R was rusted but not as bad strangely enough. Perhaps the resonator box protected it?

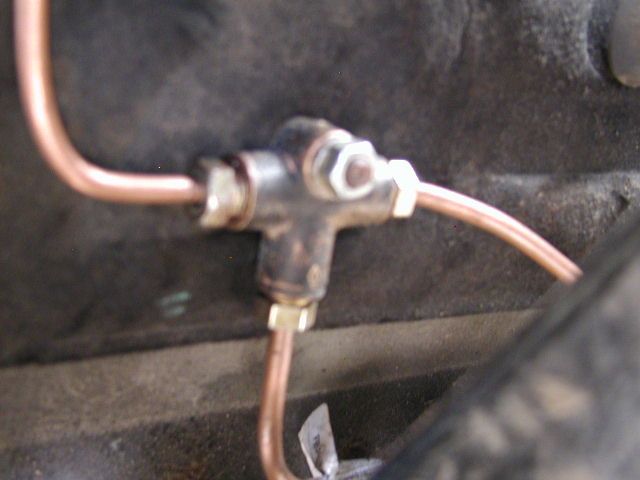
Anyway after quite a bit of struggling with rusted fastening the new copper lines were fitted and routed:-


The system was then re-filled and bled through. We had troubles with plastic clips breaking so some head scratching was called for and inventive ideas used to secure the line under the car securely. A "P" clip was used right at the rear as the clip had broken half away.

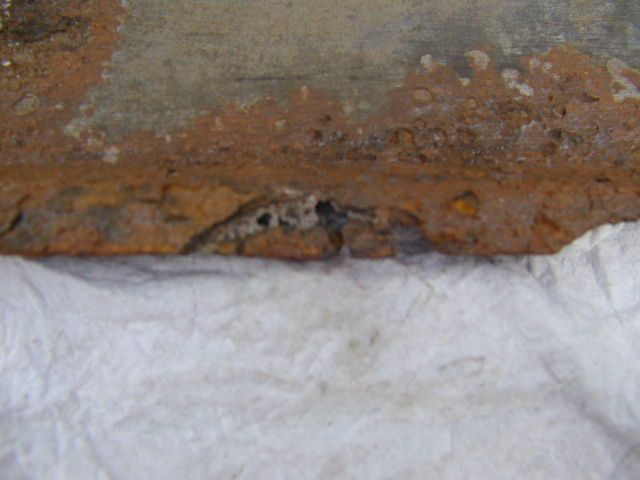
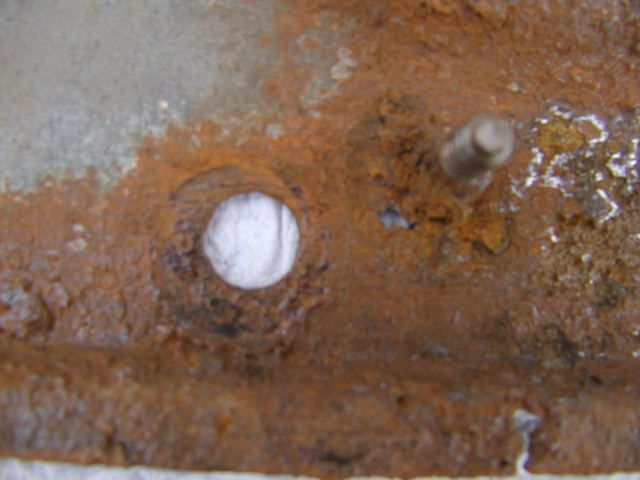
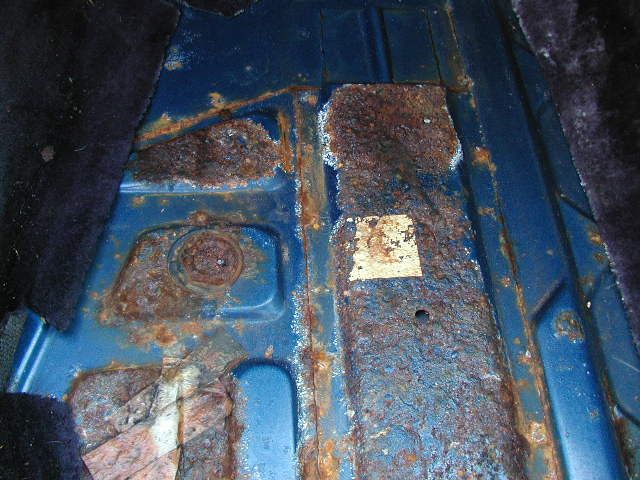
Whilst replacing the broken bonnet release cable much wet was found under the carpets and some very bad rusting. This must have been wet for a very ..................................... very long time to rust like this:-


Around the edge the bulk head panel has rusted through in places. The rust was cleaned back the treated with rust killer before being painted. The floor had also rusted under the insulation especially the passenger side.


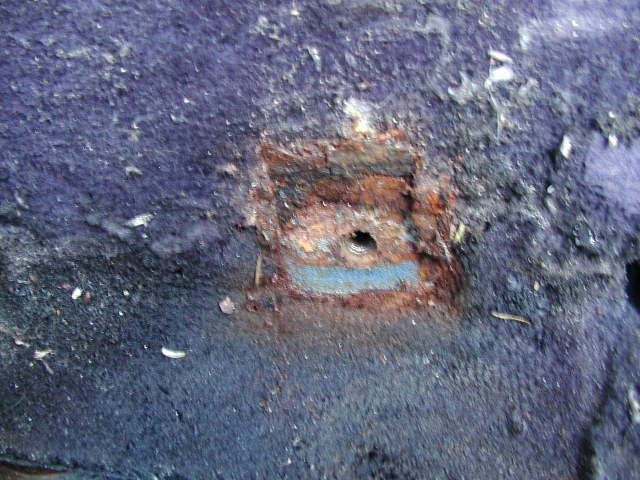
In fact getting the drivers seat proved to be a big concern as the inner rear bolt that screws into the tunnel would not budge. After trying all the ratchets and the breaker bar with no success the new Air Compressor was brought out and switched on and once full operating pressure reached the 1/2" impact gun was used. Still it had to be eased out by undoing then doing up again and again with application of Plusgas in between then suddenly the gun screamed doing it up then screamed again on undo and the bolt whizzed out .............................. Phew. Without the air impact ratchet i would probably still be trying and cursing it. Like teh Irwin extractor sockets just one stubborn fixing has proved it's worth :broon: .

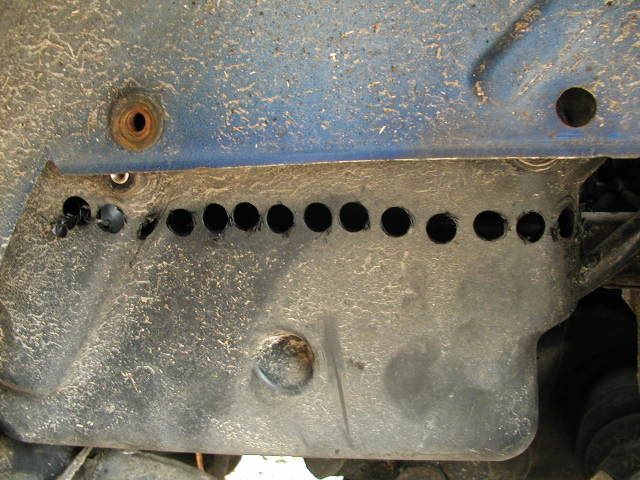
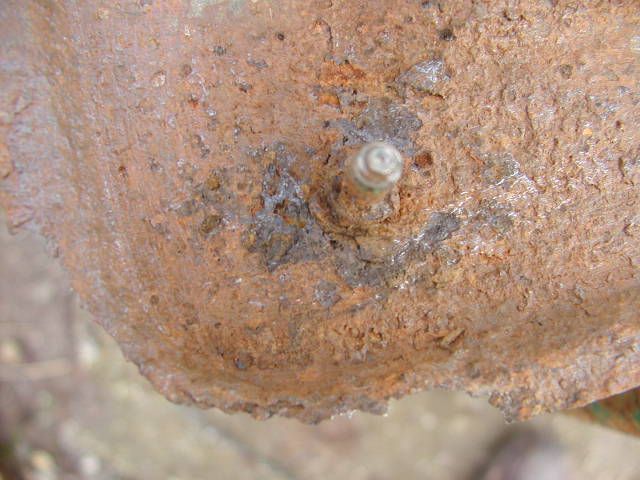
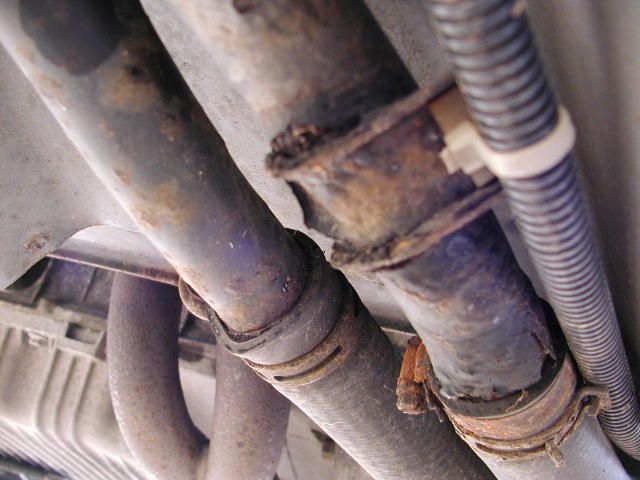
Whilst under the car this was noticed:-


Whoops these need replacing sooner rather than later. the belly pan was cleaned of rust and painted inside and out and when it comes off again stainless cap heads will be used to retain it. Also freed off the coolant pipe bolts and have new stainless ones to fit the new pipes with which are currently standing up in the garage awaiting fitting.

She now has a new acquired Mk2 hood fitted which has a clear un damaged rear window. Won this off e-bay for £26 but it cost much more as the vendor refuse to ship so had to drive over to Northampton to collect in person. The hood has taken a bit of fitting and fettling to get it right and the windows had to be adjusted as well.... all a learning curve. On Saturday the hood was cleaned and treated with the Autoglym kit that I bought for the VVC and it does look smarter now but not perfect as there is some wear showing. Sunday saw us, "Blue 33" and I attend the MG/Triumph spares event at Stonleigh where I had to buy a replacement aerial as snapped mine off working on the hood :oops: :rant: :bang: got a good clean original one for £10 .................................. thought that was a little steep but at least i could fit it straight away and not risk and pay for posting. Thought most of the prices at the event high.

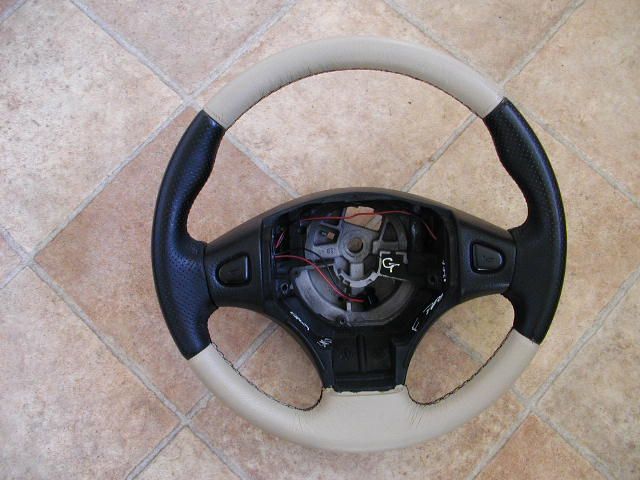
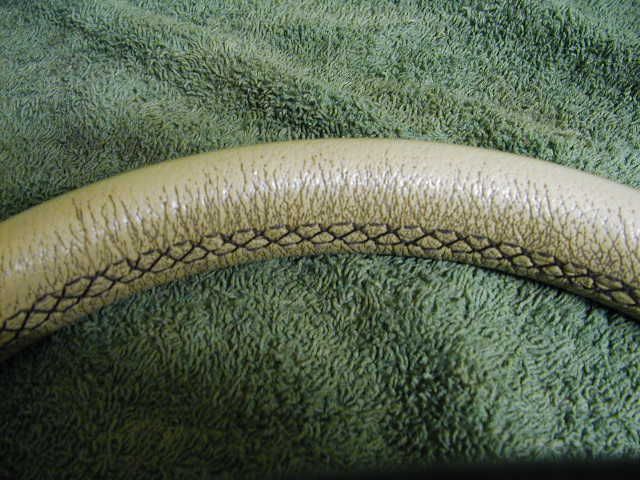
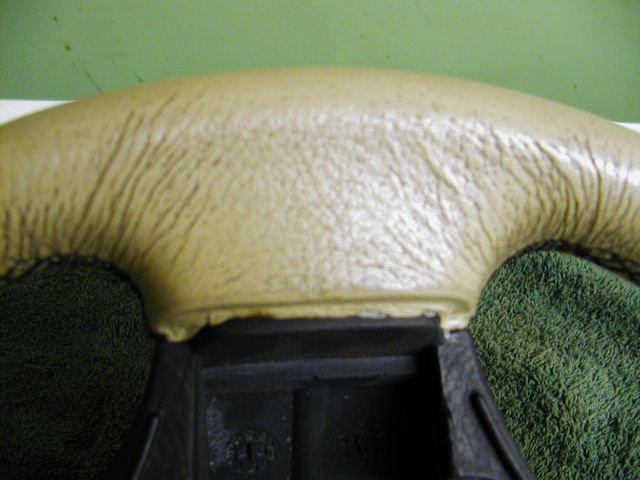
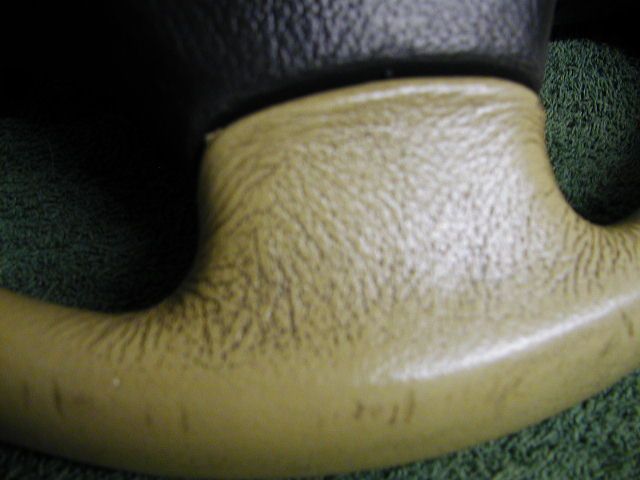
However i did buy this:-


That was after cleaning as it looked this on arriving home:-


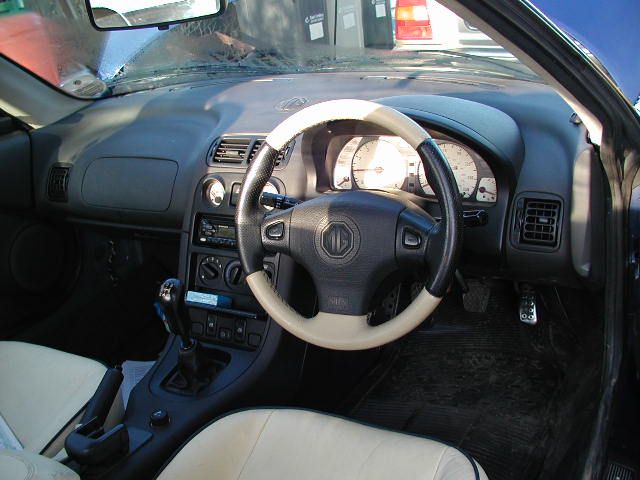
More like old ivory rather than cream. here it is fitted:-


Only saw two Black/Cream wheels at the show but it seems that I didn't find all the stands :-? .

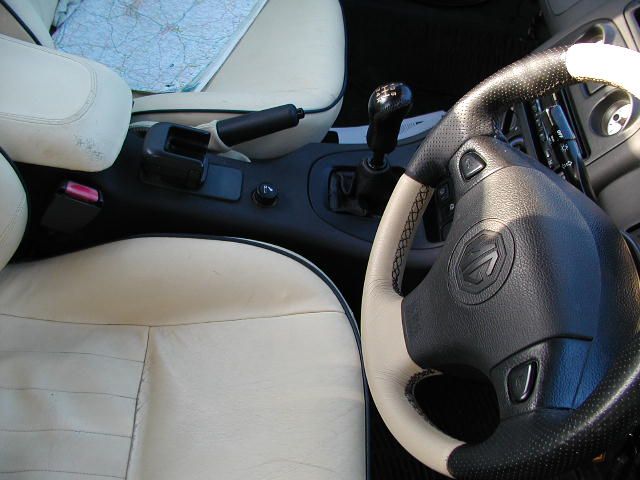
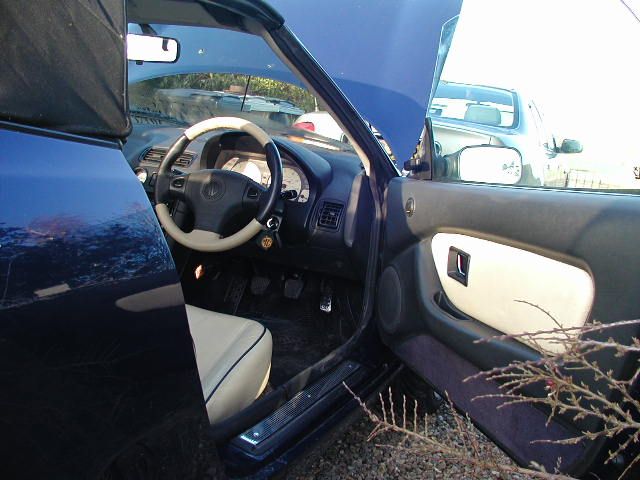
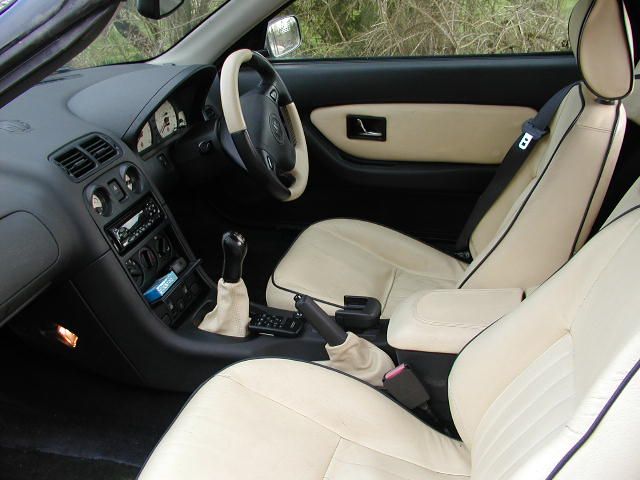
Also bought a pair of Cream leather gaiters for gear lever and hand brake from Topgaiters off the Bay. You can see the hand brake one fitted. Cannot fit the gear one until can get the Pioneer head unit out to take the console out to get at the two screws holding the gaiter tot eh console. Have also had the cream leather for the arm rest and cubby box re-fitted as it was loose. A local trimmer did thsi for me and she will also be fitting the Cream leather tunnel cover for me once i get it. The question is what to do with the centre console itself and the dash board as both are still black?

Hmmm am considering wood trim for the console and possible a leather cover for the dash :-? unsure as this for now.
The following user(s) said Thank You: David Aiketgate, Leigh Ping

Please Log in to join the conversation.

"Blue 33" so now named. 10 years 1 month ago #139696

So what have you done to stop the water ingress to the footwell?
I have same problem & will have to reseal when I get round to it.
As a temporary measure I have taped over the scuttle grill vent which does the job :dry:

Please Log in to join the conversation.

"Blue 33" so now named. 10 years 1 month ago #139736

Am still trying to trace the exact source of the ingress. Have still got the adjust the window cheaters and the door seals are in poor shape and do not fit very well. Looked at the air box under the scuttle today and it has a large hole cut in the N/S bottom at the front and the insulation on the front sloping bulkhead in the passenger foot well is dry so am thinking it's possibly coming through the door seals and the cheater.

Mean while got the gear lever gaiter fitted today:-


so was under the dash this afternoon and it was dry in the passenger foot well.
The following user(s) said Thank You: really?

Please Log in to join the conversation.

"Blue 33" so now named. 10 years 1 month ago #139750

Yes, I think you are right that the water ingress is door/window related.
Mine runs down the R/H side of the bulkhead so is from the air box.

Please Log in to join the conversation.

"Blue 33" so now named. 9 years 7 months ago #149303

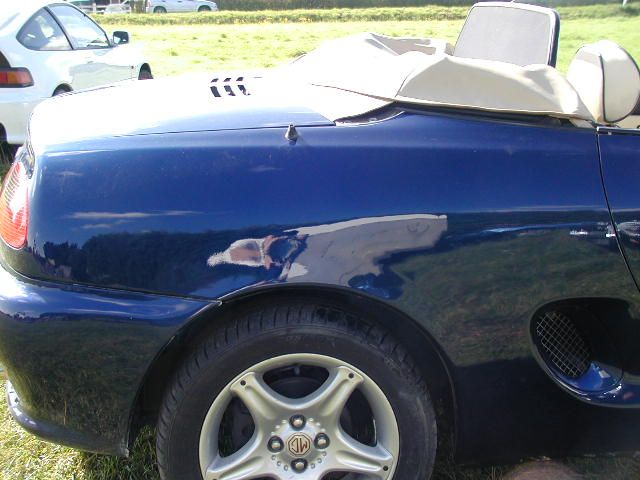
Well it seems that what ever I did has stopped the water ingress. "Blue 33" has been sorned for a while as have been using "Elsie" the BRG VVC. However it's now time to start on her body work so she is booked into the body shop to have the N/S rear quarter repaired and sprayed. This will mean the cutting out of the terrible MOT sill repair and doing it properly and removing the rust around the intake vent and the dents. The in a couple of months once finance recover she will go back for the O/S rear quarter. I will also be getting the font bumper done with the splitter fitted the once I can afford it the bonnet re-sprayed and made good.

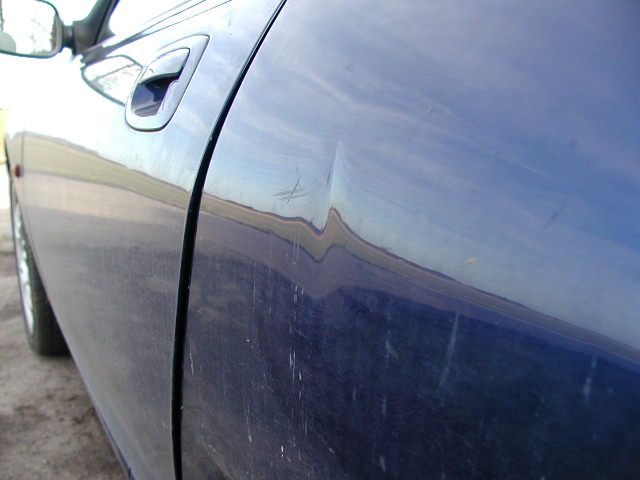
The dented doors will be changed for the ones off the Blue VVC donor. Have also arranged to have the leather seats, door cards and arm rest etc restored once finances permit.

Please Log in to join the conversation.

"Blue 33" so now named. 9 years 7 months ago #149310

:broon: Good to hear of the progress. :yesnod:
David
:shrug:

Please Log in to join the conversation.

"Blue 33" so now named. 9 years 7 months ago #149703

Popped into the body shop late Thursday afternoon to see progress and ask if any problems had been found, yes one the O/S/R sill arch also had a hole in it once the rust had been ground back. On the surface the paint was only slightly bubbled but as we know these rust from the inside so that has been cut out, treated and plated and once sprayed will not show. This has added £25 to the bill. It should be in colour today and ready Monday or Tuesday. Stewart won't allow them out until they have had time to harden off and he can inspect the colour match and finish outside in day light. As I am in no mad rush this is fine by me. We discussed the bonnet, and bumpers as these are on the to do list as and when the finance is available. Whilst it would be nice to get it all done at once the cost is simply too much for the budget.
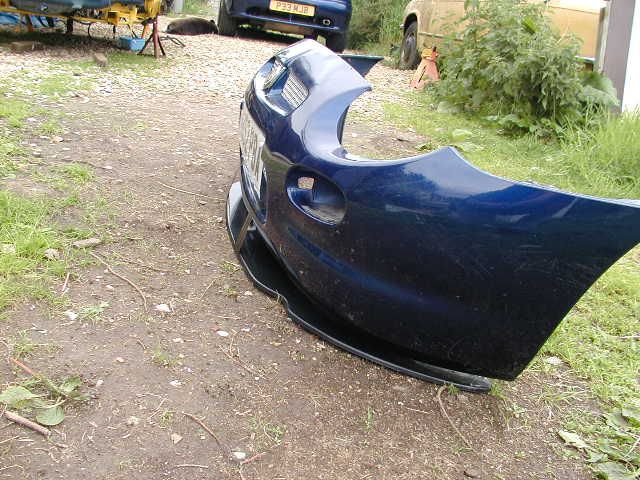
When he does the front bumper it will have the splitter fitted and painted at the same time. This is the one that I acquired:-


Mocked up in position on the bumper off the VVC donor. Once fitted and sprayed Tahiti blue it should look fine.

Please Log in to join the conversation.

"Blue 33" so now named. 9 years 7 months ago #149900

Well Monday afternoon "Blue 33" got a non leaking exhaust fitted. Yes I finally braved cutting her original Unipart one off and fitted the GTX box with it's re-welded N/S hanger that came on "Elsie" along with the Down/front pipe also off "Elsie". before fitting all flanges were cleaned and draw filed flat for the gaskets to seal against and I am pleased to report that she does not bang and pop on over run. "Elsie" used to with it butt his was down to badly fitted flanges. the downpipe to manifold joint had weld splatter still on the face. No wonder it leaked.

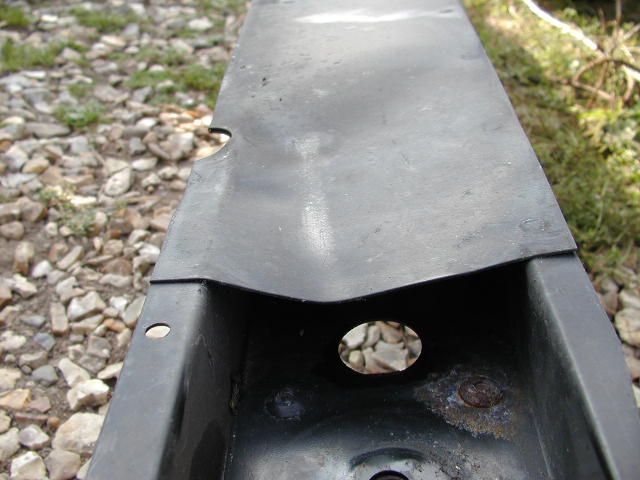
Problems found were the heat shield broke due to being brittle and a rust blister in the boot floor became a hole with poked with a cold chisel. So that needs to be repaired and some heat reflecting material sourced and procured then fitted to the under side of the boot floor.

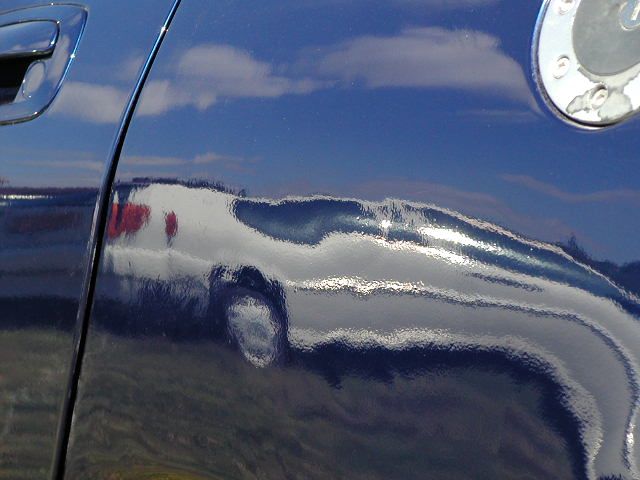
I am sorry to report that "Blue 33" has to return to the body shop for this repair and some defect correction in the new paint. When I picked her up after being stood out in the rain she was covered in dust craters from the rain over the weekend so one could not see these small defects. It was only once she was back home and washed with G3 pre cleaner than they showed up and I find them unacceptable. So will speak to the painter this morning and arrange for the remedial work and the boot floor repair..

Once I get back for the Hospital, assuming I am feeling ok, will take some photos of her sporting her new exhaust and paint.

The next bit of paint to be sorted I think will be the boot and the rear bumper and sills under the doors to the front wings. This will make it more harmonious in appearance.Then once that is done we can get to the front of the car until it's all sorted.
The following user(s) said Thank You: David Aiketgate

Please Log in to join the conversation.

Update with photos 9 years 7 months ago #150080

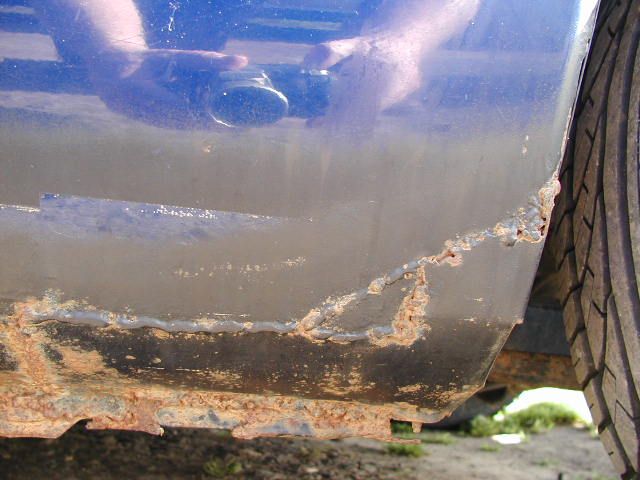
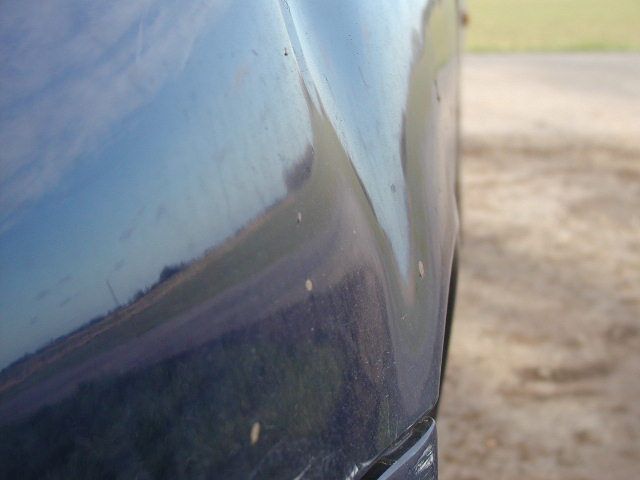
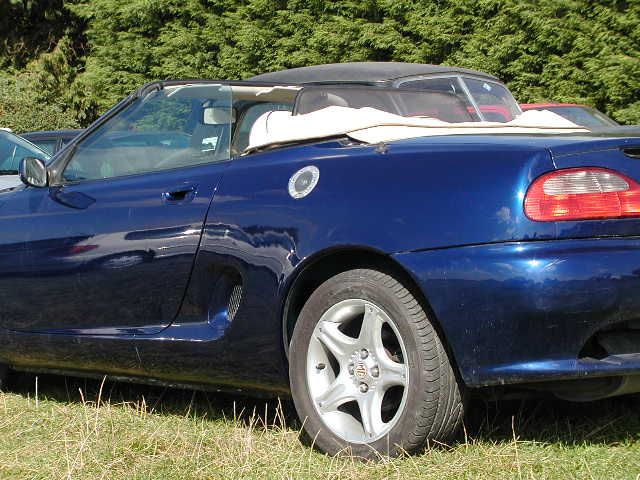
Well "Blue 33" now has far less dents than before and two decent rear edge sills:-


That was the abortion done by a local garage for the MOT pass last February and would you believe it took the chap nearly three hours to make that mess!!!

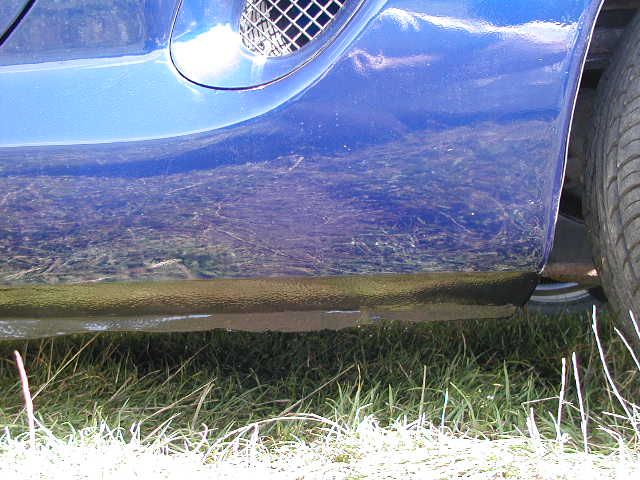
Anyway it now looks like this:-


The O/S also had rust bubbling which has now been removed and repaired:-


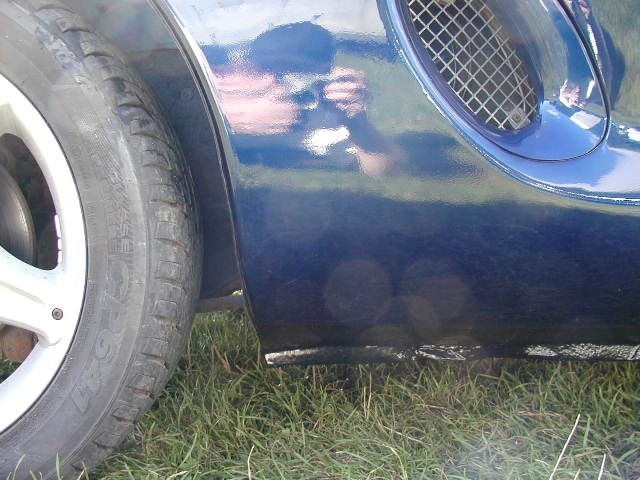
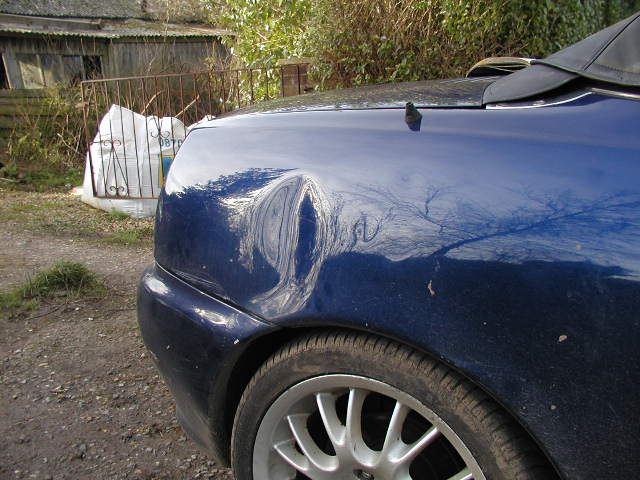
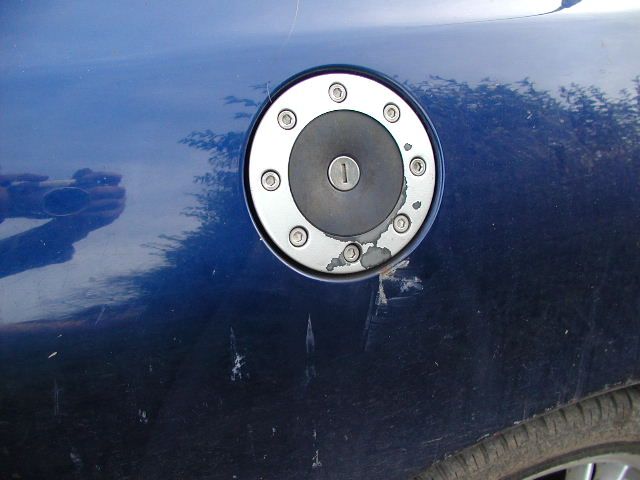
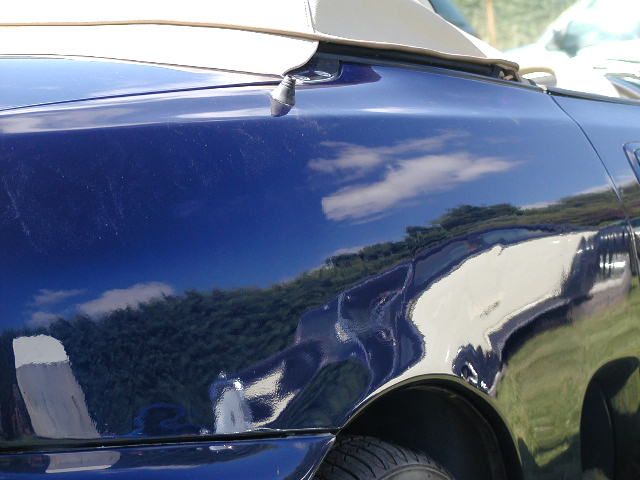
The rest is better from this:-


To this:-


but not perfect so the small dents missed and paint imperfections are being sorted in late October at the same time as the boot floor is repaired and the boot lid, rear panel and bumper are also re-painted.

Am not sure what happened but this is NOT up to his usual standard of work. When I collected the car it had been out side over the weekend and it had rained so was dirty with dust craters from the rain and the faults and imperfections could not be seen. It was not until I washed the car using G3 pre wash that they were noticeable. Having spoken to the painter this is not a problem and it was me that suggested waiting so he could do the other panels at the same time.
The following user(s) said Thank You: David Aiketgate

Please Log in to join the conversation.

"Blue 33" so now named. 9 years 7 months ago #150851

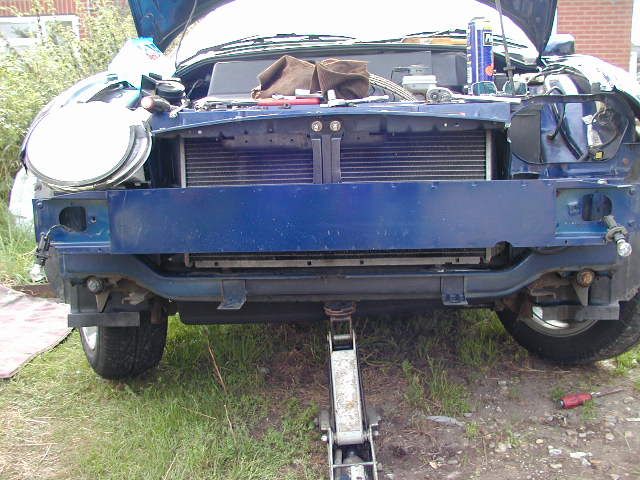
Decided it was time well over due to replace her front bumper. By the N/S indicator was a hole which looks to have been made by a tow bar???

On removing the bumper it was a shock to discover that this had not been a mild bump and that the armature was bent:-


Am wondering now considering the rest of the dents in her body work if this was deliberate? Anyway as luck would have it the one from the Blue VVC donor is in good condition so that was cleaned and fitted:-


using new stainless nuts and bolts.

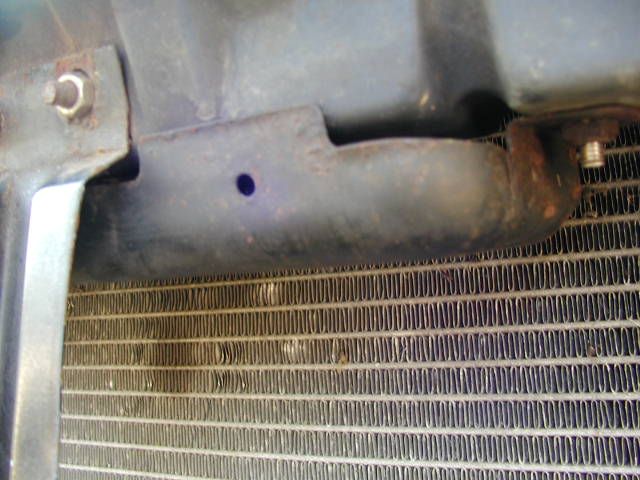
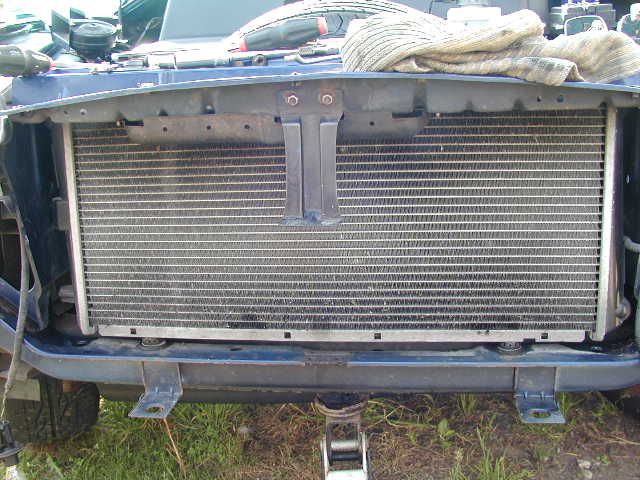
Once the old one was off it was a good time to clean under it and inspect the radiator condition. It looks like at some point she has had a replacement fitted:-


Also fitted the bonnet catch guard form the donor as hers was brutalised on the road side when the bonnet cable snapped on the way home with a blow out.

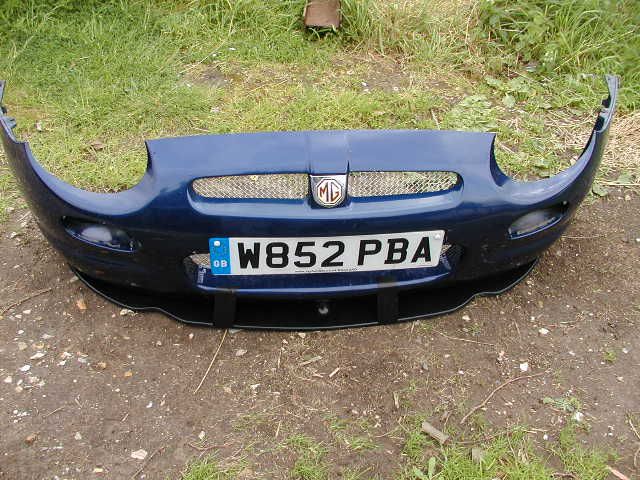
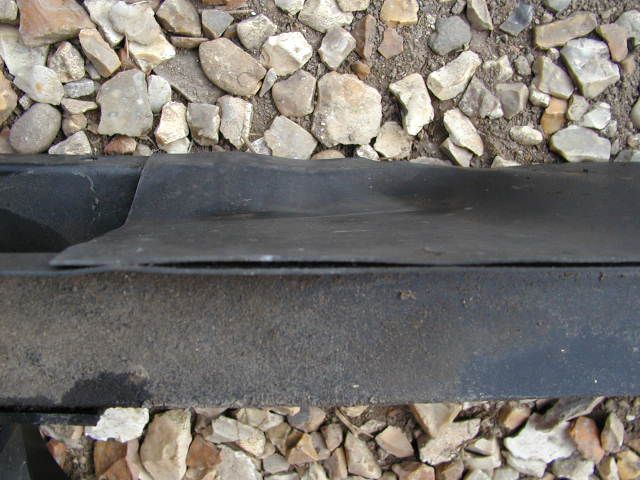
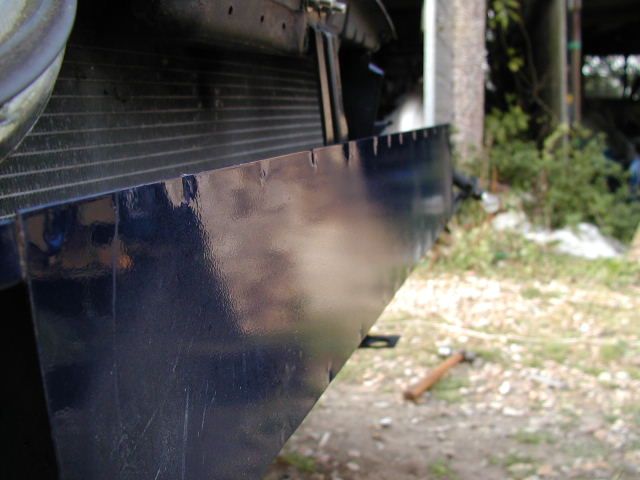
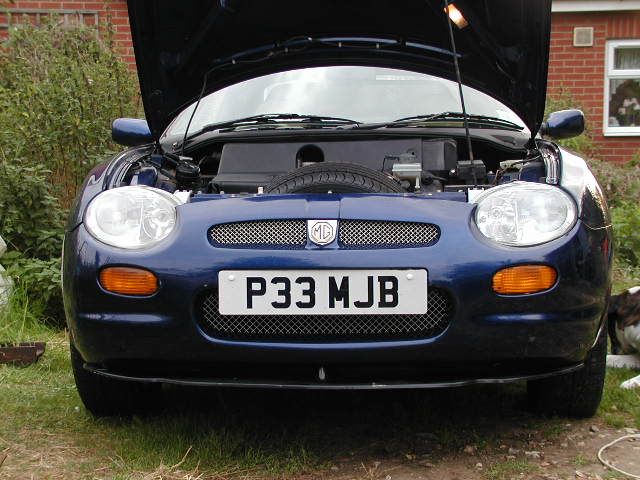
Before fitting the bumper off the donor VVC I measured up the centre line and offered up the splitter that I acquired in part trade for the VVC engine. Then once in the right place drilled the bumper and bolted it in place:-


The lower aperture mesh is the original sprayed silver. The top mesh is stainless.


As you can see I had my helper with me. No bonding stuff was used as it has to come off for the splitter and bumper to be sprayed at some point in the not too distant future. Next job is to replace the under floor pipes, along with an oil and filter change. She is coming along slowly.
The following user(s) said Thank You: cairnsys

Please Log in to join the conversation.

"Blue 33" so now named. 9 years 7 months ago #150877

Certainly a labour of love :yesnod:
You will be well pleased when it all comes together, due to the time & effort put into the project :broon:
By the way, the M/S heater knobs you sent are now fitted & look fine :woohoo:

Please Log in to join the conversation.

"Blue 33" so now named. 9 years 7 months ago #150885

Certainly a labour of love :yesnod:
You will be well pleased when it all comes together, due to the time & effort put into the project :broon:
By the way, the M/S heater knobs you sent are now fitted & look fine :woohoo:


Glad you like them. As you might gather my still having "Blue 33" here that I was not so keen on them or they would have been put into her. On the want list from Mike Satur is the gear change quadrant upgrade but that will have to wait.

Please Log in to join the conversation.

Time to create page: 0.132 seconds
© 2024 The-T-Bar.com All Rights Reserved. Hosted By SEBS IT