It's been a while, I had a week off of work that I planned to solely spend on the car; alas like the best laid plans, that didn't happen....
However in the odd hour or two I've managed to snatch, firstly I removed the sump again, put another thick coat of white Hammerite on it, refitted, damn thing leaked like a sieve (not enough silicone) remove the sump again, another nice coat of Hammerite whilst it was off, refitted again, no leaks this time....
...realised I'd forgotten to put the sump baffles back in, removed the sump again, half way through putting silicone on to realise I'd run out of silicone, got annoyed and left the thing in bits for a day or two to sulk....
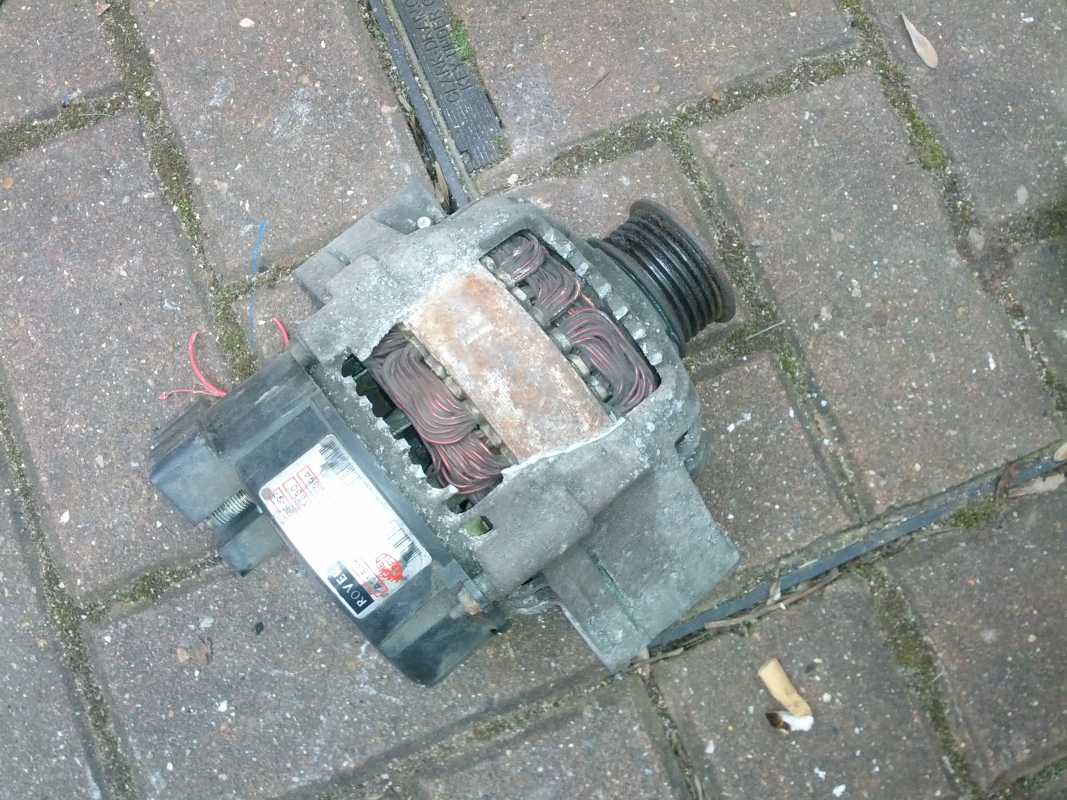
Swapped the alternator out for the exploded one... This is jammed solid and a post mortem revealed it was nothing but "cattle-trucked" inside....
Yeah, your guess is entirely as good as my one....
On went the new exhaust manifold (again) I need to slice off the mount for the OS heatshield (can be seen bent up in this picture) as the bolt was entirely round when I went to remove it... bugger!
And eventually the sump went on, as did the new mid-section.
Oh, white makes it dead easy to spot leaks, also a suspect "weep" can be identified by wiping the sump with a rag to clean it, then the leak is dead-easy to locate! A tip I learned from kit-car building.
Then I had a problem with the cat...
No, not Henry gaw'd-bless-im, but the catalytic converter, frankly this is only for the MOT, and I mashed the bolts up trying to split the catalyst from the downpipe and backbox long ago, I just sliced it all out with an angle grinder and threw it in a heap, now it was time to reclaim the catalyst.
"Serious" cordless angle-grinder, every home should have one! Nearly £380 one of these will set you back though! As an aside if you're in a trade I can't rate Metabo tools enough, I won't use anything else now!!
I cut the catalyst free, but the damn bolts would not budge out of either end of the catalyst, I tried all the usual methods including propane torch, freeze-spray and even my 16lb 'Percy', nothing would move them.... As the catalyst is for "MOT day only" I've found a method of removing the splined bolts, it's a bit destructive though:
I cut a slot though the mounting flange of the catalyst and in to the splined remainder of the bolt to release the compressing force on the bolt, then with a deft blow with a club hammer they all just popped out...
The culprits, these had nearly welded themselves in to the catalyst.
Some bolts I had kicking about just to fit the catalyst for now....
Ta-da!
Oh, and this to the naked eye looks like perfectly flat and smooth underseal (this is two coats worth) however the camera flash tells a rather different story....
That's it for now!
Regards,
Andy


 bit outside my budget for now....... but you are scaring the life out of me .. I haven't jacked mine up yet and had a good look underneath ... got a few rust spots alreadyto sort ....so bracing myslef for the worst !