Gel Bonnet, Boot and Wheel Centre badges.
- Leigh Ping
-
 Offline
Topic Author
Offline
Topic Author
- Moderator
-

Registered
- Posts: 6840
- Thanks: 1634
Gel Bonnet, Boot and Wheel Centre badges. was created by Leigh Ping
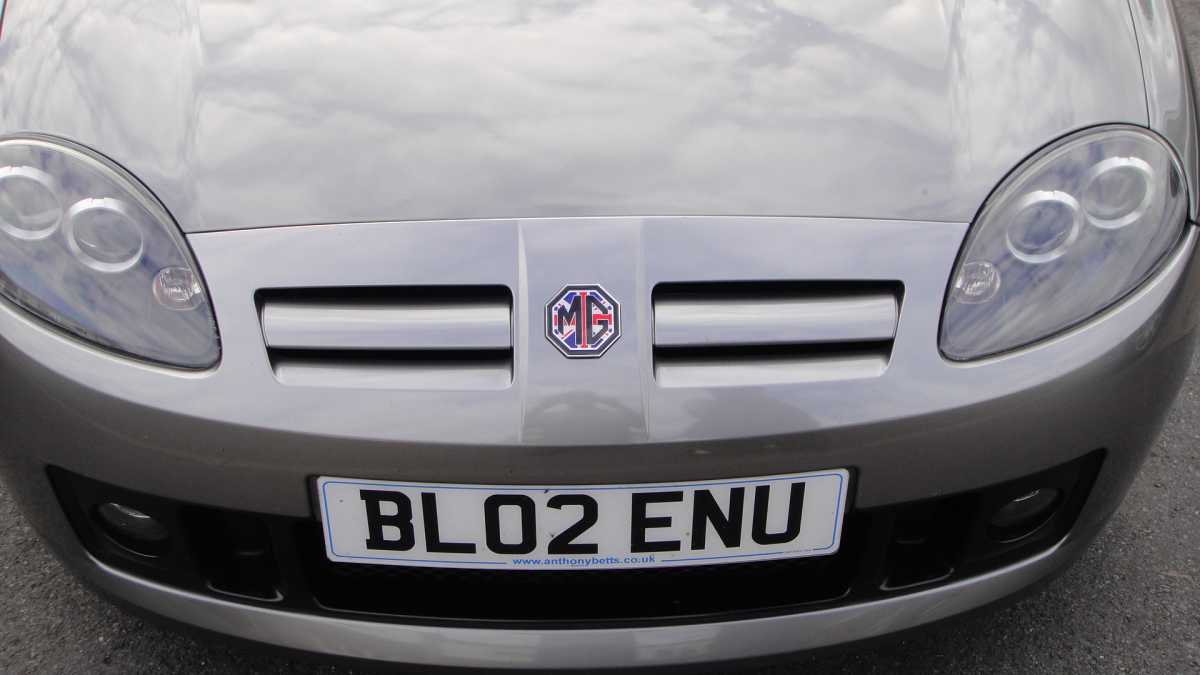
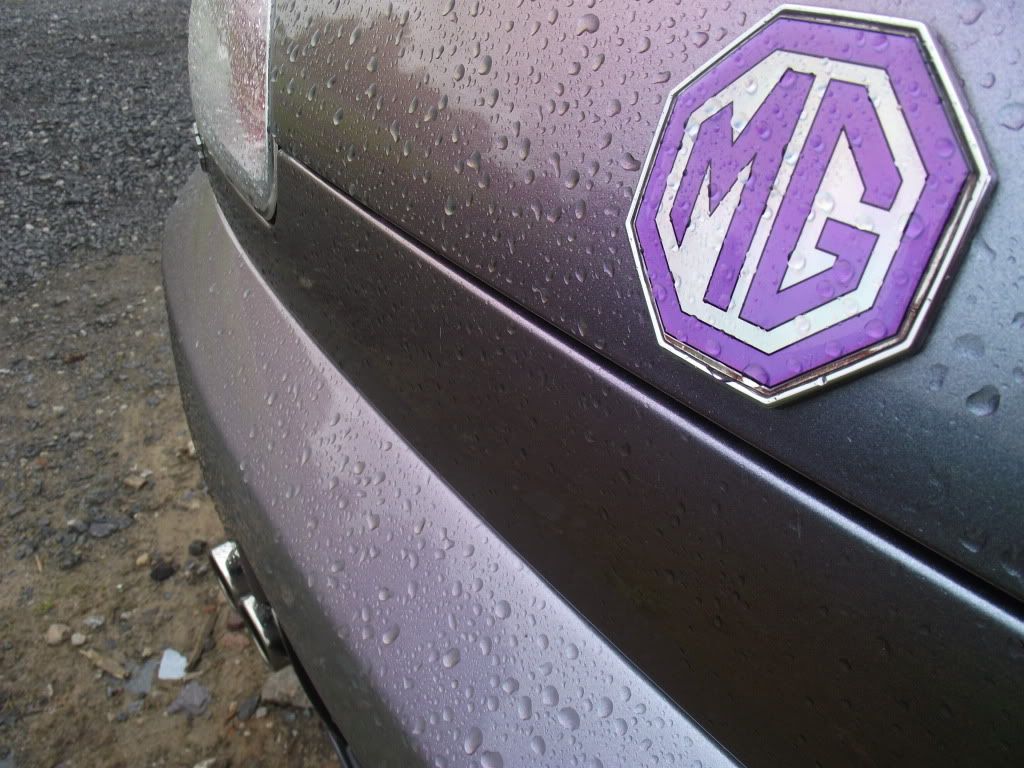
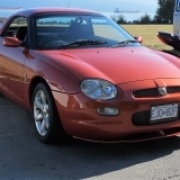
Posted 14 years 1 month ago #53422They looked so nice I thought I'd grab a couple from the same place - Capricorn1 (click here). One for the bonnet and one for the boot.
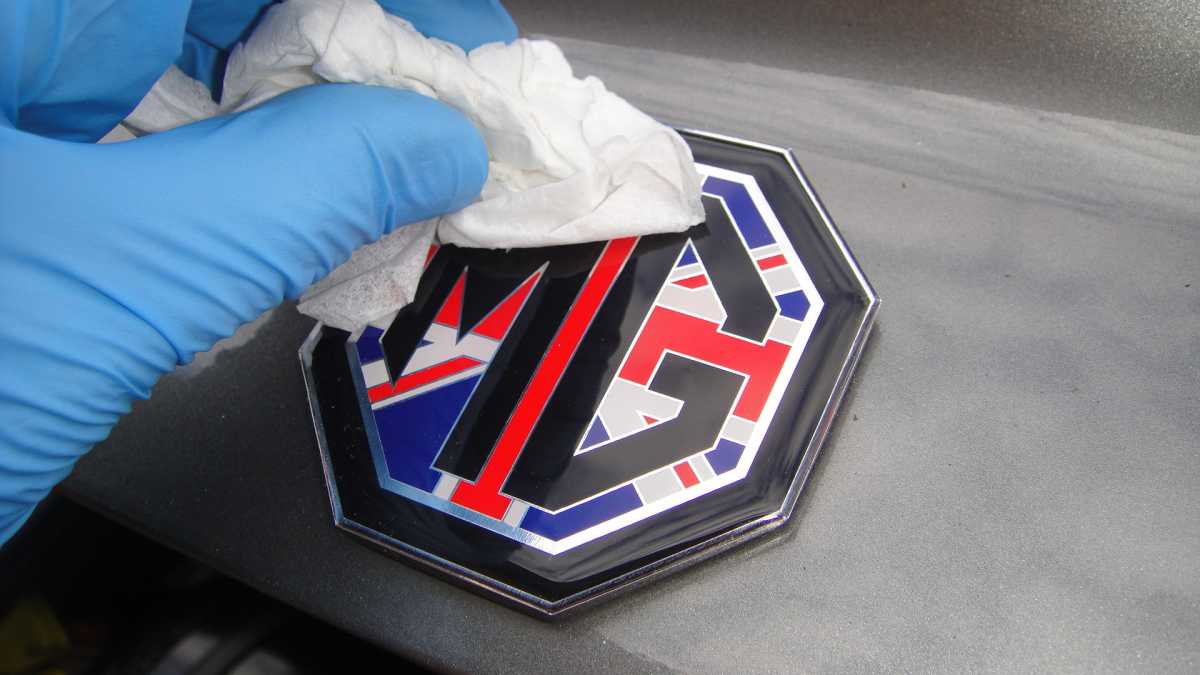
The badges I got were good quality domed gel badges, 70mm in size and seemed to fit pretty well, with a tiny overlap (approx 2mm). Judge for yourself how they look on the car. They cost £10.50 for two including postage, and took only a couple of days to arrive.
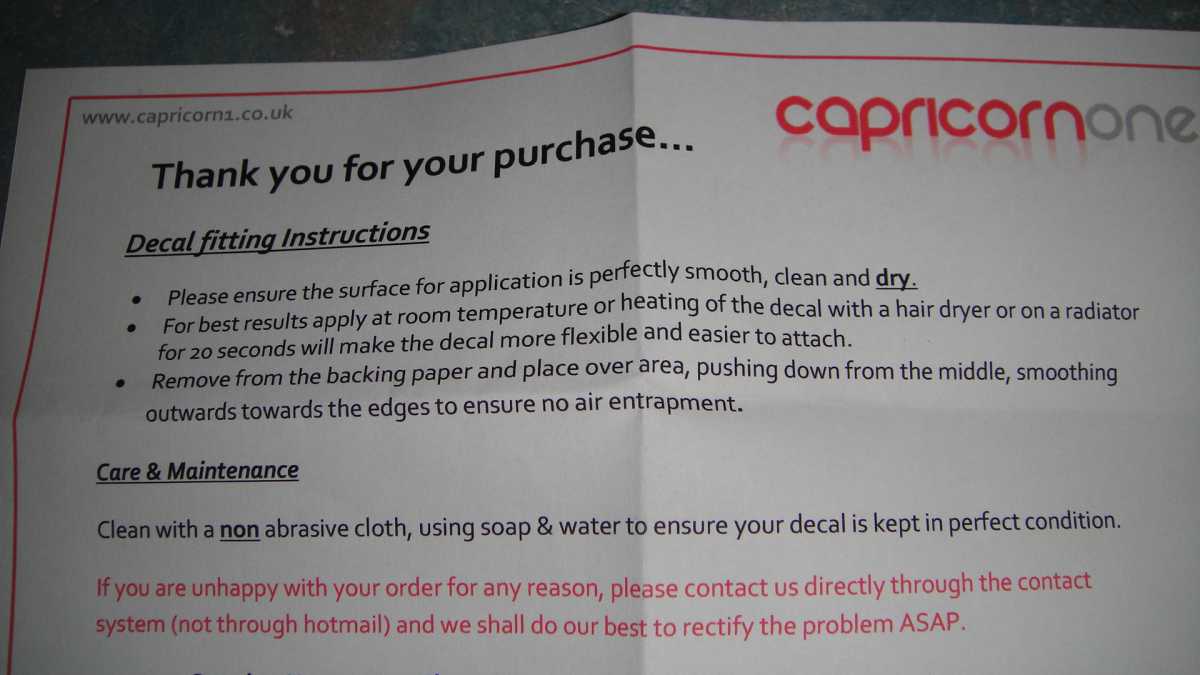
So, let's get them on the car. Instructions are included.
Here's what I used for the job -
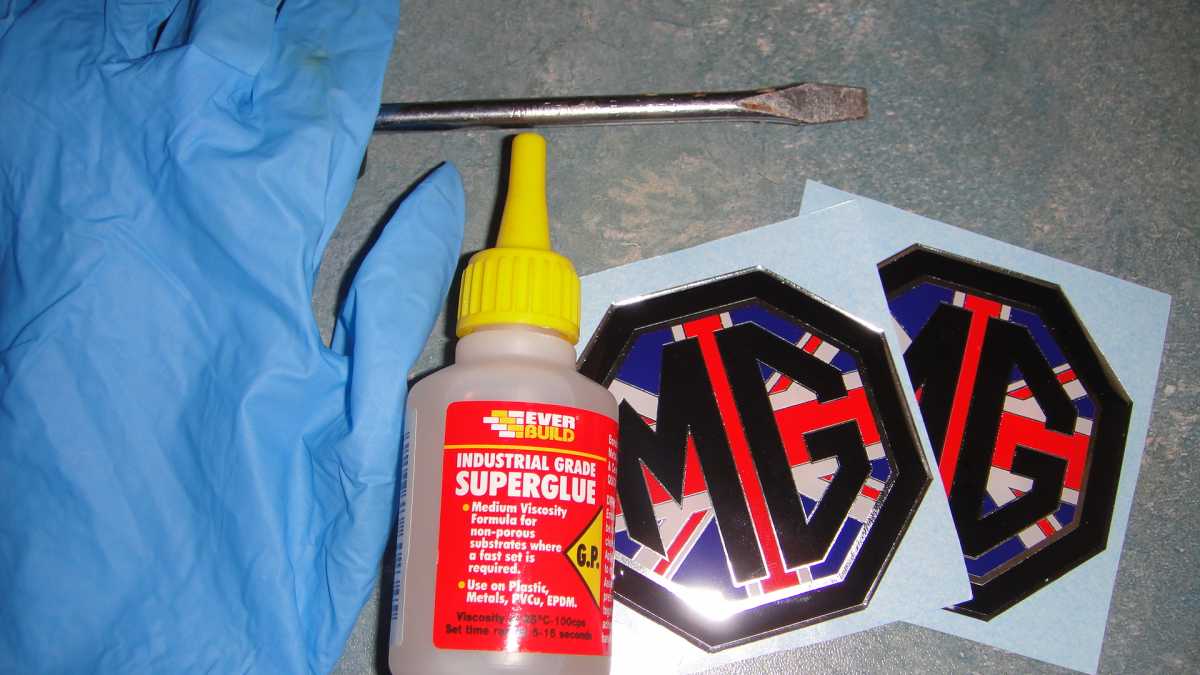
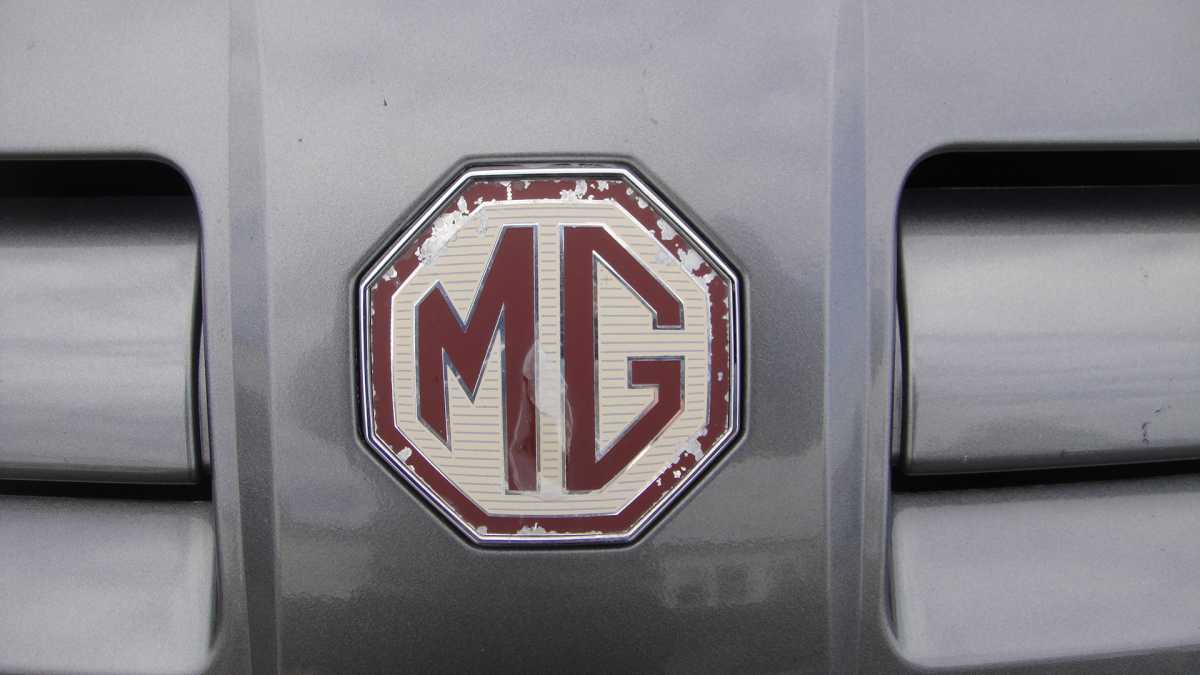
My original badges were tatty, appeared painted on with a plastic cover over the top of them. The covering had perished and was flaking off causing the painted badge to flake too. So, I cleaned up the surfaces ready for sticking the new badges on. I didn't go too mad, just merely removed the loose plastic covering where it was flakey.

Peeling the backing paper off revealed a sticky reverse side on each badge. But, for extra security I used a drop of superglue which I applied to the old badges on the boot and bonnet.
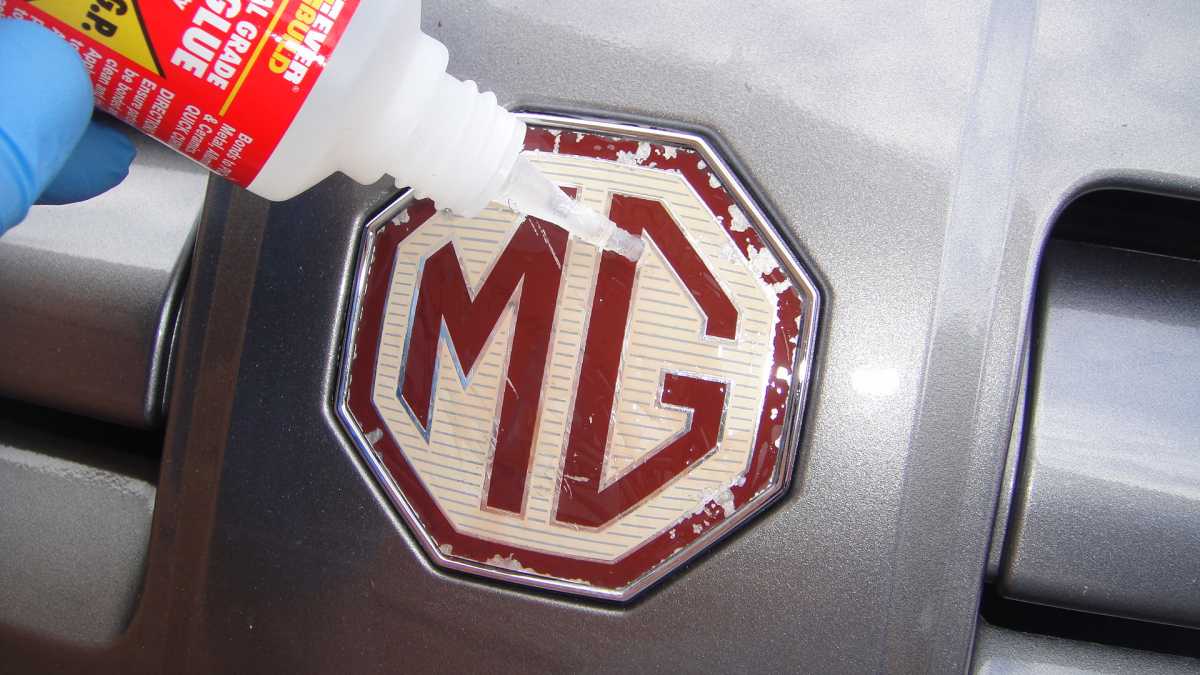
Then I simply positioned them over the old badge and pressed down gently to secure them.


Attachment DSC04026.JPG not found
My 9 month old Grandson 'CJ' (No relation to 'CJJ')
") certainly liked them.
certainly liked them. 
Attachment DSC04040.JPG not found
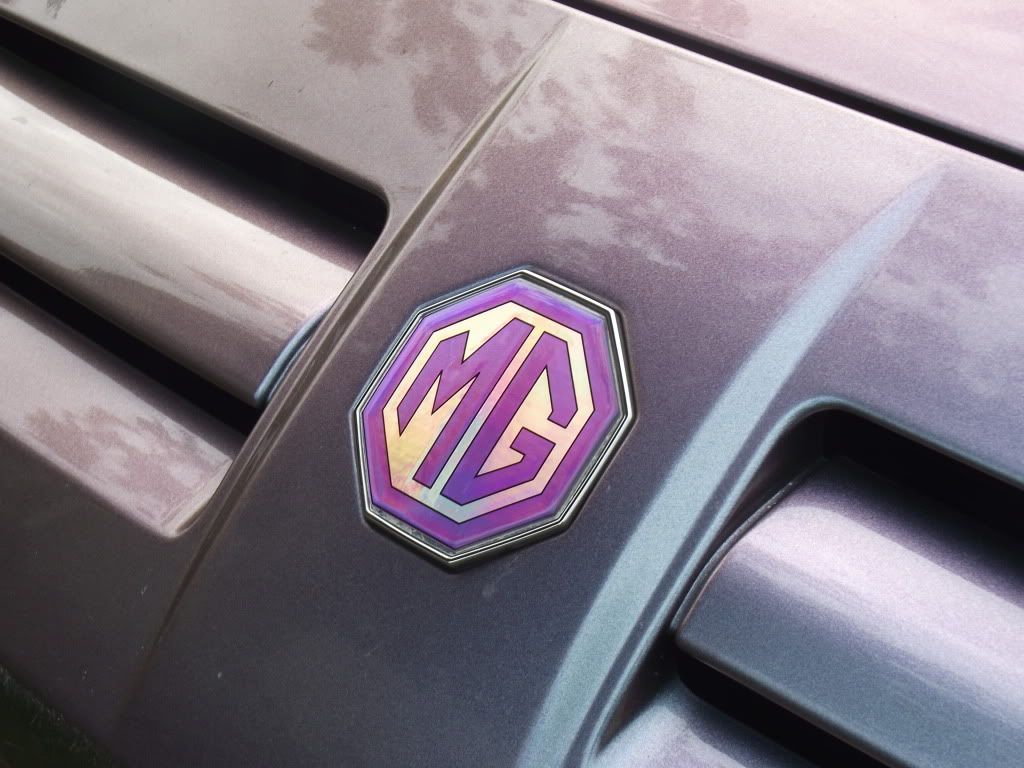
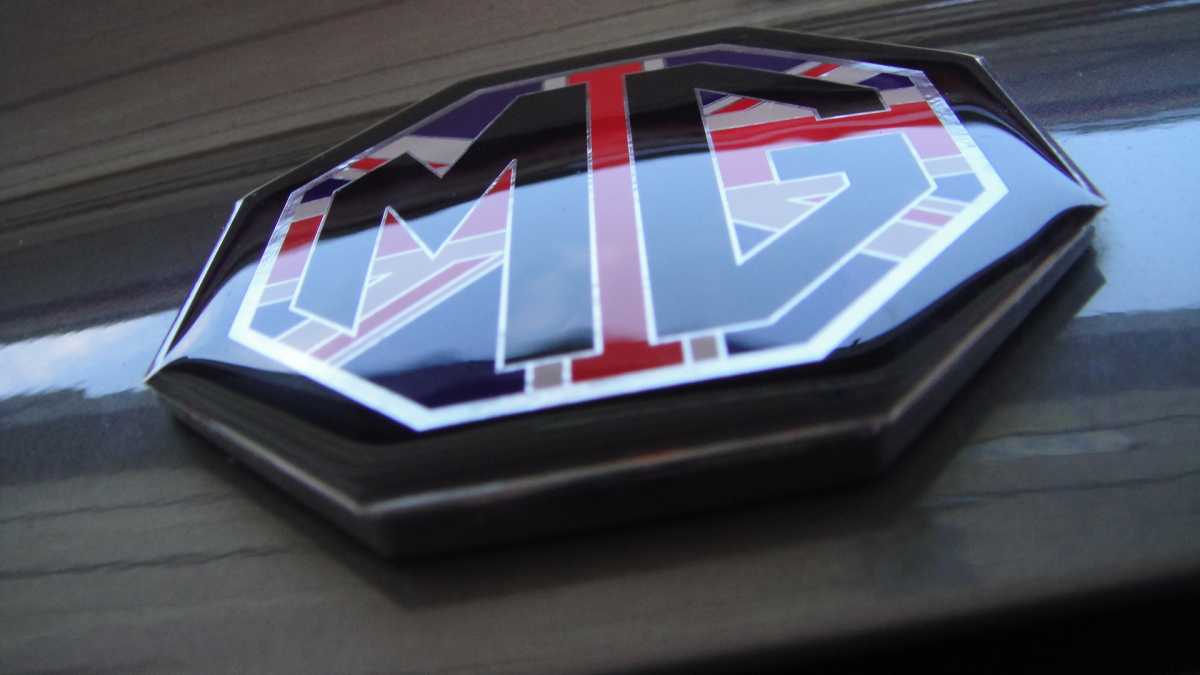
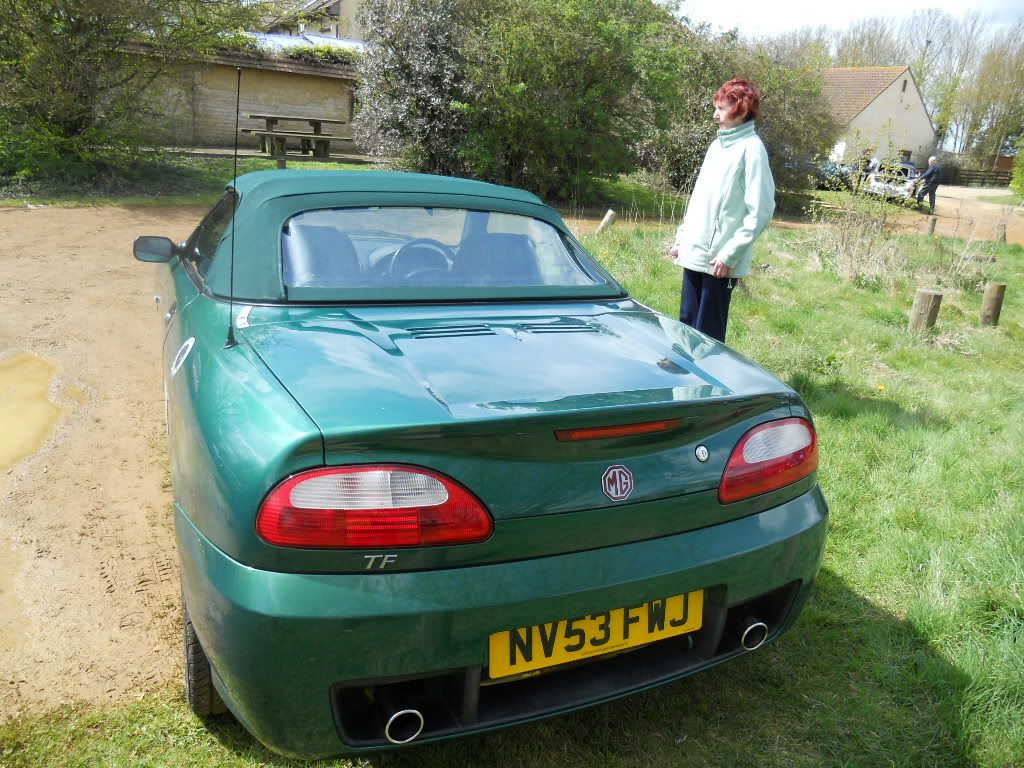
Here's Maggies' gorgeous car showing how nice they are in a different tone.
pendle lass wrote: I've had a shiny cigarette lighter in but I've been blowing the fuse so I put the tatty standard one back in but a bit of thinking during the week and we have gone from this
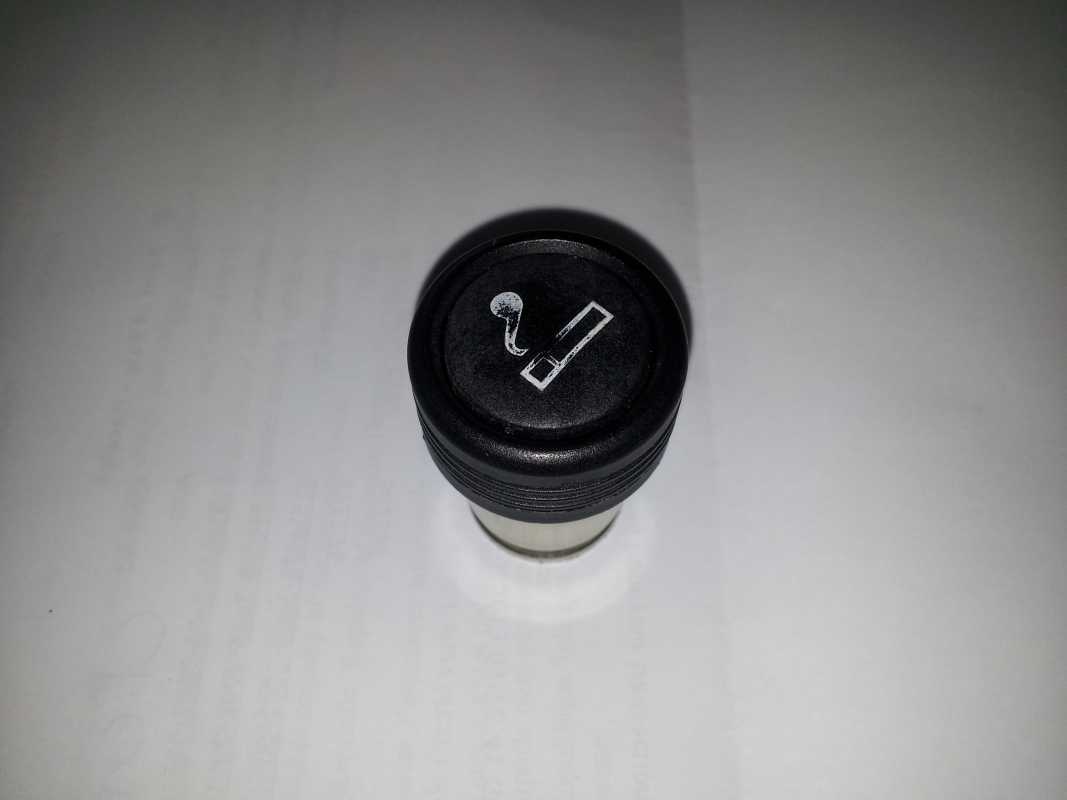
to this
thanks to Daz at locking vinyl.... a little gel badge.... its all in the detail
[email protected] - Daz, Locking Vinyl.
")
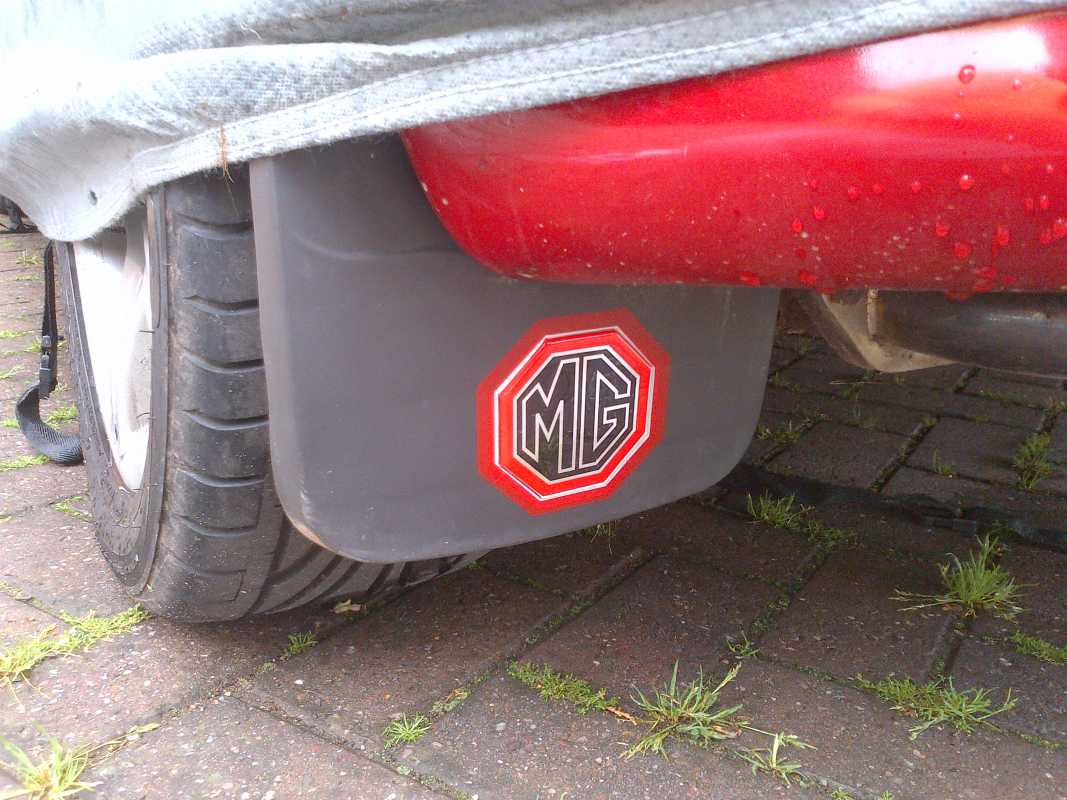
Softly~Softly 'Jans' car showing how the badges look on her tasty flaps.


Three Pics showing the slight overlap (approx 2mm). Unnoticeable unless you zoom in.


All in all the job's a good un!
Please Log in or Create an account to join the conversation.
Replied by bensewell on topic Re: Gel Bonnet, Boot and Wheel Centre badges.
Posted 14 years 1 month ago #53425Please Log in or Create an account to join the conversation.
- a Guest
- User
-

Public
- Thanks: 0
Replied by a Guest on topic Re: Gel Bonnet, Boot and Wheel Centre badges.
Posted 14 years 1 month ago #53429 Please Log in or Create an account to join the conversation.
- Rich in Vancouver
-
 Offline
- Senior MGer
-

Registered
- Posts: 1882
- Thanks: 666
Replied by Rich in Vancouver on topic Re: Gel Bonnet, Boot and Wheel Centre badges.
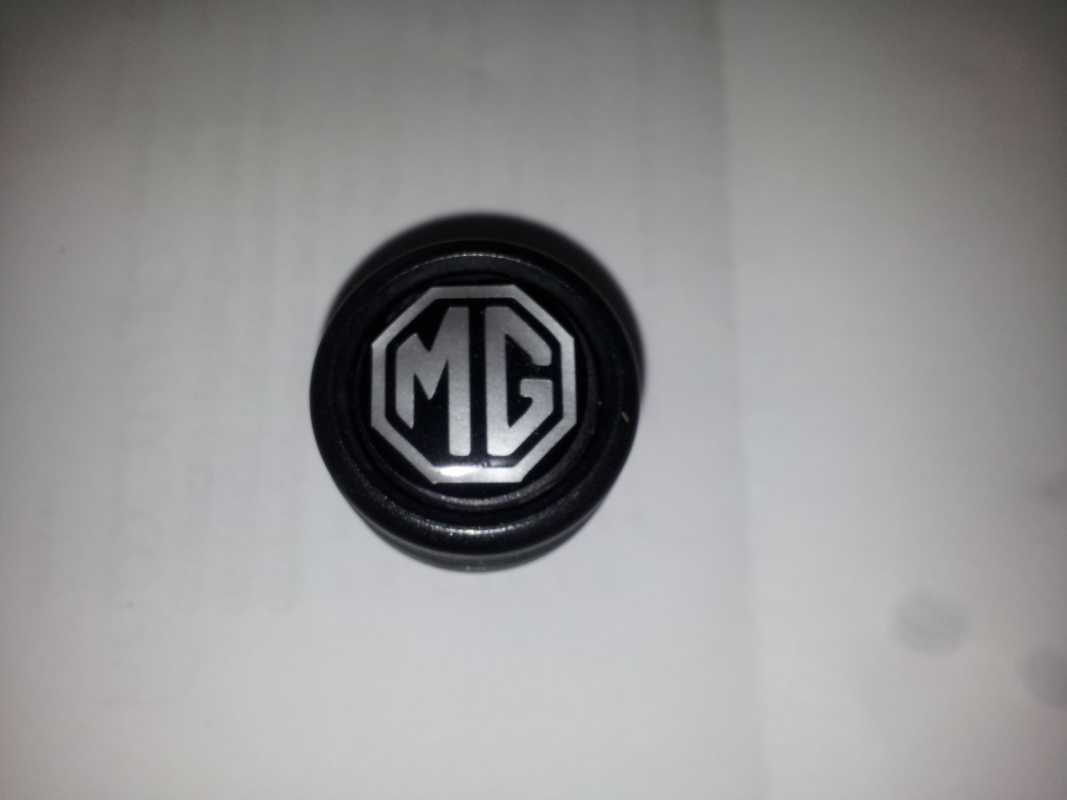
Posted 14 years 1 month ago #53436I also put one on my steering wheel, but in hindsight should have removed the raised area underneath to make the badge
fit better.
I don't think anyone has mentioned yet that their prices are excellent.


Please Log in or Create an account to join the conversation.
Replied by bensewell on topic Re: Gel Bonnet, Boot and Wheel Centre badges.
Posted 14 years 1 month ago #53446I'm liking the look of these very much.
Please Log in or Create an account to join the conversation.
- Leigh Ping
-
Offline
Topic Author
- Moderator
-
Registered
- Posts: 6840
- Thanks: 1634
Replied by Leigh Ping on topic Re: Gel Bonnet, Boot and Wheel Centre badges.
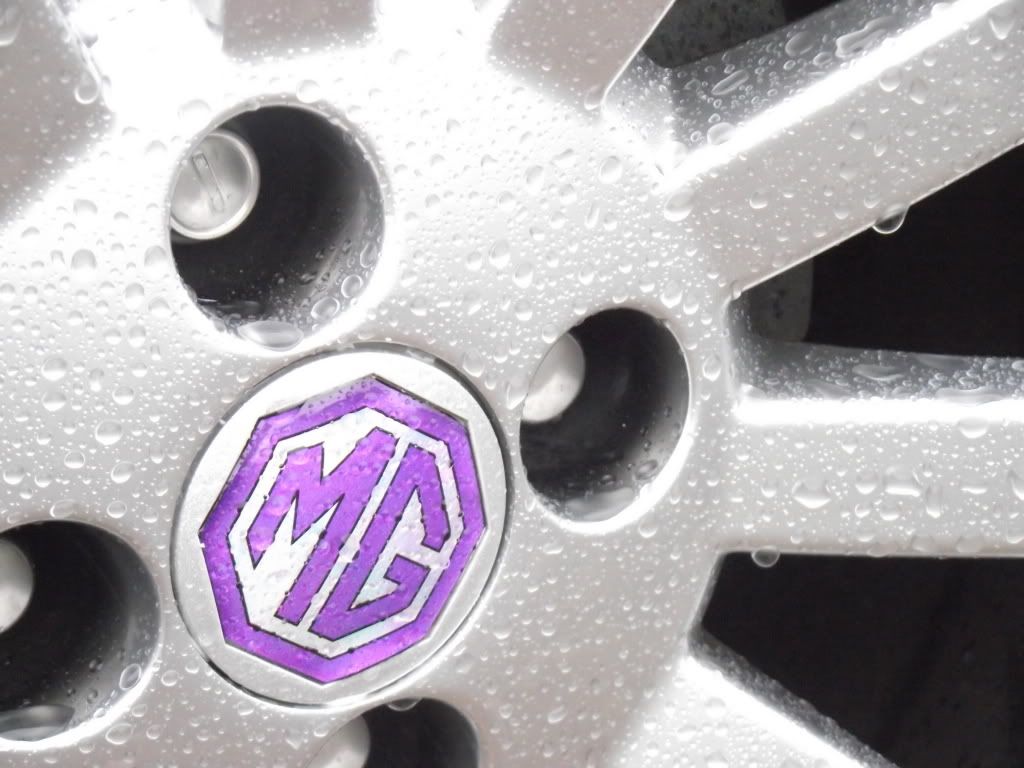
Posted 14 years 1 month ago #53449They are good quality and, as stated, reasonably priced. They do look good on both Maggie and Rich's wheels don't they.bensewell wrote: What size are the ones for the wheel middles?
Search for 'MG' in the search box here. Scroll through, there's loads of them in differing sizes, for lots of different places.
Please Log in or Create an account to join the conversation.
Replied by bensewell on topic Re: Gel Bonnet, Boot and Wheel Centre badges.
Posted 14 years 1 month ago #53456Or ones that clip into the wheel middles you have like below:
I would love union jack wheels too but would look too cramped.

Please Log in or Create an account to join the conversation.
- makemineatriple
-
 Offline
- Apprentice MGer
-

Registered
- Posts: 19
- Thanks: 2
Replied by makemineatriple on topic Re: Gel Bonnet, Boot and Wheel Centre badges.
Posted 14 years 1 month ago #53463Please Log in or Create an account to join the conversation.
- Rich in Vancouver
-
Offline
- Senior MGer
-
Registered
- Posts: 1882
- Thanks: 666
Replied by Rich in Vancouver on topic Re: Gel Bonnet, Boot and Wheel Centre badges.
Posted 14 years 1 month ago #53484
Please Log in or Create an account to join the conversation.
- Leigh Ping
-
Offline
Topic Author
- Moderator
-
Registered
- Posts: 6840
- Thanks: 1634
Replied by Leigh Ping on topic Re: Gel Bonnet, Boot and Wheel Centre badges.
Posted 14 years 1 month ago #53489 Please Log in or Create an account to join the conversation.
Replied by Stan_B on topic Re: Gel Bonnet, Boot and Wheel Centre badges.
Posted 14 years 1 month ago #53502

Please Log in or Create an account to join the conversation.
- a Guest
- User
-
Public
- Thanks: 0
Replied by a Guest on topic Re: Gel Bonnet, Boot and Wheel Centre badges.
Posted 14 years 1 month ago #53535 Please Log in or Create an account to join the conversation.