Removing and replacing hydragas spheres.
- David Aiketgate
-
 Offline
Topic Author
Offline
Topic Author
- David
-

Super Users
- mgf mk2 freestyle mpi 16" wheels, in Anthracite.
- Posts: 20627
- Thanks: 4583
Removing and replacing hydragas spheres. was created by David Aiketgate
Posted 10 years 8 months ago #163311
A lot of this has already been covered , so I will shamelessly use this excellent
HOW TO
to show how to de-pressurise the Hydragas system - by Aussie member IPEX-731BA5DD06
Now, The sphere removal procedure has been elegantly covered in this HOW TO by another Aussie - GIR, so I've stolen his photos and some of his descriptions, because it was [strike]pi[/strike]... raining when I removed my spheres.
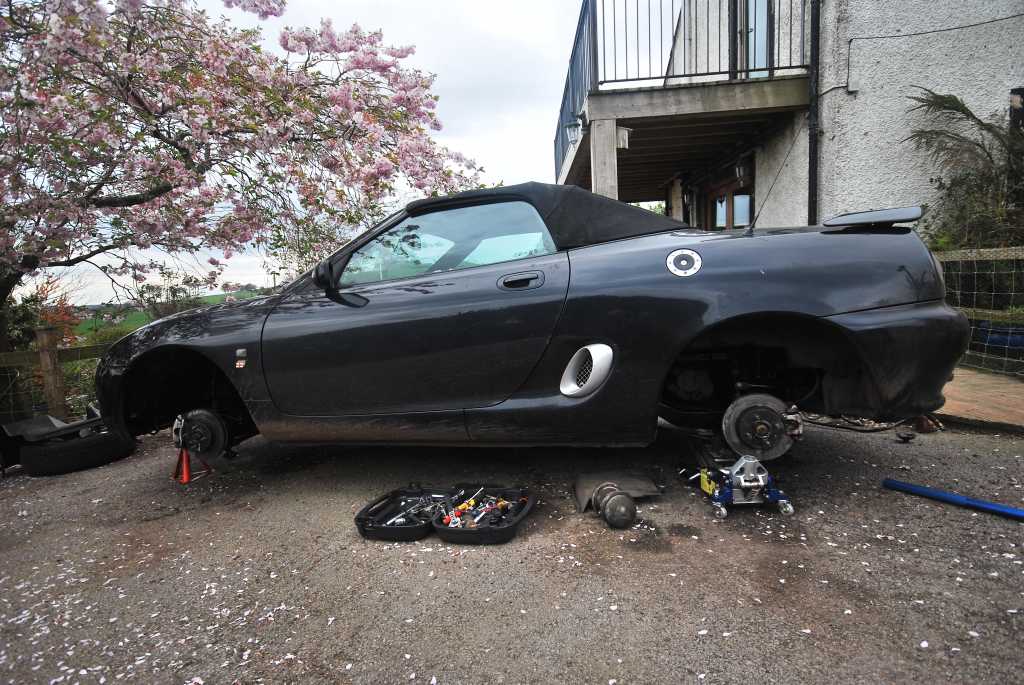
I was removing all 4 spheres so this covers both front and rear spheres.
Remove front and/or rear wheel.
Front
Remove the plastic wheel arch lining. It is secured by a number of metal screws around the edge as well as plastic screw clips.

To improve access to the hydragas bracket bolts, remove the damper first.
The bottom damper bolt is undone by a removing the 17mm nut while holding the 13mm bolt. This will be easier if you wire brush the threads and use releasing oil.

Remember the order of the fitting. Goes bolt, suspension, brake line bracket, spacer, washer, damper, concave washer, nut.
The top bolt is accessed on the passenger side by removing two bolts and moving the fuse box aside to allow greater room.

On the driver’s side unbolt and disconnect the horns.

Holding the rectangular top of the damper bolt with a 7mm spanner, undo the bolt with a 14mm spanner.
(sometimes you may find you need an allen key instead of the 7mm spanner)
With the damper removed it’s a straight forward process of removing the four 10mm bolts holding the Hydragas sphere mounting bracket. The bottom two bolts have fixed nuts behind the bracket, the 13mm securing nuts on the top two bolts are loose. If you have ABS there is a bracket held on by two of the bolts which also needs to be removed. It holds the ABS sensor wire.

Now undo the hydragas pipe which enters the sphere. On the offside this is easily reached but I found the brake master cylinder was in the way on the nearside. I ended up removing the pipe from where it meets the pumping valve and removing the pipe tail with the sphere.

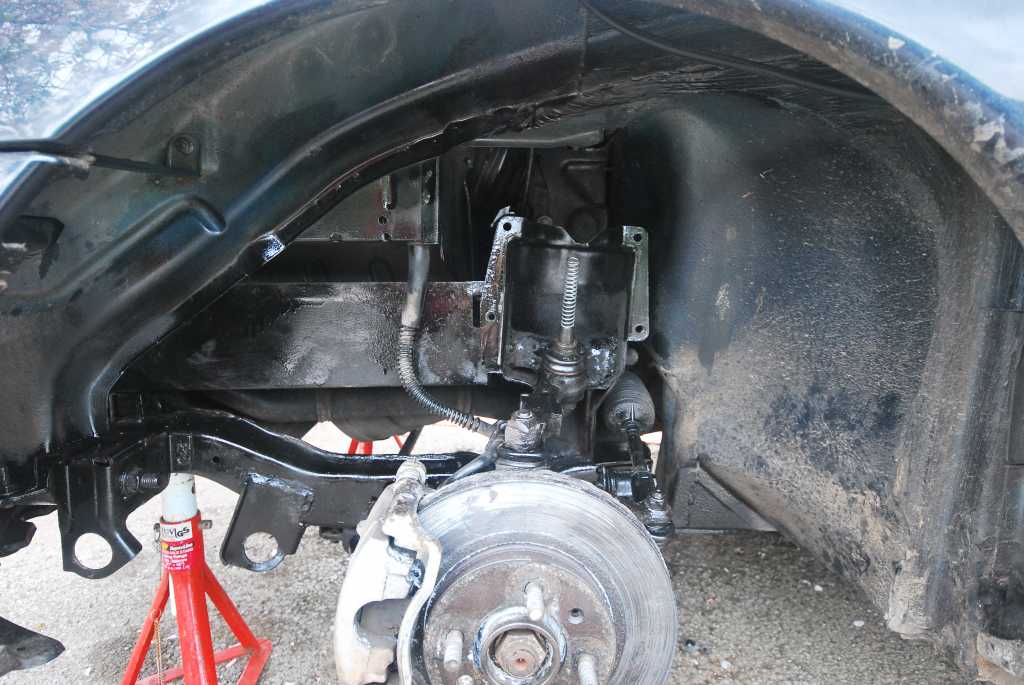
Once disconnected the displacer can be levered out of the mount.

Rear
The rear is much more difficult due to the limited access to the top two bolts and nuts on the sphere mounting bracket.
Remove the bottom damper bolt as per the front ones.

On the offside, the coolant bottle needs to be moved. It is secured by two bolts. Remove these and the top inflow pipe being careful not to spill coolant everywhere. Carefully move the bottle aside. This should allow access to the top bolt and the rear nuts of the sphere mounting bracket.


The nearside is more problematic. This involves removing the two bolts holding the ecu bracket. Remove two upper bolts on the bracket and slide the bracket upward so as to release the bottom rubber mount. You can now push the ecu away from the bulkhead and you can now access the nuts on the top bracket bolts.
Now, depending on your car, you may have a number of things still in the way. Depending on the air filter setup in your car, this may have to be removed.
Because I have a Viper CAF system I could access the necessary nuts and bolts without any further dismantling.

After removing the damper, you may wish to release the antiroll bar to allow extra suspension movement, though I found this not to be necessary.

With difficulty, remove the four 10mm bolts securing the sphere mounting bracket, (the 2 rearmost bolts also hold a bracket for the speed sensor cable) remembering the top two13mm nuts are not fixed, (I used a 1/4 drive ratchet on these) and remove the bracket.
As per the front, undo the hydragas pipe from the sphere. If you do not plan on removing the pipes completely it would be worthwhile securing them to something at this point so they don’t flap around.
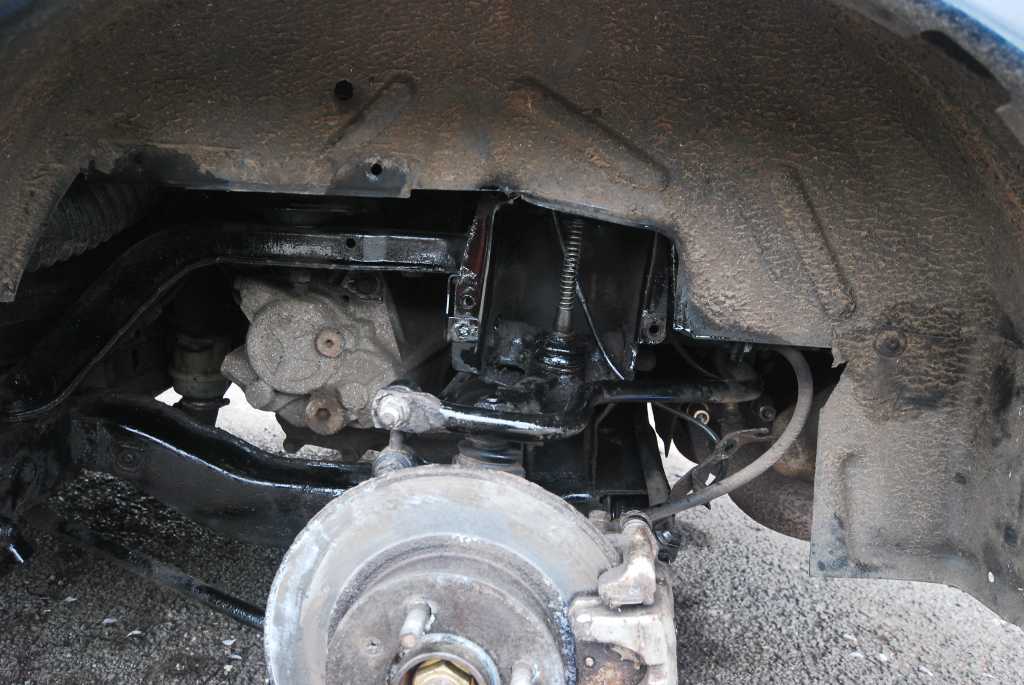
The sphere can now be removed, I took both rears out through the wheel arches.
I now had this:-
Rear
Front
Now, The sphere removal procedure has been elegantly covered in this HOW TO by another Aussie - GIR, so I've stolen his photos and some of his descriptions, because it was [strike]pi[/strike]... raining when I removed my spheres.
I was removing all 4 spheres so this covers both front and rear spheres.
Remove front and/or rear wheel.
Front
Remove the plastic wheel arch lining. It is secured by a number of metal screws around the edge as well as plastic screw clips.
To improve access to the hydragas bracket bolts, remove the damper first.
The bottom damper bolt is undone by a removing the 17mm nut while holding the 13mm bolt. This will be easier if you wire brush the threads and use releasing oil.
Remember the order of the fitting. Goes bolt, suspension, brake line bracket, spacer, washer, damper, concave washer, nut.
The top bolt is accessed on the passenger side by removing two bolts and moving the fuse box aside to allow greater room.
On the driver’s side unbolt and disconnect the horns.
Holding the rectangular top of the damper bolt with a 7mm spanner, undo the bolt with a 14mm spanner.
(sometimes you may find you need an allen key instead of the 7mm spanner)
With the damper removed it’s a straight forward process of removing the four 10mm bolts holding the Hydragas sphere mounting bracket. The bottom two bolts have fixed nuts behind the bracket, the 13mm securing nuts on the top two bolts are loose. If you have ABS there is a bracket held on by two of the bolts which also needs to be removed. It holds the ABS sensor wire.
Now undo the hydragas pipe which enters the sphere. On the offside this is easily reached but I found the brake master cylinder was in the way on the nearside. I ended up removing the pipe from where it meets the pumping valve and removing the pipe tail with the sphere.
Once disconnected the displacer can be levered out of the mount.
Rear
The rear is much more difficult due to the limited access to the top two bolts and nuts on the sphere mounting bracket.
Remove the bottom damper bolt as per the front ones.
On the offside, the coolant bottle needs to be moved. It is secured by two bolts. Remove these and the top inflow pipe being careful not to spill coolant everywhere. Carefully move the bottle aside. This should allow access to the top bolt and the rear nuts of the sphere mounting bracket.
The nearside is more problematic. This involves removing the two bolts holding the ecu bracket. Remove two upper bolts on the bracket and slide the bracket upward so as to release the bottom rubber mount. You can now push the ecu away from the bulkhead and you can now access the nuts on the top bracket bolts.
Now, depending on your car, you may have a number of things still in the way. Depending on the air filter setup in your car, this may have to be removed.
Because I have a Viper CAF system I could access the necessary nuts and bolts without any further dismantling.
After removing the damper, you may wish to release the antiroll bar to allow extra suspension movement, though I found this not to be necessary.
With difficulty, remove the four 10mm bolts securing the sphere mounting bracket, (the 2 rearmost bolts also hold a bracket for the speed sensor cable) remembering the top two13mm nuts are not fixed, (I used a 1/4 drive ratchet on these) and remove the bracket.
As per the front, undo the hydragas pipe from the sphere. If you do not plan on removing the pipes completely it would be worthwhile securing them to something at this point so they don’t flap around.
The sphere can now be removed, I took both rears out through the wheel arches.
I now had this:-
Rear
Front
David

Last Edit:10 years 8 months ago
by David Aiketgate
Last edit: 10 years 8 months ago by David Aiketgate.
Please Log in or Create an account to join the conversation.
- David Aiketgate
-
Offline
Topic Author
- David
-
Super Users
- mgf mk2 freestyle mpi 16" wheels, in Anthracite.
- Posts: 20627
- Thanks: 4583
Replacement is obviously done by reversing these instructions.
It is vital that the pipe fittings are tighened to the correct torque settings.
You will then need to refill the system as described in Cobber's how to.
It is vital that the pipe fittings are tighened to the correct torque settings.
You will then need to refill the system as described in Cobber's how to.
David
The following user(s) said Thank You: Uncletone
Please Log in or Create an account to join the conversation.
Replied by satch24 on topic Removing and replacing hydragas spheres.
Posted 10 years 3 months ago #166225David Aiketgate wrote: A lot of this has already been covered , so I will shamelessly use this excellent HOW TO to show how to de-pressurise the Hydragas system - by Aussie member IPEX-731BA5DD06
hi
i am sorry to ask this but can you give me the link to this how-to de-pressurise the Hydragas system?
By the way your own how-to is great! great explaination and real pics to show!
by satch24
Please Log in or Create an account to join the conversation.
Replied by cairnsys on topic Removing and replacing hydragas spheres.
Posted 10 years 3 months ago #166227
Click on
HOW TO
in the first line of David's post.
Robin ")
Last Edit:10 years 3 months ago
by cairnsys
Last edit: 10 years 3 months ago by cairnsys.
Please Log in or Create an account to join the conversation.
Replied by satch24 on topic Removing and replacing hydragas spheres.
Posted 10 years 3 months ago #166233cairnsys wrote: Click on HOW TO in the first line of David's post.
OMG! it's so obvious that i didn't think to just click on the how-to! I think because it's not with a different color or underlined
thank you BTw
by satch24
Please Log in or Create an account to join the conversation.
Time to create page: 0.418 seconds