Binnacle Repair
- Tourbillon
-
 Offline
Topic Author
- Qualified MGer
-

- Posts: 563
- Thanks: 209
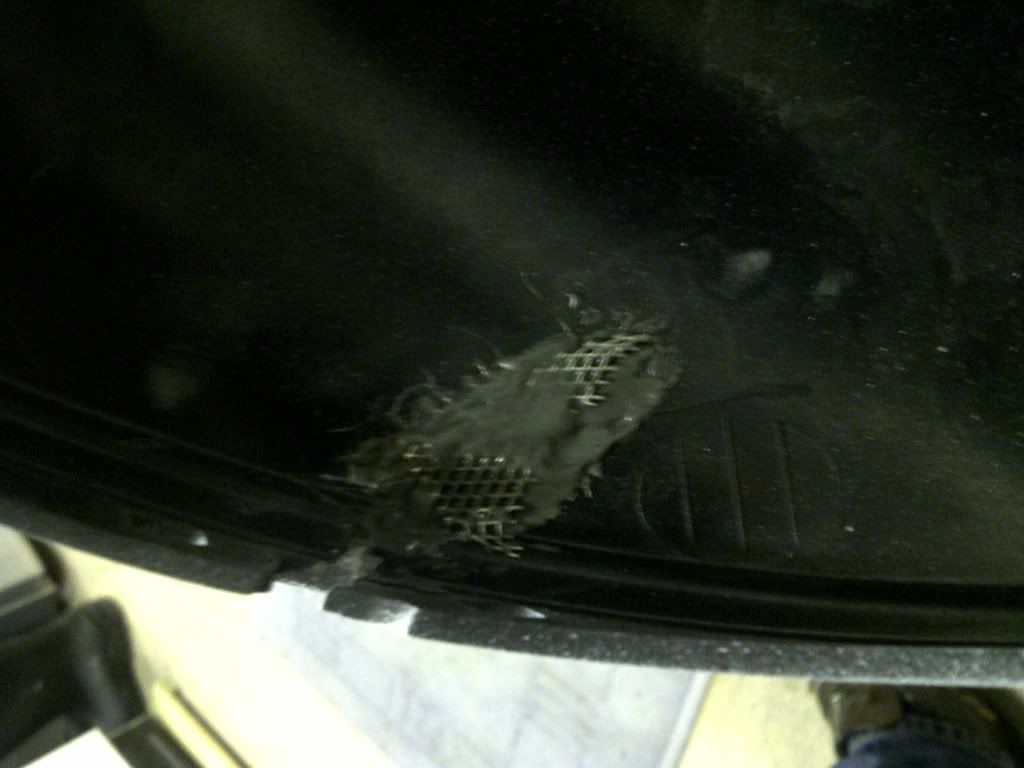
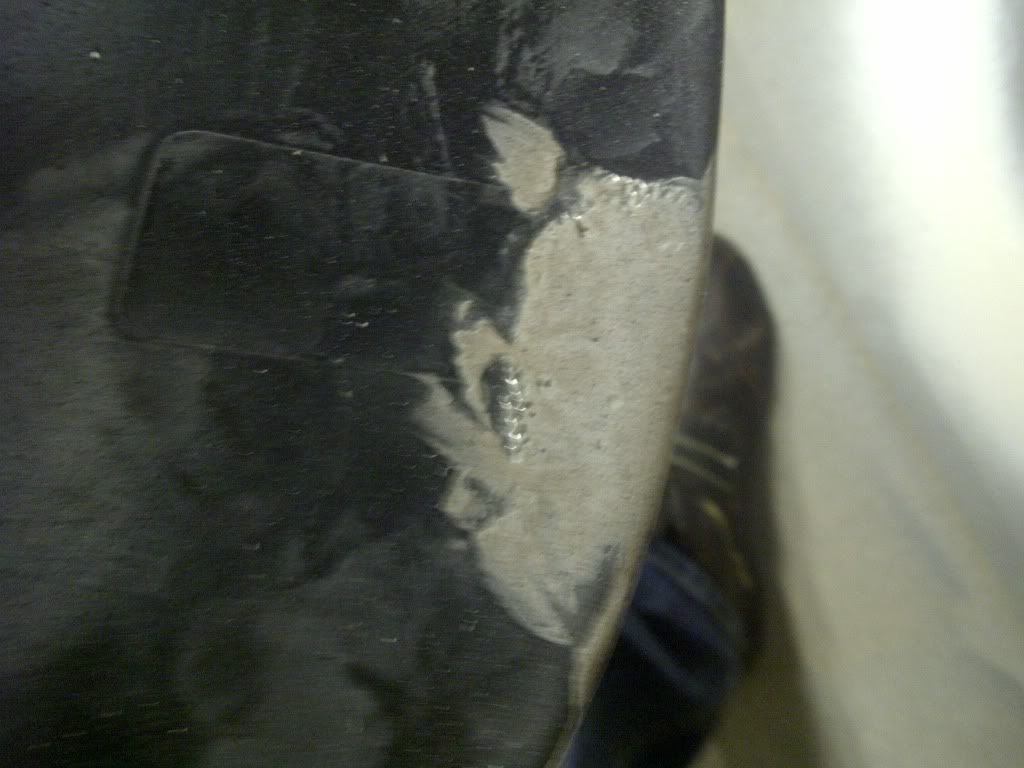
All the clips are broken and there is a piece missing from where a clip has snapped off and taken part of the main cover away. I worked out a way to hold the assembly in place by threading a small bracket from a computer case onto a remaining clip and then putting a bolt through a small hole into this from above. No photos on this as it was seen as a temporary fix to stop the whole cover flapping about on bumps. Additionally, use of just the screws from just the front into the Facia meant too much leverage, cracking the area around the fixing points. End result a very sorry looking binnacle, I thought of getting a replacement ( very rare) of covering in an Alcantara fabric ( tricky) so I went for a more basic approach of a textured painted finish.
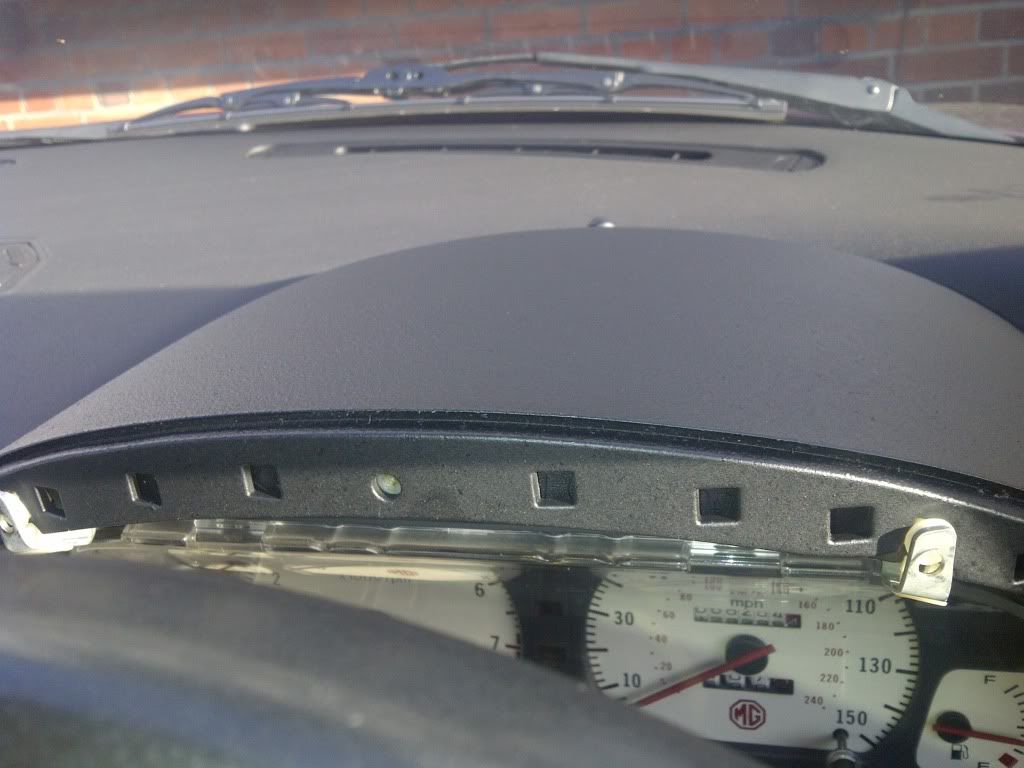
There is an assumption that all the fixings at the front (windscreen end) are broken so nothing is holding this end in, I ended up with a way forward using a nice looking Allen key bolt sprayed in Matt Black
Items required: Araldite, metal gauze, filler, plastic primer spray, textured paint spray, Matt Black topcoat spray. Suitable bolt/ computer case fitting
Step 1 Remove Binnacle
This is achieved by removing 4 screws on the binnacle surround 2 just inside in front of Speedo and Rev Counter, 2 underneath in front of the hinged flap to access fuse box. Once loose, unclip the dimmer switch and in my case starter button and jiggle out of the way and remove. You may find it easy to get this panel out if you remove the steering cowl surround (3 bolts underneath – note 1 is tucked under the Fuse box cover).There are 5 screws to remove on the instrument surround, take these out and depending on how secure your binnacle is, lift it out of the way.
Step 2 New Front Fixing
Worth having a look at what is left as this is where I took a computer case fitting and threaded it down onto what is left of the clip and self-tapper coming through the dash. I decided 1 bolt was enough to hold in place, but you could go the whole hog with three if you feel like it. Mark the location the hole needs to be with a bit of tape and use on a pen. This is very fiddly as you do need to take a guess and then check and re-check until you are certain of where to drill. Drill the hole and offer up to insure it’s in the right place, slot the bolt through and with one hand on the inside and a wiggle of the bolt guide it into place. I caught a few threads and then fitted the front facia screws again to insure everything fits, then tighten the bolt “ gently” as you will have to remove before the next step.
Step 3 Repair Binnacle
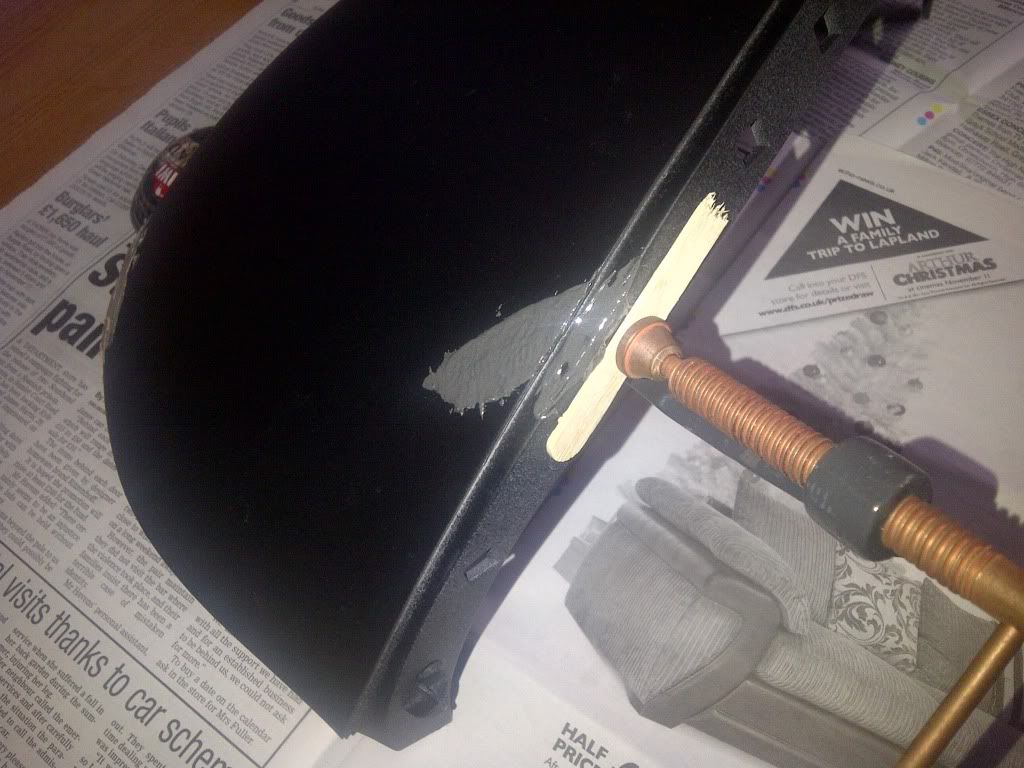
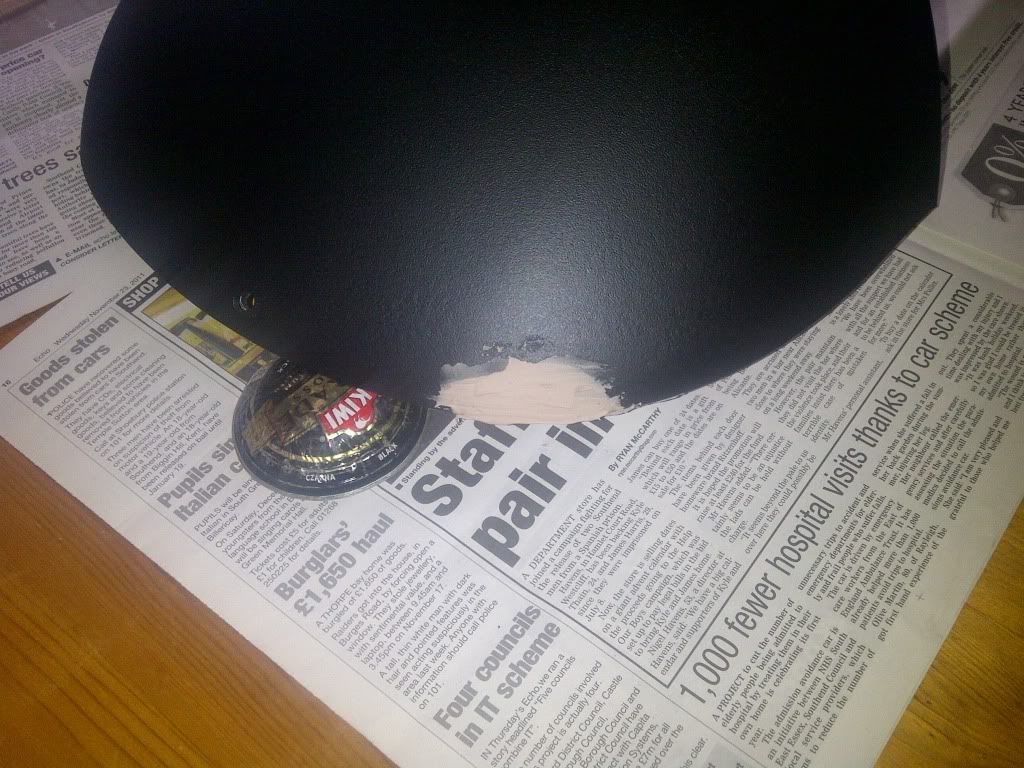
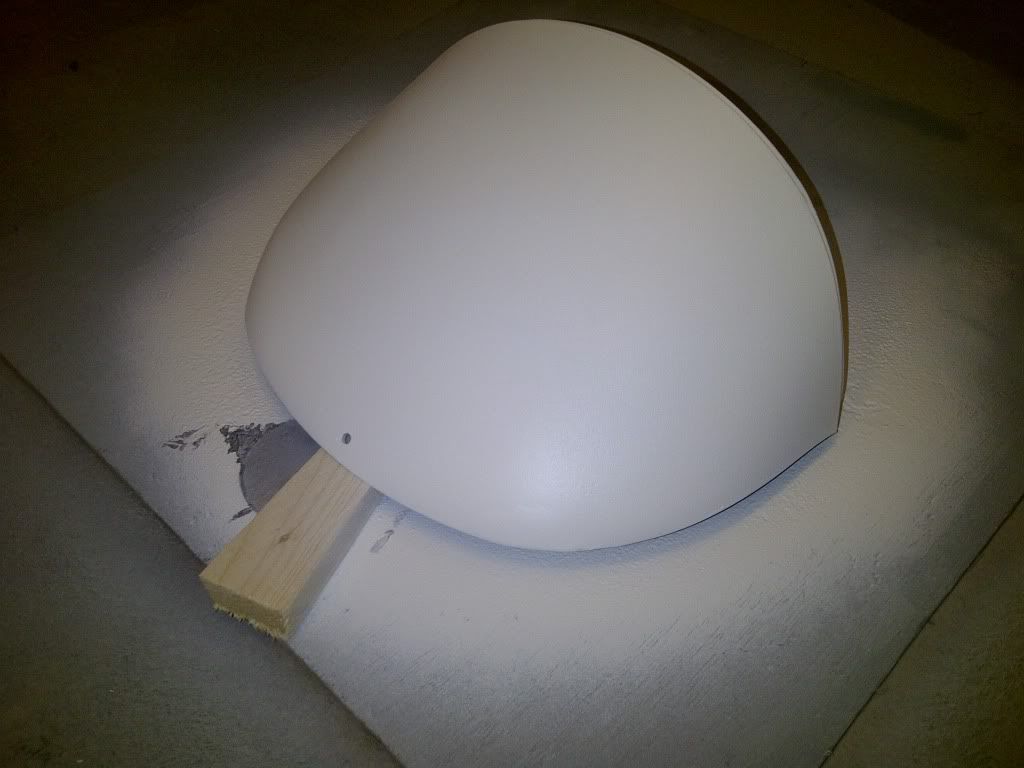
I had 2 repairs to make, a crack and a missing piece. I use Araldite to glue a piece of Gauze behind where the edge of the binnacle was missing. While I had the mix I also glued a piece behind the crack and by twisting the crack slightly was able to work the glue into the contact surfaces. Clamp everything up and go wash & wax the car for a few hours. Appx 4 hours later, mix up some filler and apply on top of the gauze and crack, build up in thin layers until you have filled the Hole and have plenty of excess around the area to sand back to the profile. Have a cup of team and let the filler harden and prepare to sand.
Sand the repairs down to the correct profile and refill if necessary ( only 2x for me). In sanding you will damage the textured finish on the binnacle, but work on getting the profile right and no blemishes showing through, we can fix the finish later. Now give the whole unit a spray of plastic primer and leave overnight to dry.
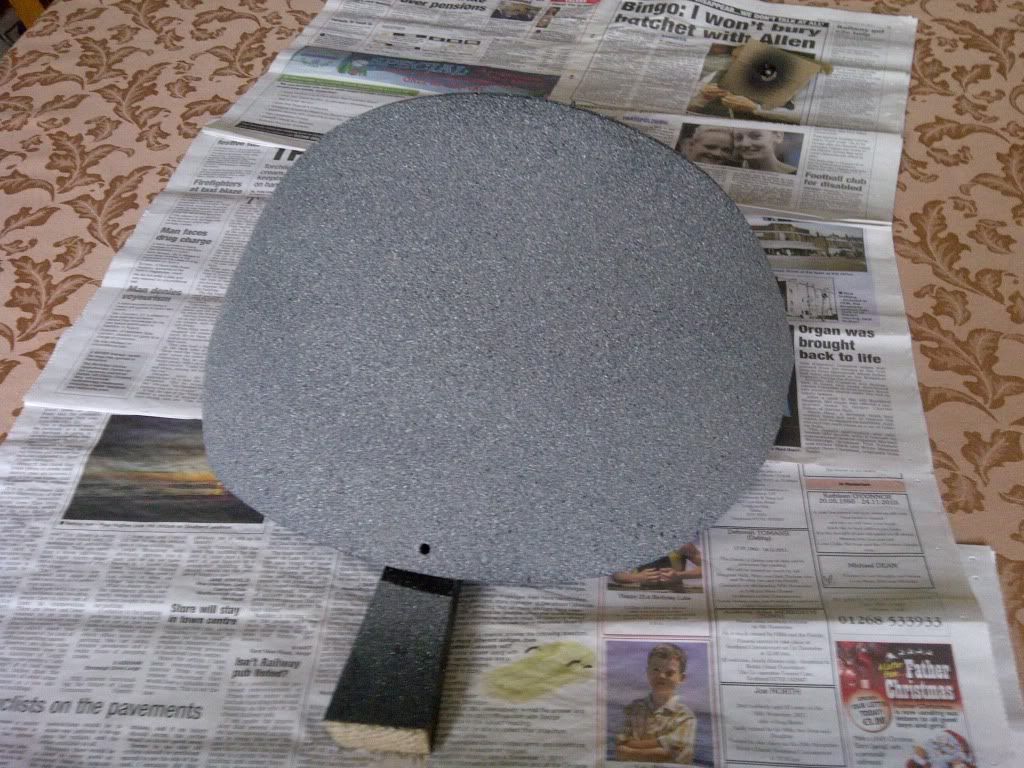
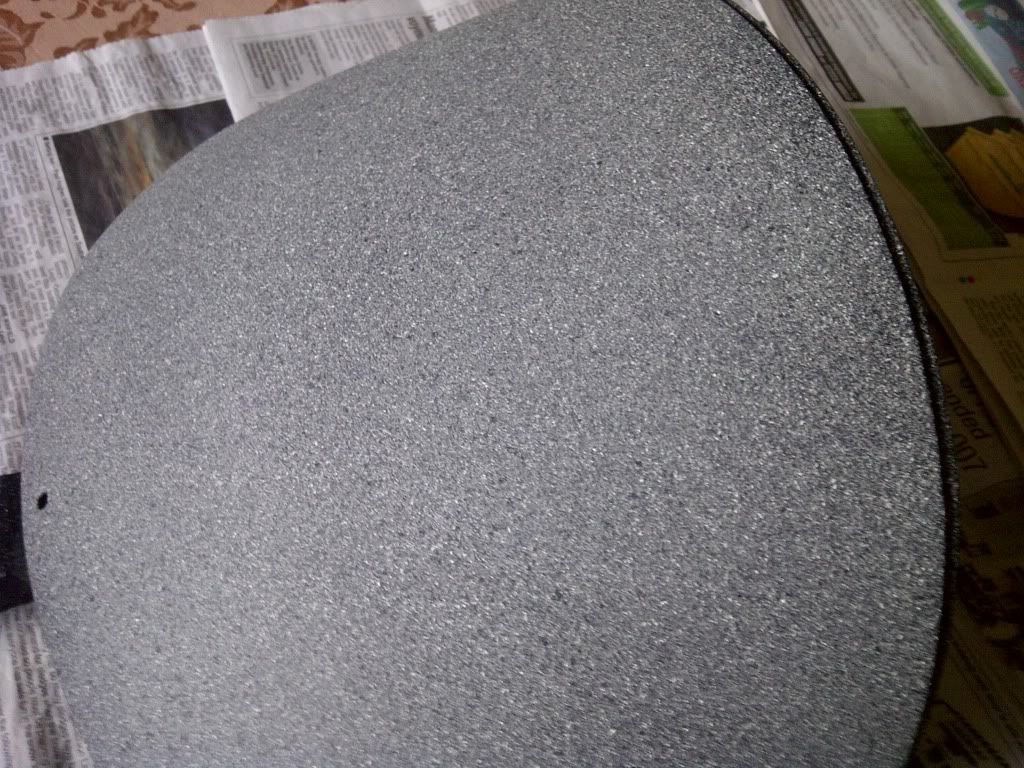
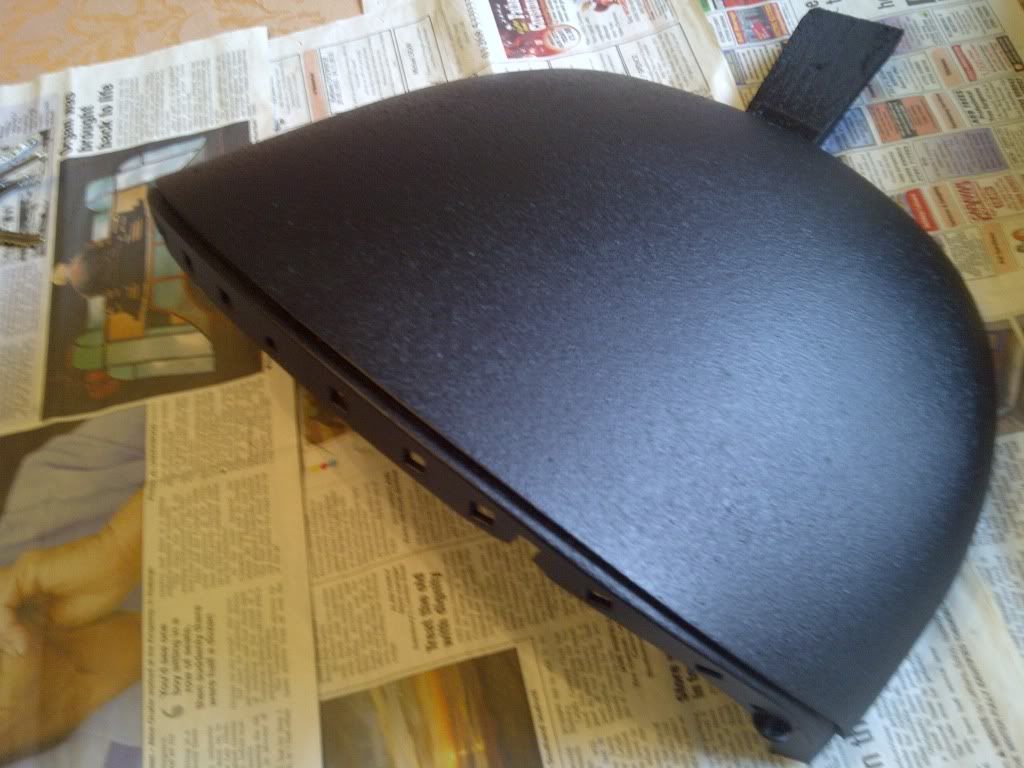
You should now have a nice solid binnacle, in the wrong colour and texture but with no holes and cracks (except the hole you drilled to refix it later). Now the magic spray is required, this is a stone finish exterior/interior paint for metal/wood/plastic. Every DIY place seems to have them, I was not worried about the colour but the texture, the spray can lid gives indication of what you will get so touch a few to get the best match – I went for some form of fine sandstone. Spray 1 coat of this on the binnacle and Do Not Touch/ Move or interfere in any way with it for about 5 hours – I did and found the textured spray will wipe off with any form of contact so had to wipe the whole lot down and start again.
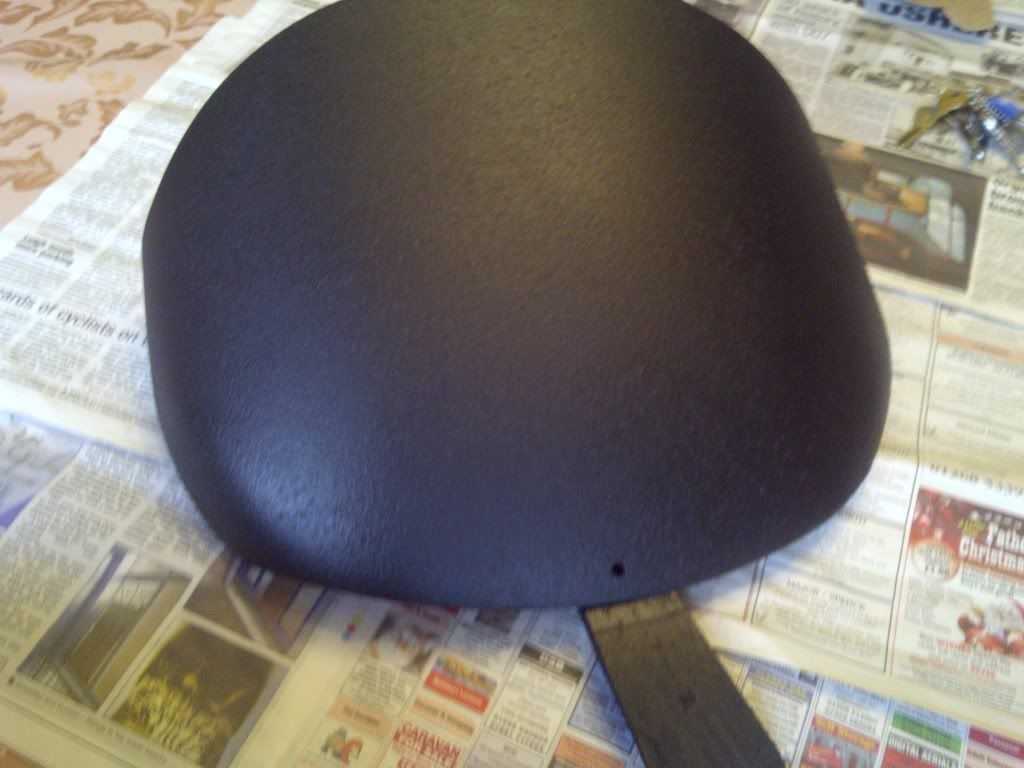
Now the binnacle looks like it’s been cut from Stone – Nice but a masonry dash in a MGF is not the look I am after. So I then gave it 2 coats of Matt Black “Plasticote” top coat. Leave to harden for a day and then you are ready to refit.
Step 4 Refit Binnacle
This is the tricky bit, you should have got a flavour of this after drilling the hole in Step 2. Fit the Binnacle in place and drop in the bolt, with one hand on the inside get it located and catch a few threads. Then replace the 5 screws in the front but do not over tighten, work around each screw and the bolt, gradually tightening in place until its secured and no gaps around the edges. Replace the surround, after connecting Dimmer etc. and screw cowl into place it you needed to remove.
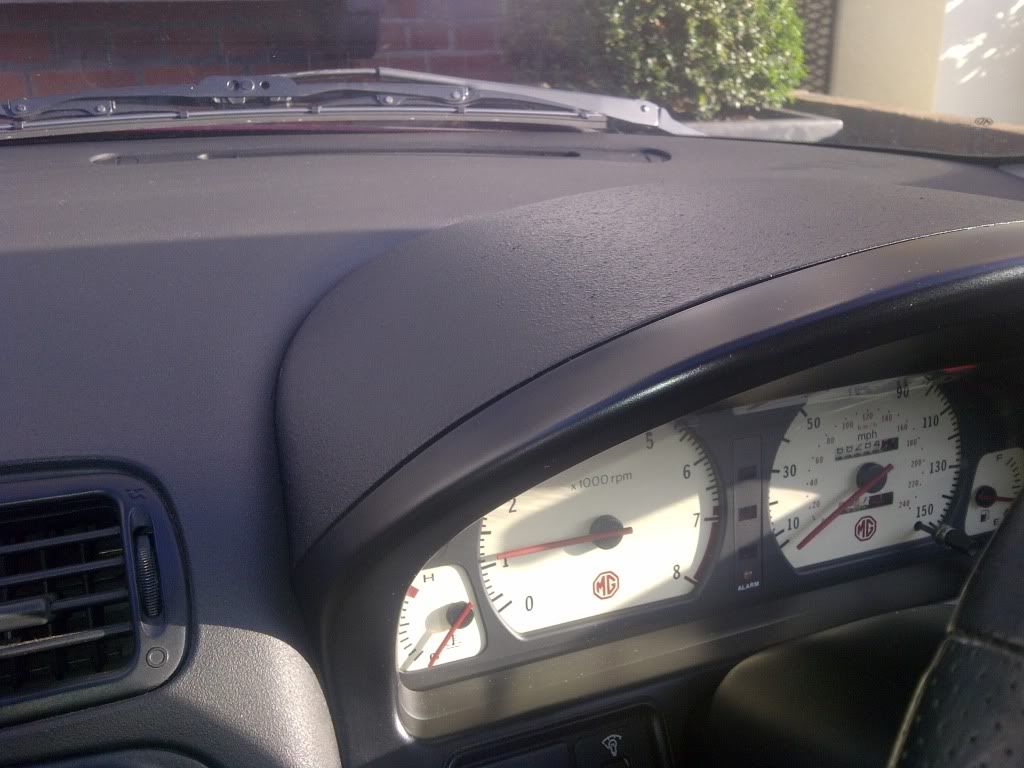
All done! I think the thickness of the textured finish is an improvement and looks really solid
.
Please Log in or Create an account to join the conversation.
- David Aiketgate
-
 Offline
- David
-

- mgf mk2 freestyle mpi 16" wheels, in Anthracite.
- Posts: 20218
- Thanks: 4407
I'll add it to the A-Z of how tos! :broon:
David
:shrug:
Please Log in or Create an account to join the conversation.
 Is it just me or does that 'stone' binnacle actually look quite good. You could do a Flintstones MG
Please Log in or Create an account to join the conversation.
- Tourbillon
-
 Offline
Topic Author
- Qualified MGer
-

- Posts: 563
- Thanks: 209
Please Log in or Create an account to join the conversation.
- David Aiketgate
-
 Offline
- David
-

- mgf mk2 freestyle mpi 16" wheels, in Anthracite.
- Posts: 20218
- Thanks: 4407
Tourbillon wrote: Don't joke, my wife actually thought i was going to spray the whole dash in a stone finish and leave it that colour :nonod:
I like the stone finish too. :yesnod:
David
:shrug:
Please Log in or Create an account to join the conversation.
- Leigh Ping
-
 Online
- Moderator
-

- Posts: 6837
- Thanks: 1630
Please Log in or Create an account to join the conversation.
Please Log in or Create an account to join the conversation.
- bryan young
-
 Offline
- Master MGer
-

- Posts: 3631
- Thanks: 772
Tourbillon wrote: Don't joke, my wife actually thought i was going to spray the whole dash in a stone finish and leave it that colour :nonod:
Another one here, i like the "stone" finish too.
Great "how to" as well, thank you :thumbsup: :thumbsup:
Please Log in or Create an account to join the conversation.
- talkingcars
-
 Offline
- Moderator
-

- Posts: 6871
- Thanks: 1294
I suppose I'll have to do mine, it's got a great big crack.
Home to black Alfa Romeo 159 3.2 V6 Q4 ,green MGF VVC and red MG Maestro T16.
MG - the friendly marque.
Please Log in or Create an account to join the conversation.
- Tourbillon
-
 Offline
Topic Author
- Qualified MGer
-

- Posts: 563
- Thanks: 209
N
Please Log in or Create an account to join the conversation.
- Leigh Ping
-
 Online
- Moderator
-

- Posts: 6837
- Thanks: 1630
Please Log in or Create an account to join the conversation.
- Tourbillon
-
 Offline
Topic Author
- Qualified MGer
-

- Posts: 563
- Thanks: 209
Good question, no problems so far, finish is still sound and after a year of rattle and banging on my firm suspension setup no issues. The only issue i had was the smell of paint lasted a long time, not unpleasant but always nagging.
Ready to start the next interior project now - The Lotus Elise Gearshift surround fitment.
T
Please Log in or Create an account to join the conversation.

