Illuminated needles - How to fit.
- David Aiketgate
-
 Offline
Topic Author
Offline
Topic Author
- David
-

Super Users
- mgf mk2 freestyle mpi 16" wheels, in Anthracite.
- Posts: 20627
- Thanks: 4583
Illuminated needles - How to fit. was created by David Aiketgate
Posted 14 years 8 months ago #31123 It would be a very good idea to have a spare instrument pod to use for replacements for the bits you break.
Also, the phone number of a good psychiatrist should be kept handy.
If after this you still want to have illuminated needles:-
You will need to remove the instrument cluster from the dash. Follow this guide until you have this.

Although it is possible to take out the instrument cluster without removing the steering wheel and column shroud, it will be much easier to refit the unit with these parts removed.
First take off the metal brackets and the light box. And then the front is removed by releasing the 4 black tabs, 2 here

And 2 here

Now the real work begins, you will need to remove the original needles. I used a marker pen to mark the rest positions of the needles. Use two knives or similar to pull the needles straight off the spindle pins.

Repeat this procedure for the other 3 needles.
AT THIS POINT, you need to know that the spindle pins may come out with the needles (My speedo needle did this) and that the fuel and temp needles are fixed to smaller spindle pins.
In my case, both smaller needles refused to come off the spindles.
In the end, both smaller spindles snapped off before the needles gave up their grip, rather than come out.

This is where the spare instruments cluster comes in. I swapped the two minor units from the second set into mine. They are easily released. Simply take out these 3 screws and swap the units.

Funnily enough all 4 needles came off the spare unit with no problem. Typical!

The needle illumination is provided by small led rings.
To fit them you will need to remove the dial faces. Slide a knife behind the face to ease it from the perspex back. (Partly glued)

The perspex back is held by 2 black screws. Remove these backs as well.

Now you are here.
MK 2

OR MK1

David

Please Log in or Create an account to join the conversation.
- David Aiketgate
-
Offline
Topic Author
- David
-
Super Users
- mgf mk2 freestyle mpi 16" wheels, in Anthracite.
- Posts: 20627
- Thanks: 4583
Replied by David Aiketgate on topic Re: Illuminated needles - How to fit.
Posted 14 years 8 months ago #31124Ensure that the drill hole is close enough to the spindle hole to be hidden by the needle centre.

I decided to fit the light rings to the perspex as the plasma dials would fit over them.
Feed the wiring through your newly drilled holes in the faces and carefully push the wires through an exit hole(I drilled mine here).

You must ensure that the wiring does not impede the spindle rotation nor foul anything under the dials.
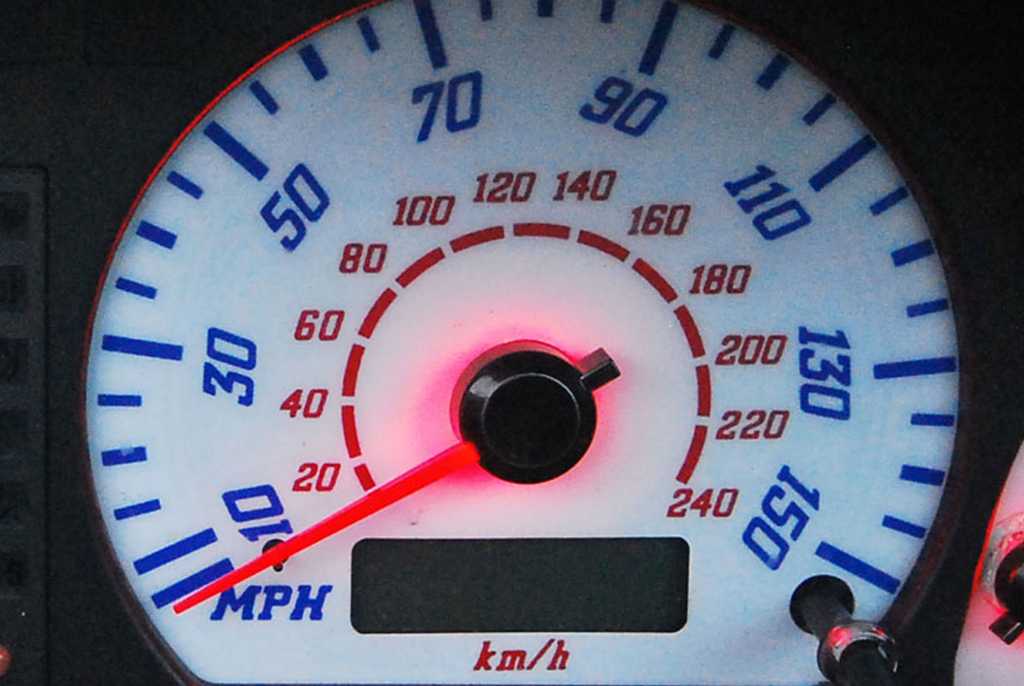
The two larger light rings have 4 leds and it is matterless how you position them, the two small light rings, however, have only 2 leds and you need to position them so that the leds are facing towards the dial markings. They will need to be glued in position.

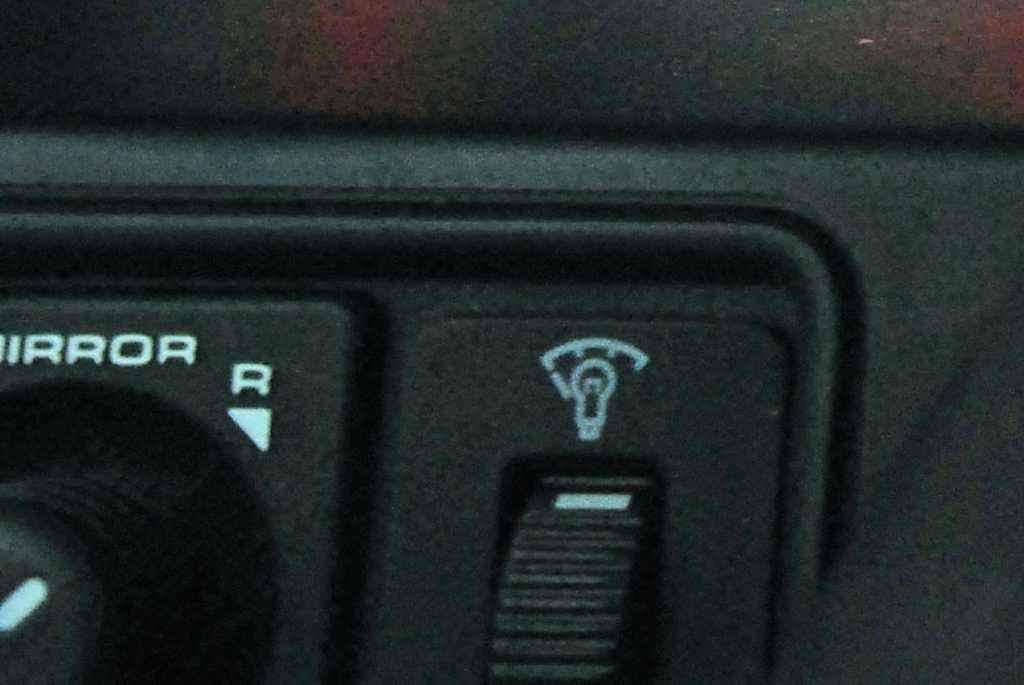
The light rings come with a small rheostat, but I connected mine to the feed cable for the original lightbox. I disconnected the lightbox.(No longer required.)
This means that the needle light intensity is controlled by the MGR standard thumbwheel on the dash.
David
Please Log in or Create an account to join the conversation.
- David Aiketgate
-
Offline
Topic Author
- David
-
Super Users
- mgf mk2 freestyle mpi 16" wheels, in Anthracite.
- Posts: 20627
- Thanks: 4583
Replied by David Aiketgate on topic Re: Illuminated needles - How to fit.
Posted 14 years 8 months ago #31125Now it simply remains to fit the new needles, right? HA!
First problem is that the holes in the two smaller needles are larger than the MG spindles. So you'll need to glue them to the spindles.
Second problem is that despite marking the rest positions of the old needles at the beginning, when you fit the new needles they will all be pointing in the wrong position when you connect the instruments back up.
So your nicely glued small needles will almost certainly have to be removed to refit correctly. To get it all working correctly you'll need to reconnect the pod into the dash without the front section so that you can adjust the needles position repeatedly until they are pointing in the right direction again.
This is when you appreciate the lack of steering wheel and column shroud.
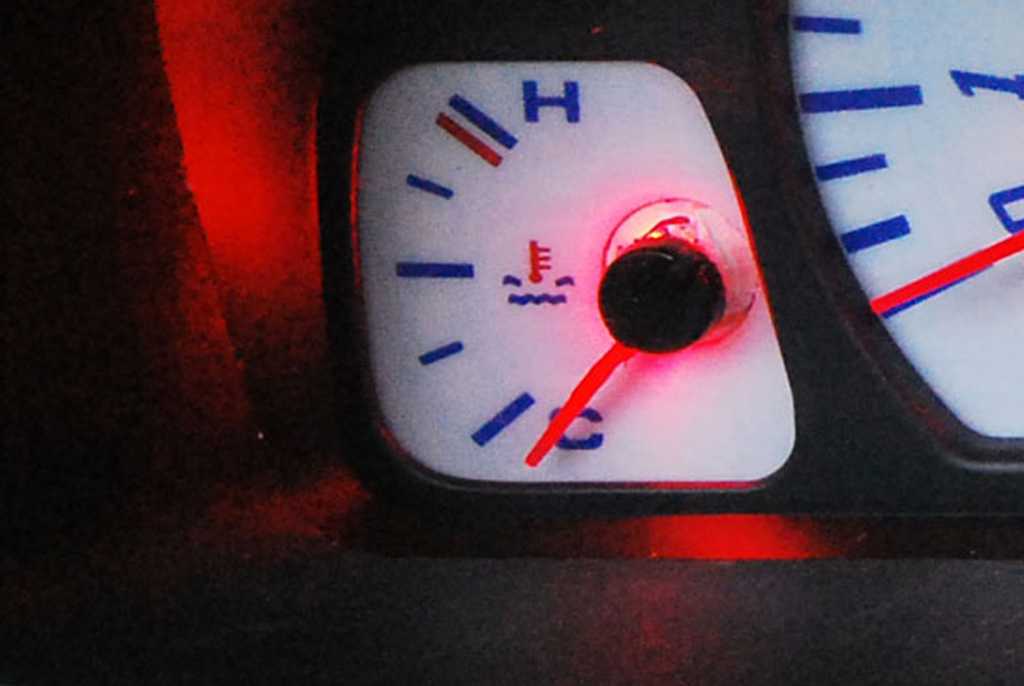
Temp gauge is pretty easy because you just need the engine at operating temperature and the needle position is obvious.
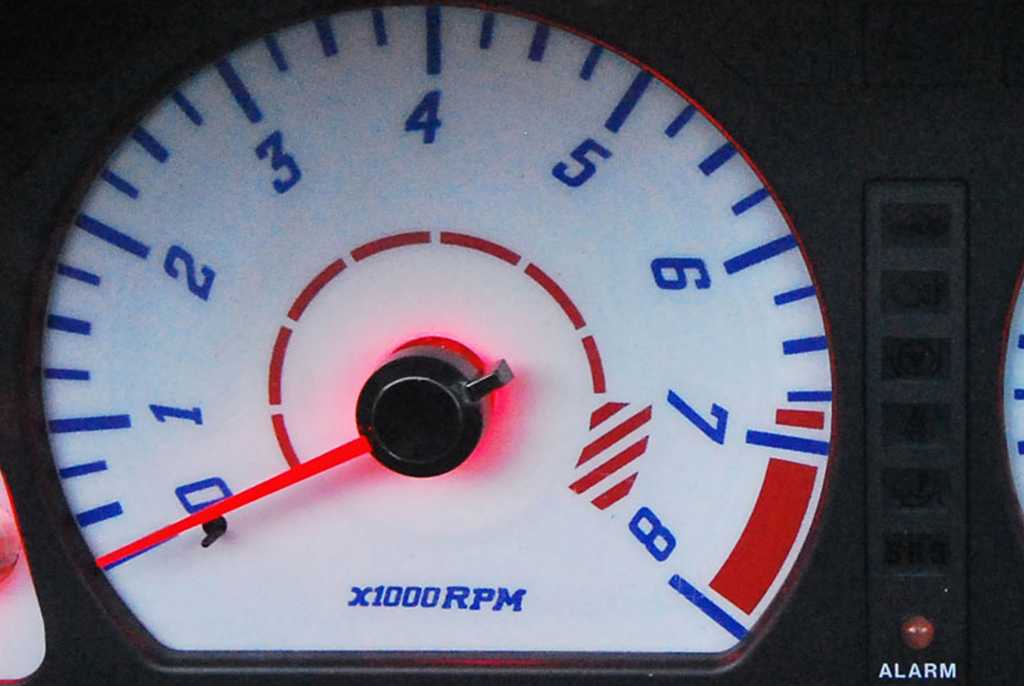
Rev counter, again with the hot engine ticking over set it at 850 ish. Check it rotates correctly when you rev the car.
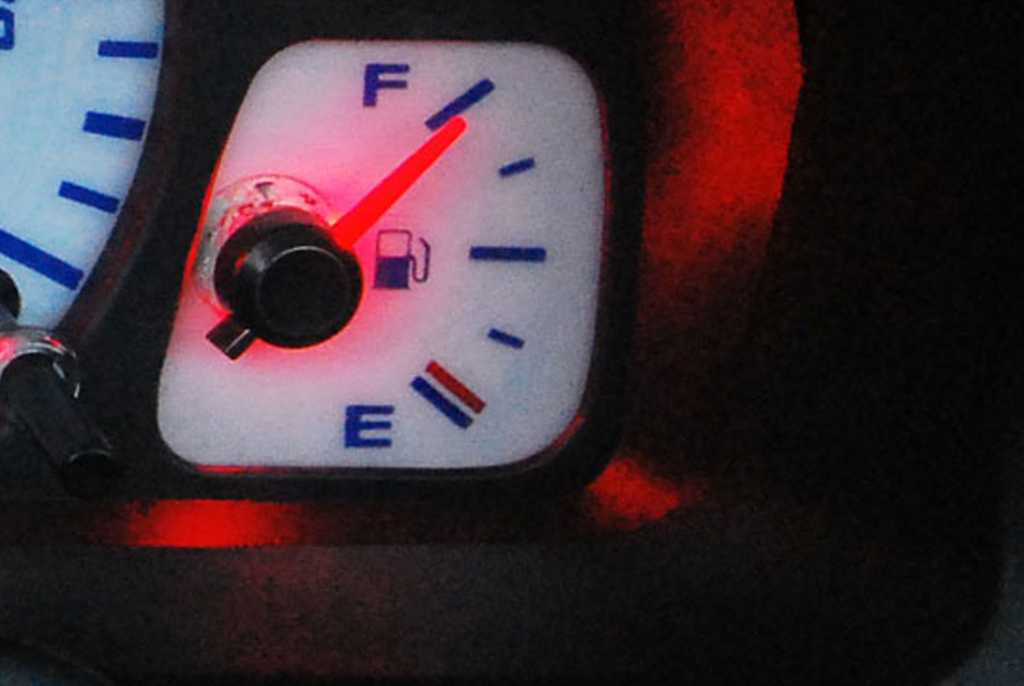
The fuel gauge - now having swapped my gauge for the old one, I had no way to know where it should be pointing.
Hence, temporarily refit the steering wheel and make a trip to the filling station to fill the tank. Don't forget the glue, to restick the fuel needle after you've adjusted it
 .
.Now I could set the fuel needle to full.

That just leaves the speedo, OH BOY!
So I connected up my satnav to have something to check the speedo against and set off.
Initially the needle wasn't moving at all. So pull in to next layby.
That needed an adjustment of the spindle outwards slightly, and now it was moving.
It was now reading 20mph over actual speed, so pull in again.
Of course the needle drops to zero/near zero when you stop, :dry: so ease it off and estimate how much you think the needle should be rotated on the spindle. Refit and drive off.
It's now under-reading by 10 mph. Pull in and adjust needle again.
Now its over reading by 15 mph. Pull in, adjust needle........................................................
Continue doing this ad infinitum, or you run out of fuel, or until you have the needle reading correctly-ish, - slight over read of speed is safest.
By now you will probably have used a fair bit of petrol so you can see if the fuel needle has moved down, or is stuck in place., Like mine was.
Free off fuel needle, go back to filling station and top up again and check that the needle is reading full. Reglue needle in full postion on spindle.
Now you have all four needles reading correctly and all you have to do is take off the steering wheel again, and refit the front of the instrument pod(WITHOUT disturbing the needles).
Now put the dash back together, refit the column shroud and steering wheel, and switch on your lovely illuminated needles.


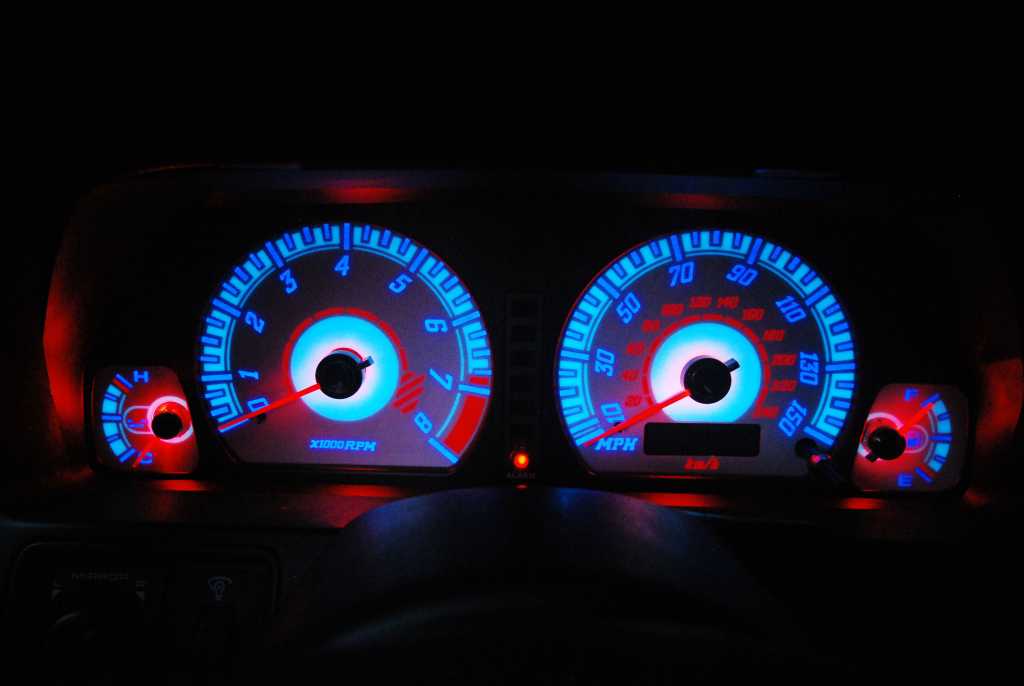
Finally retire to a darkened room with a cool damp flannel over your forehead and steam gently for two hours.

David
Please Log in or Create an account to join the conversation.
- Rich in Vancouver
-
 Offline
- Senior MGer
-

Registered
- Posts: 1882
- Thanks: 666
Replied by Rich in Vancouver on topic Re: Illuminated needles - How to fit.
Posted 14 years 8 months ago #31126I was following this project with increasing interest until it came to the adjustment phase. What a nuisance!
Just yesterday I was stopped next to a generic econobox at a traffic light and noticed that I could see his instruments clearly from my car, unlike my MK1 clocks which are hard to read from my driver's seat!
By the way...where did you get the needles and LED rings?


Please Log in or Create an account to join the conversation.
- David Aiketgate
-
Offline
Topic Author
- David
-
Super Users
- mgf mk2 freestyle mpi 16" wheels, in Anthracite.
- Posts: 20627
- Thanks: 4583
Replied by David Aiketgate on topic Re: Illuminated needles - How to fit.
Posted 14 years 8 months ago #31127Rich in Vancouver wrote: Blimey!
I was following this project with increasing interest until it came to the adjustment phase. What a nuisance!
Just yesterday I was stopped next to a generic econobox at a traffic light and noticed that I could see his instruments clearly from my car, unlike my MK1 clocks which are hard to read from my driver's seat!
By the way...where did you get the needles and LED rings?
The needles and light rings came from Xtuners in Bulgaria . They are on ebay too but it's less expensive to deal with the firm direct. I paid 33 Euros for 4 needles, light rings and postage.
I think you could achieve an interesting effect by putting the light rings behind the standard needles, especially if you coated the undersides with white paint.( Of course you would still have to remove the needles!)
I may have used hyperbole when describing the adjustment phase...but not much.
David
Please Log in or Create an account to join the conversation.
Replied by Tsleight on topic Re: Illuminated needles - How to fit.
Posted 14 years 8 months ago #31129

[img]i54.tinypic.com/2hdto4p.jpg[/img]
Please Log in or Create an account to join the conversation.
- adamelphick
-
 Offline
- Moderator
-

Registered
- Posts: 3168
- Thanks: 572
Replied by adamelphick on topic Re: Illuminated needles - How to fit.
Posted 14 years 8 months ago #31160
Please Log in or Create an account to join the conversation.
- bryan young
-
 Offline
- Master MGer
-

Registered
- Posts: 3635
- Thanks: 776
Replied by bryan young on topic Re: Illuminated needles - How to fit.
Posted 14 years 8 months ago #31177 Please Log in or Create an account to join the conversation.
- Tourbillon
-
 Offline
- Qualified MGer
-

Registered
- Posts: 563
- Thanks: 209
Replied by Tourbillon on topic Re: Illuminated needles - How to fit.
Posted 14 years 8 months ago #31182")

Please Log in or Create an account to join the conversation.
- David Aiketgate
-
Offline
Topic Author
- David
-
Super Users
- mgf mk2 freestyle mpi 16" wheels, in Anthracite.
- Posts: 20627
- Thanks: 4583
Replied by David Aiketgate on topic Re: Illuminated needles - How to fit.
Posted 14 years 8 months ago #31183 David
Please Log in or Create an account to join the conversation.
- David Aiketgate
-
Offline
Topic Author
- David
-
Super Users
- mgf mk2 freestyle mpi 16" wheels, in Anthracite.
- Posts: 20627
- Thanks: 4583
Replied by David Aiketgate on topic Re: Illuminated needles - How to fit.
Posted 14 years 8 months ago #31184adamelphick wrote: They look bloody brill David! I can't get most of the images to display on the How To though?
They're all displaying for me.
Strange. Anybody else having this problem? David
Please Log in or Create an account to join the conversation.
Replied by psymon on topic Re: Illuminated needles - How to fit.
Posted 14 years 8 months ago #31185Please Log in or Create an account to join the conversation.