Heater Control Knobs - how to 'illuminate'
- David Aiketgate
-
 Offline
Topic Author
Offline
Topic Author
- David
-

Super Users
- mgf mk2 freestyle mpi 16" wheels, in Anthracite.
- Posts: 20627
- Thanks: 4583
Heater Control Knobs - how to 'illuminate' was created by David Aiketgate
Posted 16 years 8 months ago #2201
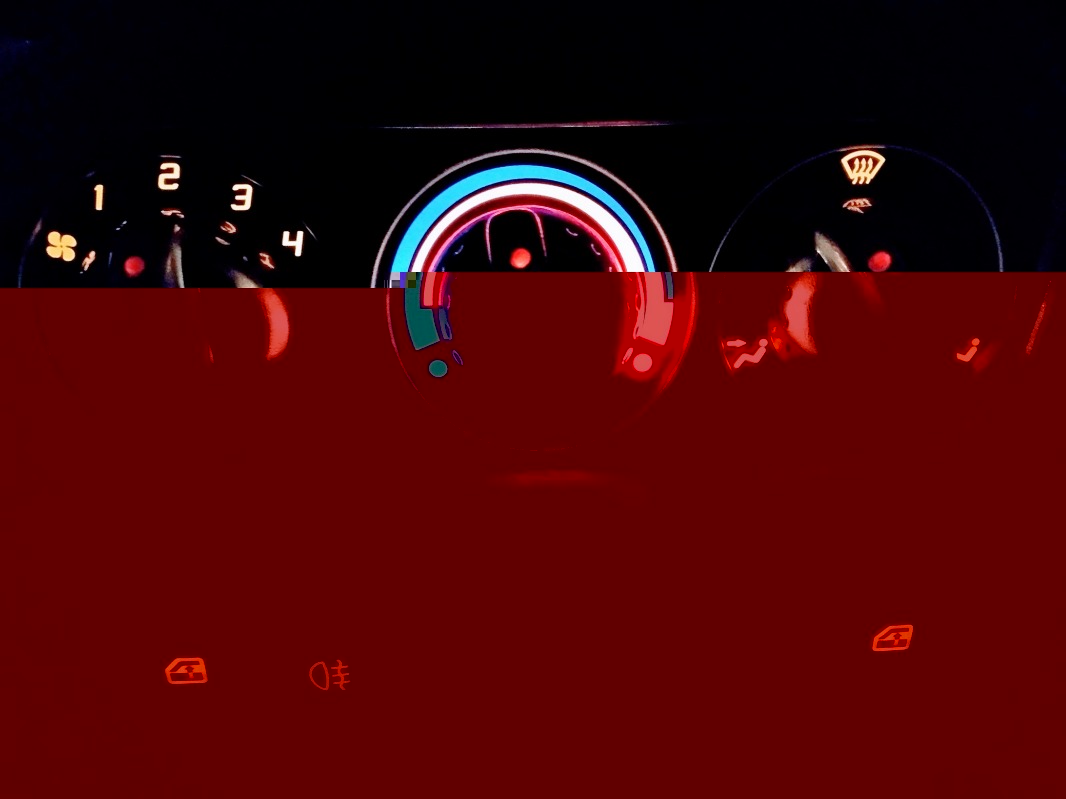
I have always found it difficult to see which end of the controls was the one with the 'black dot pointer' when driving.

This means that sometimes you have to rotate the knob both ways to figure it out. I think that sometimes the controls are broken because of this.
I thought what we need here is a more prominent method of denoting the pointer.
Soooo, I found some old 5mm clear leds,

and snipped the legs off.

Using the black dot as a start point

I drilled a hole through the heater control, sized to be a neat fit on the led (be aware that 5mmm leds are actually about 4.7mm diameter)

I then cleaned out the swarf from the knob

and inserted the led from the inside of the control,

and pushed it through so that it protruded a few mm. I added a few drops of clear glue to hold the led in place.

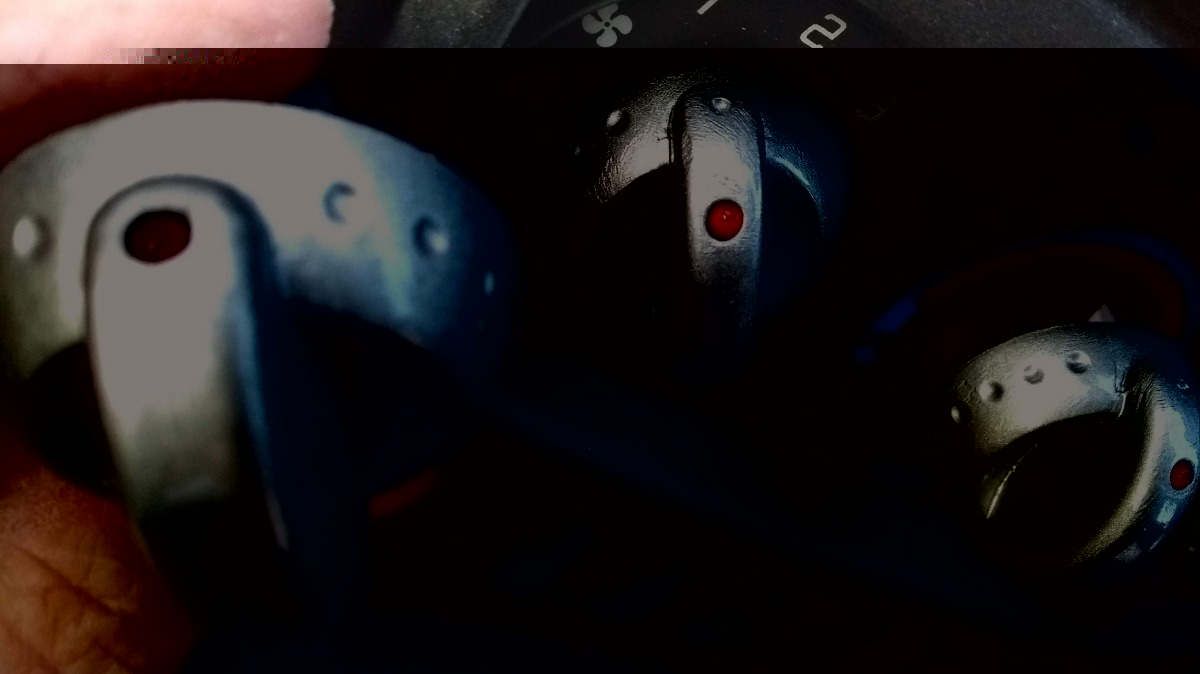
The control knob now looked like this.


Repeat twice more with the remaining heater controls.

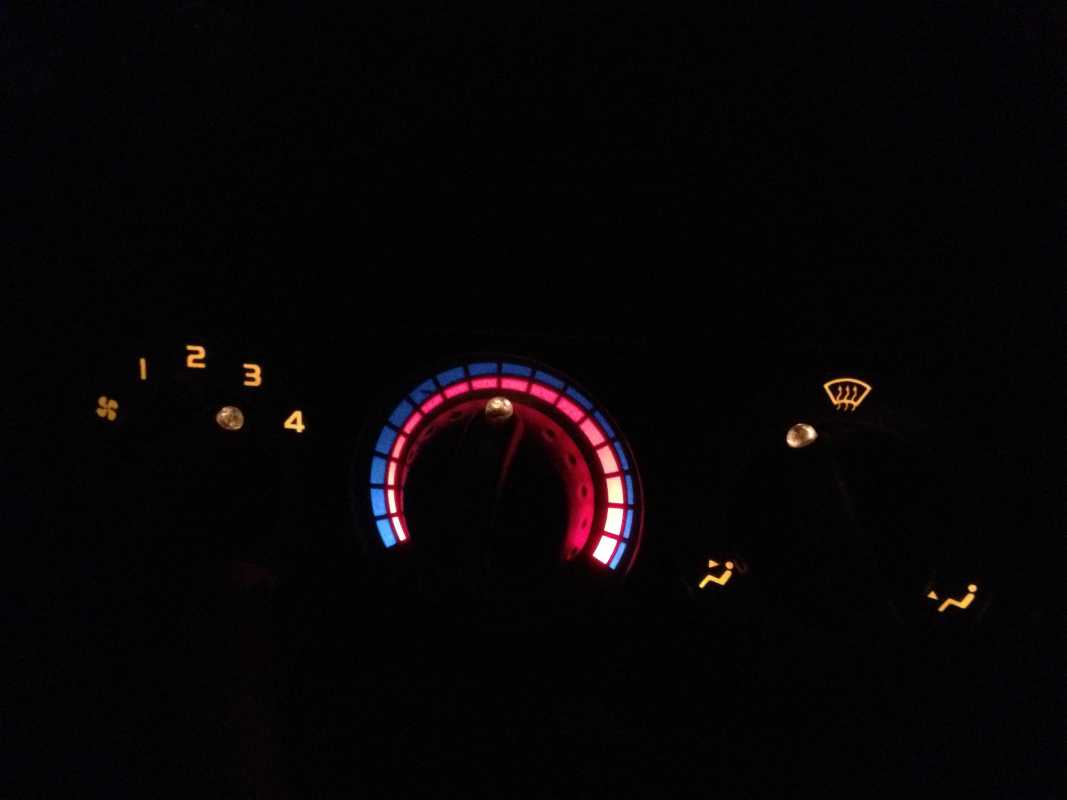
Now it is easy to see which way the knob is pointing!
And why did I use old clear leds?
Because if you look at the grey background that the three control stems fit through, (the one with the switch position markings on) you will see that it is a plastic sheet, covering the clear screen of the light box.
If you remove this sheet and enlarge the holes, making sure to keep the new holes smaller than the knobs.( You will probably be able to see a definite circular mark on the sheet caused by the rotating knob - cut your new hole 5mm smaller than this marked circle) To do this you will need to remove the centre console fascia.
Now when the instrument illumination is on, sufficient light will escape into the back of the knobs to show through the leds, and so the new led pointers are gently illuminated at night!
Tadahh!
David more pics to follow.
David

Please Log in or Create an account to join the conversation.

Please Log in or Create an account to join the conversation.
- David Aiketgate
-
Offline
Topic Author
- David
-
Super Users
- mgf mk2 freestyle mpi 16" wheels, in Anthracite.
- Posts: 20627
- Thanks: 4583
Yves Adele Harlow;2204 wrote: Fantastic guide David - looking forward to seeing pics of them in the dark. 10/10 for ingenuity!
Piccies coming!
David
Please Log in or Create an account to join the conversation.
- David Aiketgate
-
Offline
Topic Author
- David
-
Super Users
- mgf mk2 freestyle mpi 16" wheels, in Anthracite.
- Posts: 20627
- Thanks: 4583
David Aiketgate;2217 wrote: Piccies coming!

David
Please Log in or Create an account to join the conversation.
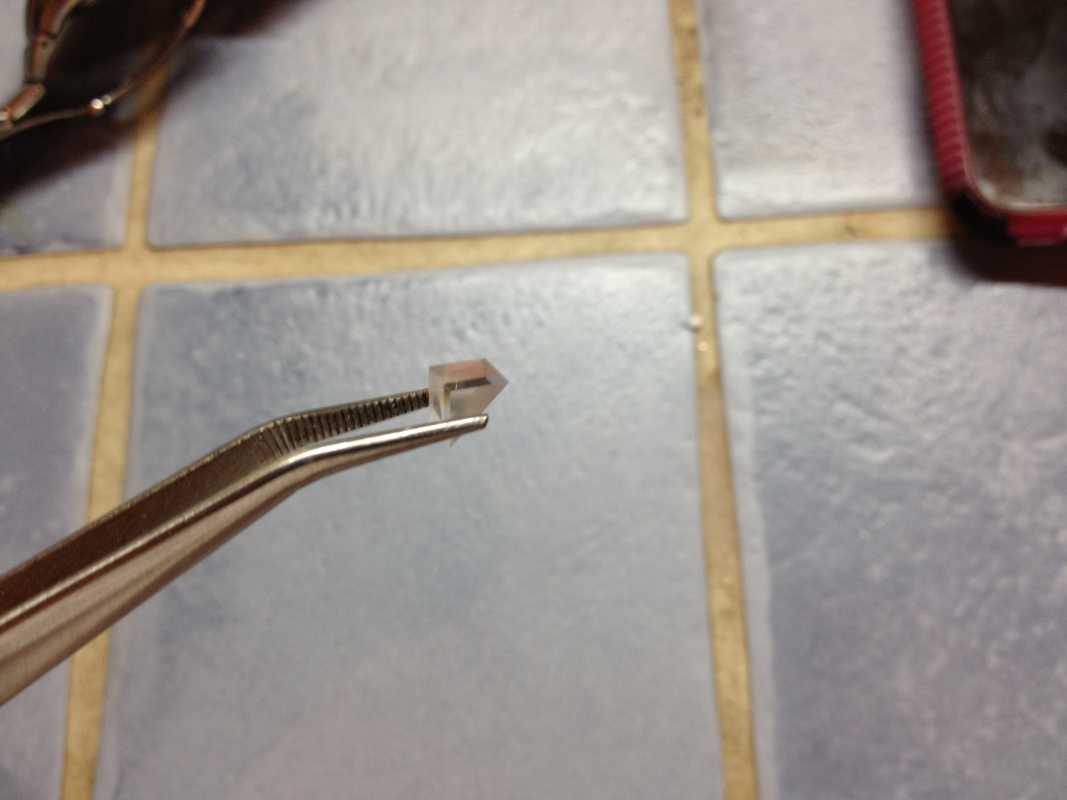
Changes the angle of the light entry and now channels the light really well
Now I'm going to glue coloured filters on the back of the prisms, just can't decide what colour...
red
blue
green
dark orange
??
might go for red on the central heat control and green on the other 2...
.. I think I might start obsessing over this!
Cars - Making me poor since 1989
Please Log in or Create an account to join the conversation.
- Leigh Ping
-
 Offline
- Moderator
-

Registered
- Posts: 6840
- Thanks: 1634
Replied by Leigh Ping on topic Re: Heater Control Knobs - how to 'illuminate'
Posted 13 years 8 months ago #80120")
I tried this one myself but messed it up. I'd be interested in seeing some intricate close up pics of your prism mod, if possible.
Please Log in or Create an account to join the conversation.
- David Aiketgate
-
Offline
Topic Author
- David
-
Super Users
- mgf mk2 freestyle mpi 16" wheels, in Anthracite.
- Posts: 20627
- Thanks: 4583
Replied by David Aiketgate on topic Re: Heater Control Knobs - how to 'illuminate'
Posted 13 years 8 months ago #80134
David
Please Log in or Create an account to join the conversation.
Replied by Fil6909 on topic Heater Control Knobs - how to 'illuminate'
Posted 7 years 2 weeks ago #190791I am just about to do this and I'm going to attempt to use red LED to compliment my radio backlight .. will report back
The bulbs in heater controls look enormously difficult to replace should they fail, so I have taken the opportunity of replacing them while I have this level of disruption
Please Log in or Create an account to join the conversation.
Replied by Fil6909 on topic Re: Heater Control Knobs - how to 'illuminate'
Posted 6 years 11 months ago #190932However ,I found but my first attempt did not generate enough light through the illuminator , so I think I have made a little little improvement by drilling through a little further round the radius of the switch....? see photographs
Please Log in or Create an account to join the conversation.