HOW TO: Refurb a Spark Steering wheel
- Gadget2466
-
 Offline
Topic Author
Offline
Topic Author
- Time served MGer
-

Registered
- Posts: 281
- Thanks: 104
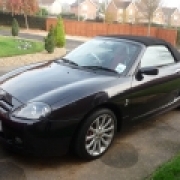
the New Steering wheels are not available, or at least at a reasonable price (£190) so I set about treating mine to a new spray job.
Not a big task, but this is the first time I have spray painted anything, not even a bridge or underpass in my youth,
tools Needed:
Grey Primer suitable for plastic
Silver metallic paint, your choice of how dark or light you go , the original was darker than the Center Console so I tried to go in between the two.
Wet and dry paper, I used 600, 1200 and 1500
Masking tape,
Paper for laying down and for masking
Clear Lacquer.
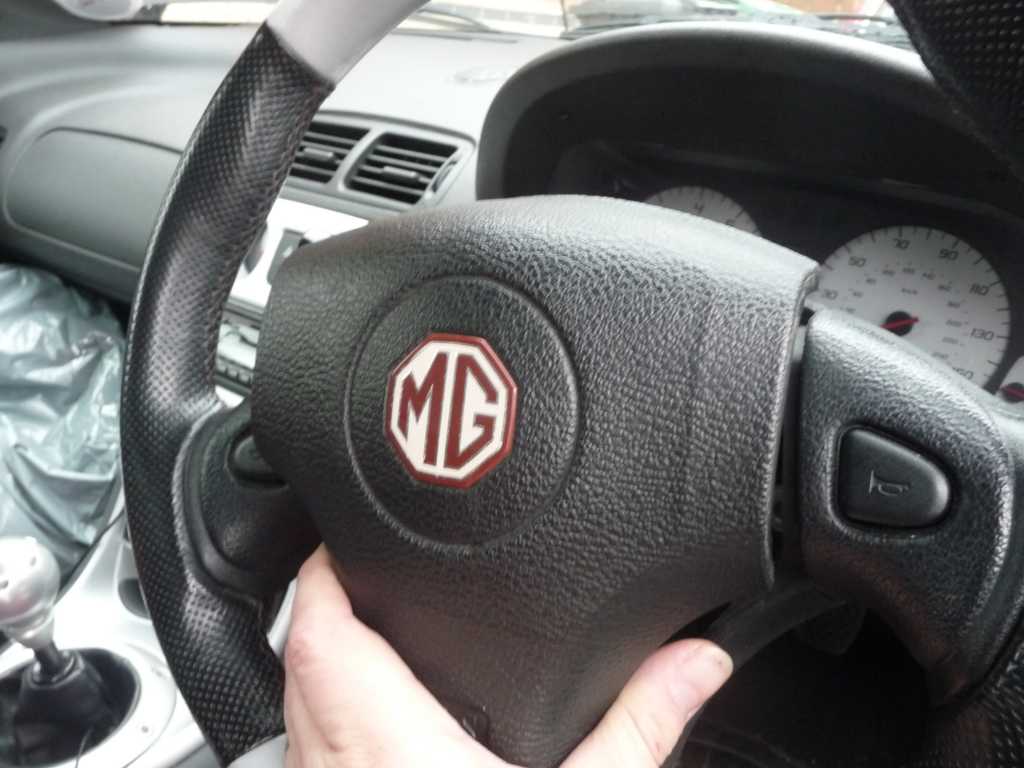
First step is to DISCONNECT THE BATTERY, then WAIT 30 MINUTES before attempting to remove the airbag or steering wheel. This is most important, and very serious injury will occur if you try to remove the airbag unit before it has fully discharged.
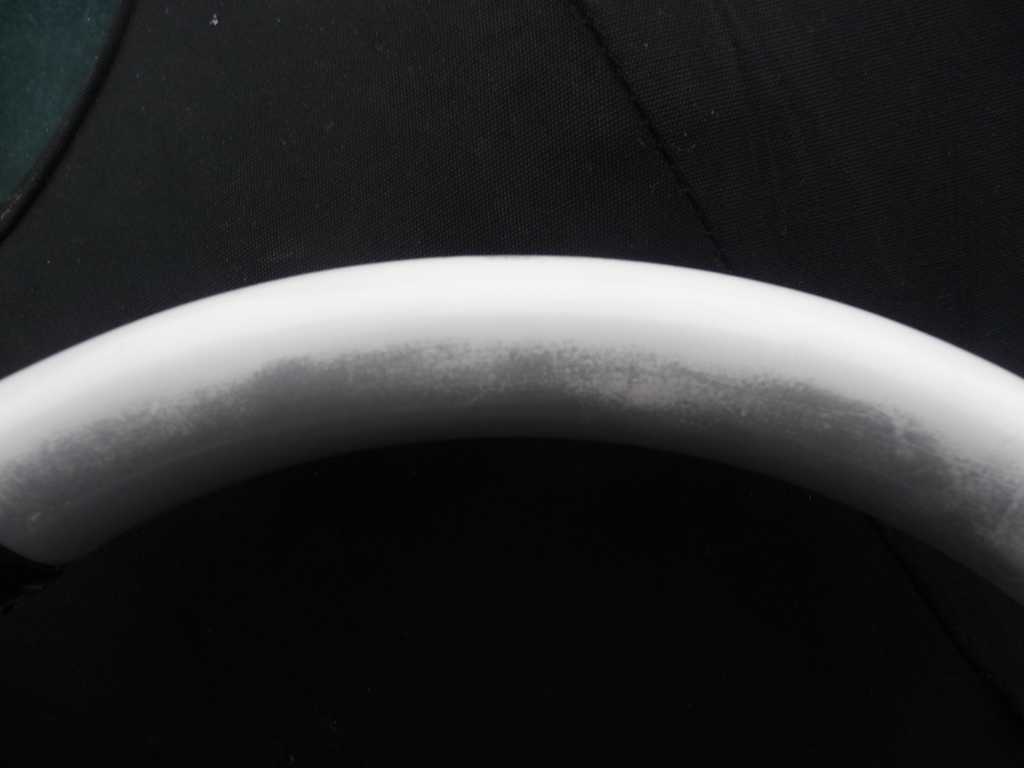
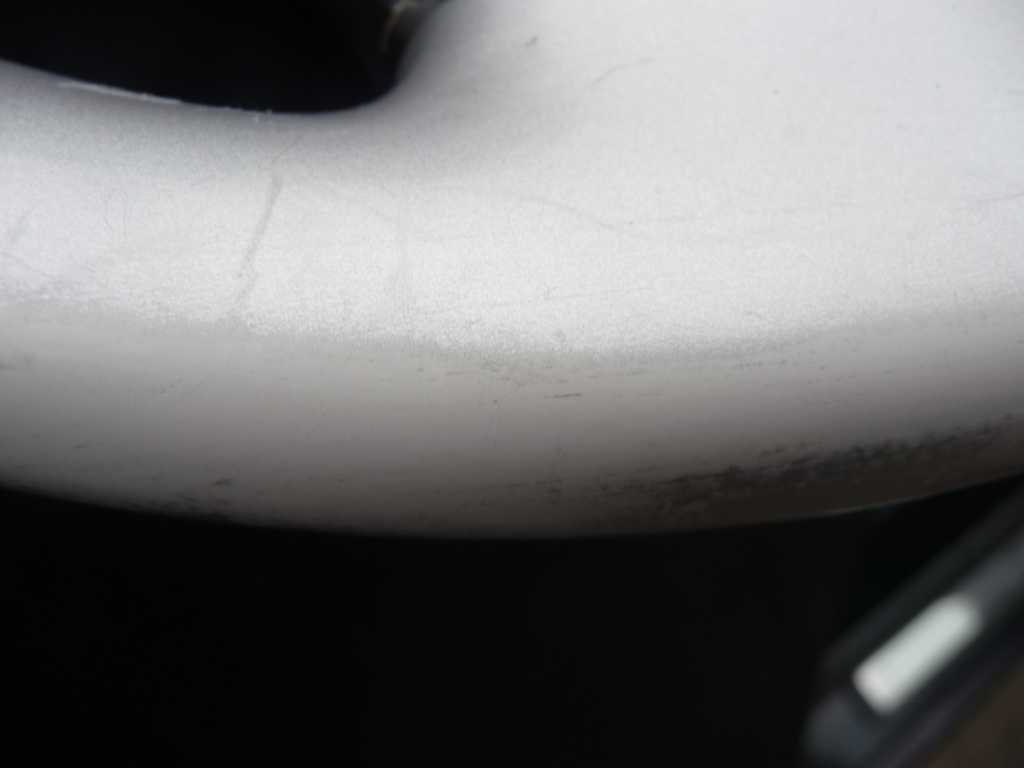
Photo of the paint rubbing off of the wheel.
Once your 30 mins are up, remove the Steering wheel.
First ensure the wheels are point straight ahead.
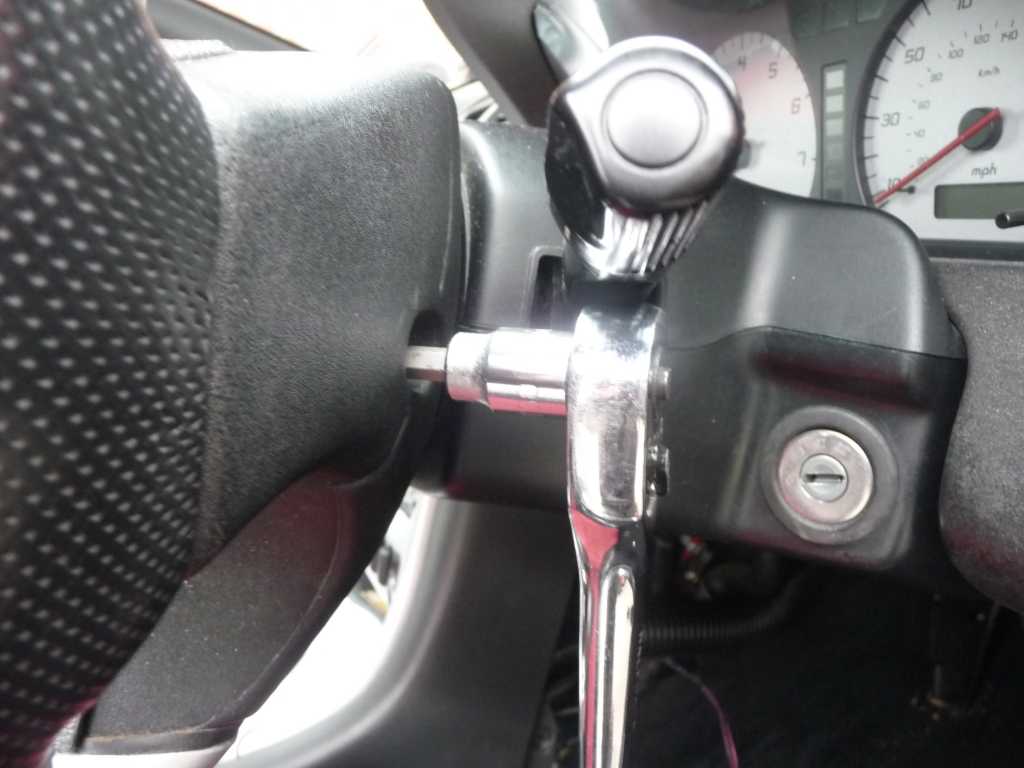
then remove the two Size 30 Torq screws from behind the wheel, one on each side
The airbag can now be prised gently away, be careful as there are two connection behind which need to be removed.
Remove the large connector with Red and Black wires from the plug on the Wheel boss.
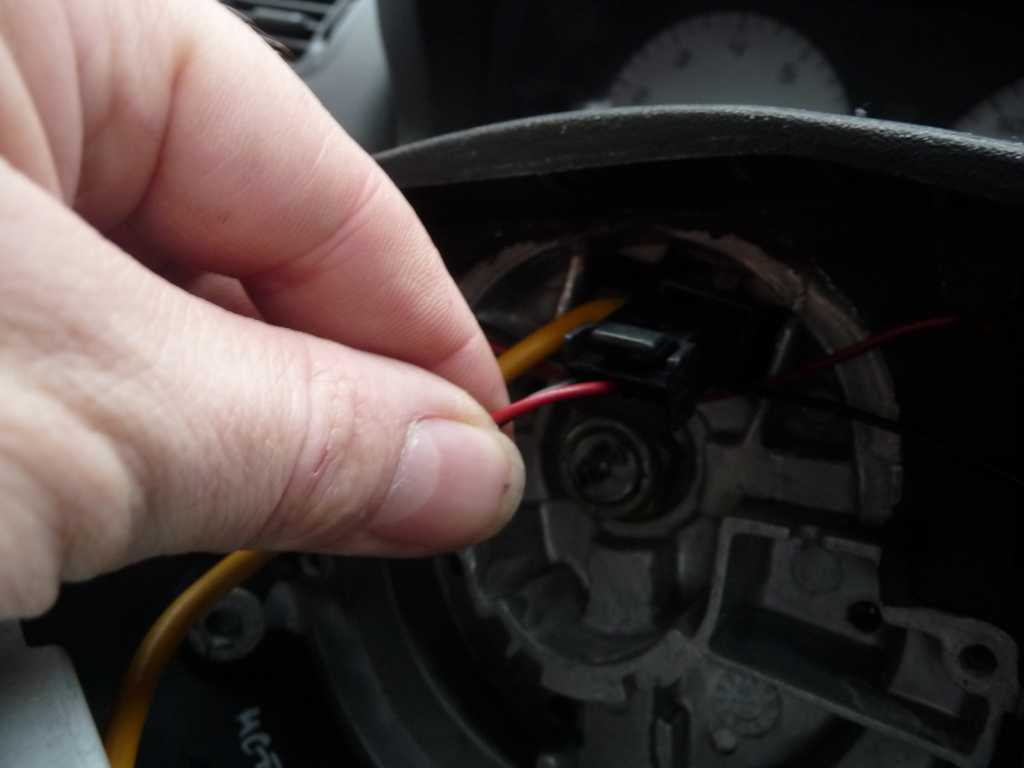
then remove the Yellow plug from the back of the Airbag unit. One tip here is to draw a line down the connector so you get a blob on the airbag which will give you the right orientation for refitting later, It seems the plug can go in both ways, I don't know if this has any effect or not. So better to be sure.
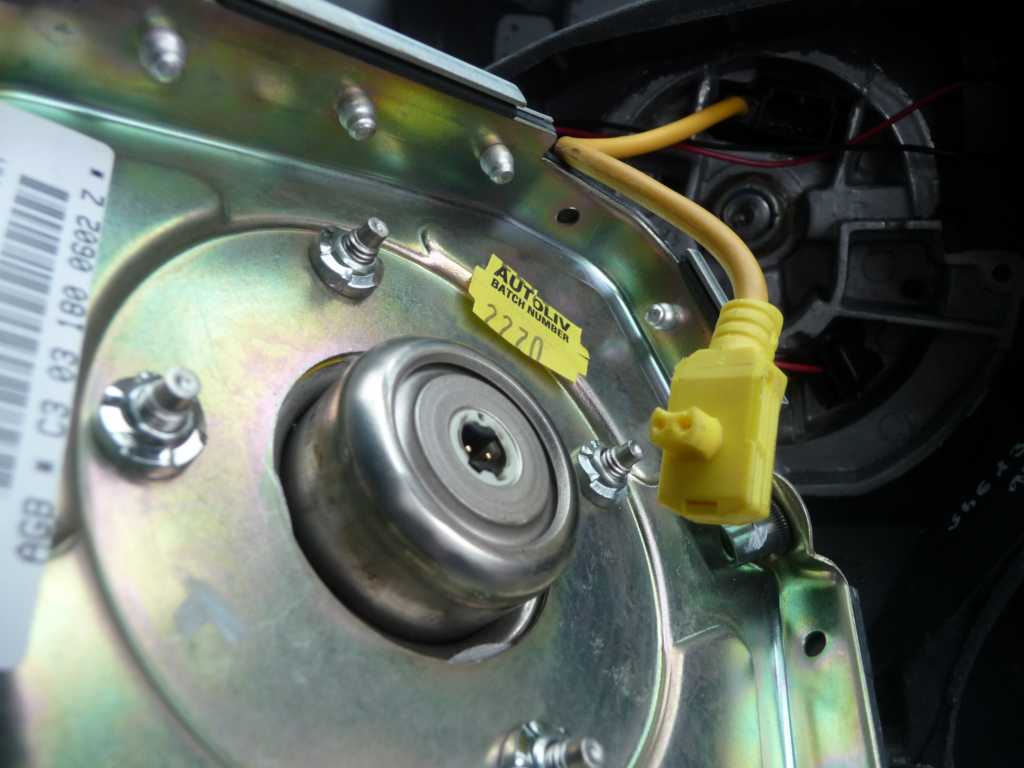
Now you can remove the Steering wheel, check the wheels are straight ahead. Undo the 19mm Center Bolt.
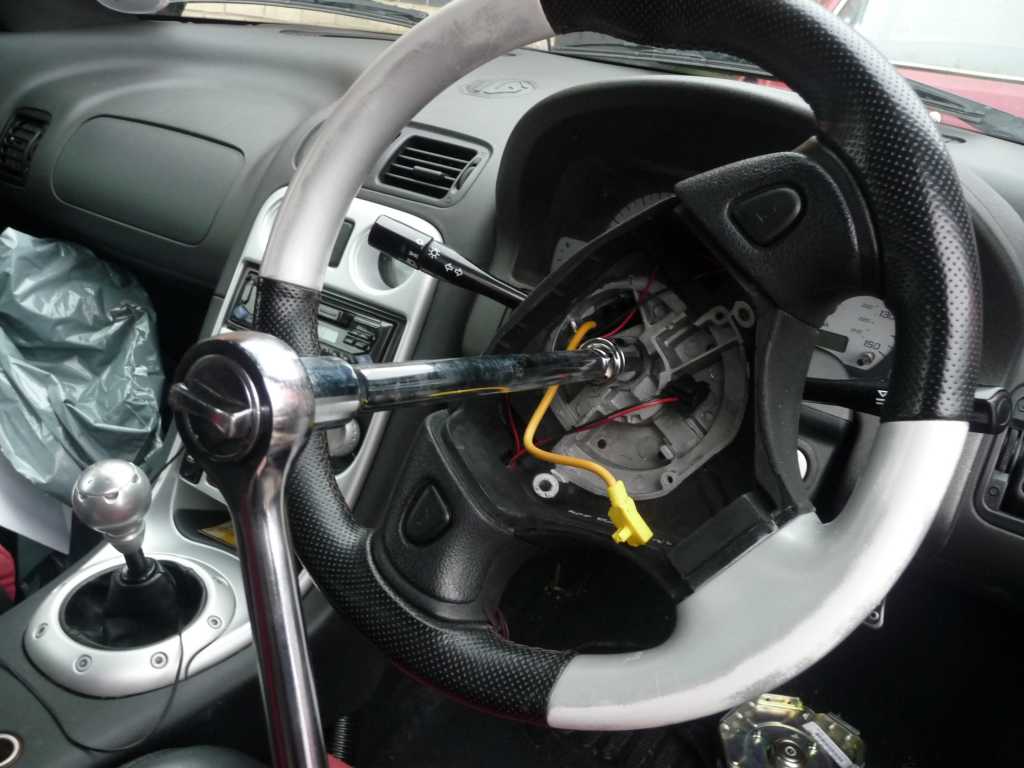
and remove the wheel, it just pulls straight forward.
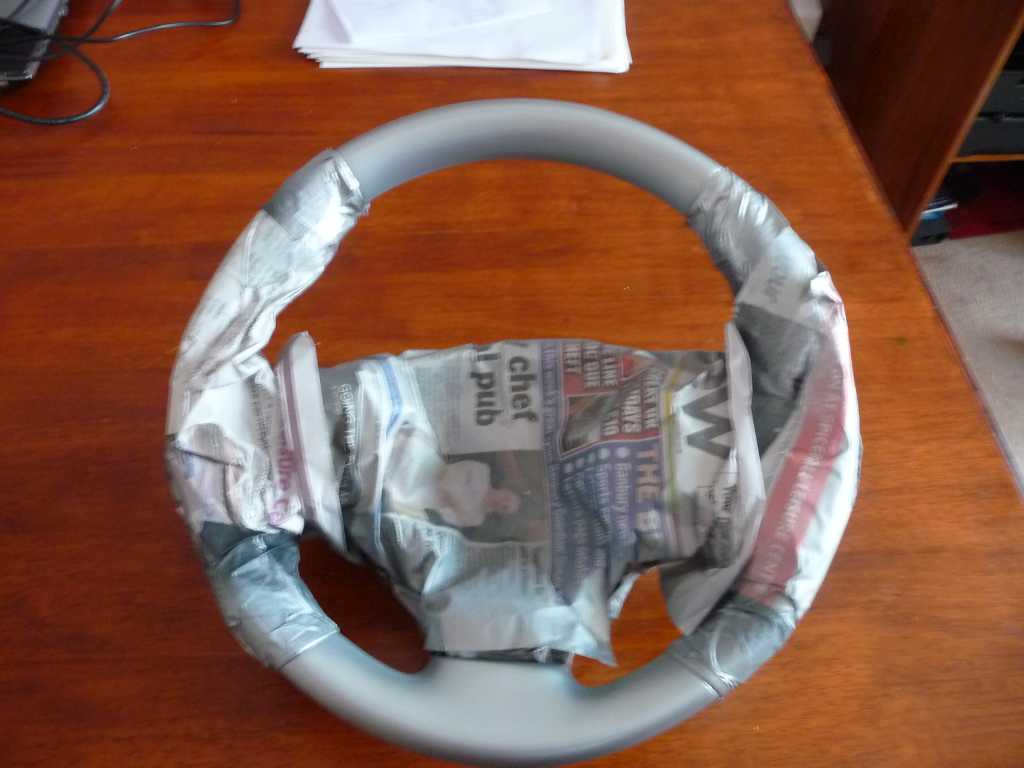
Now Mask up the wheel ready for spraying. this photo is after the Primer.
I have photos of this but it is just as easy to explain the process.
Primer: one coat of primer, wait to dry for 1 hour under a Halon Heater, but any heater will do.
When dry give a sand with the 1200 Wet and Dry paper (dry)
This was sufficient to be really smooth ready for top coat.
Spray top coat, don't worry about coverage too much, this is just the first one, you don't want to try and put too much on in one go or you'll get runs (this is when the 600 grit paper will be needed!!). spray cay approx 15-20cm from the wheel.
Leave to dry for 4 hours. when dry I sprayed on another top coat and left it over night.
it was not hard enough to sand back, 1200 wet and dry (Wet with soap) gave a lovely smooth finish.
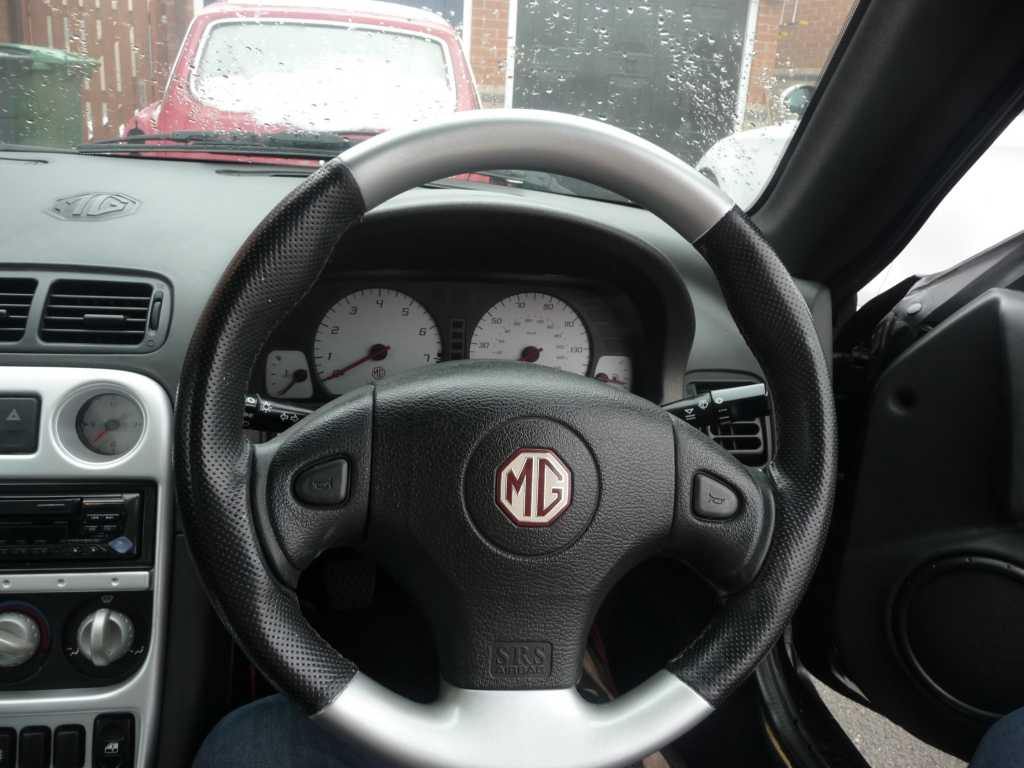
Now a layer of Clear Lacquer for hardness. Leave this at least overnight between coats. Mine is smooth enough to drive with, but I will be removing the wheel for a second coat of lacquer and a 1500 Wet and Dry (Wet with Soap) sanding to make it nice a smooth and shiny.
In true Haynes fashion, fitting is the reverse of removal, there were no hiccups or anything to watch out for when putting it back. Other than to ensure you have your wheel lined up straight.
Remember to reconnect the battery and away you go.
whilst waiting for the Paint to dry, I fitted the Airscarf, so I have two things to try out this afternoon!
Good Luck
Gary

Turned to the Darkside, K&N Apollo and extra bling fitted.52mm TB
Please Log in or Create an account to join the conversation.
Replied by Bob on topic Re: HOW TO: Refurb a Sparrk Steering wheel
Posted 14 years 5 months ago #39351
Please Log in or Create an account to join the conversation.
Replied by Laz1957 on topic Re: HOW TO: Refurb a Sparrk Steering wheel
Posted 14 years 5 months ago #39354

Please Log in or Create an account to join the conversation.
Replied by todds200 on topic Re: HOW TO: Refurb a Spark Steering wheel
Posted 14 years 5 months ago #39358Please Log in or Create an account to join the conversation.
Replied by PQD44 on topic Re: HOW TO: Refurb a Spark Steering wheel
Posted 14 years 5 months ago #39360
Please Log in or Create an account to join the conversation.
- a Guest
- User
-

Public
- Thanks: 0
Replied by a Guest on topic Re: HOW TO: Refurb a Spark Steering wheel
Posted 14 years 5 months ago #39363 Please Log in or Create an account to join the conversation.
- David Aiketgate
-
 Offline
- David
-

Super Users
- mgf mk2 freestyle mpi 16" wheels, in Anthracite.
- Posts: 20627
- Thanks: 4583
Replied by David Aiketgate on topic Re: HOW TO: Refurb a Spark Steering wheel
Posted 14 years 5 months ago #39366I did this on mine recently but forgot to take pictures.

I used MNH sparkle wheel silver to refurb and I think it gives a great result.
David

Please Log in or Create an account to join the conversation.

Replied by MGF MARK on topic Re: HOW TO: Refurb a Spark Steering wheel
Posted 14 years 5 months ago #39369to make sure all capacitors , and the system is discharged connect the posotive terminal of the battery lead to ground and leave it connected
just an old trick i learnt a long time ago
mad about cars and bikes ")
if it aint broke dont fix it
Please Log in or Create an account to join the conversation.
- Leigh Ping
-
 Offline
- Moderator
-

Registered
- Posts: 6840
- Thanks: 1634
Replied by Leigh Ping on topic Re: HOW TO: Refurb a Spark Steering wheel
Posted 14 years 5 months ago #39371I've added this guide to two sections in the categories thread. 'Painting' and 'Suspension & Steering'.
How did that work out for you?whilst waiting for the Paint to dry, I fitted the Airscarf, so I have two things to try out this afternoon!
Please Log in or Create an account to join the conversation.
- Gadget2466
-
Offline
Topic Author
- Time served MGer
-
Registered
- Posts: 281
- Thanks: 104
Replied by Gadget2466 on topic Re: HOW TO: Refurb a Spark Steering wheel
Posted 14 years 5 months ago #39439MGF MARK wrote: on disconnecting the battery just an extra point
to make sure all capacitors , and the system is discharged connect the posotive terminal of the battery lead to ground and leave it connected
just an old trick i learnt a long time ago
Thanks Mark A good note, anything advice to stop the airbag from taking your head off is great advice.
Hopefully a Trick you didn't learn by experience!!
Turned to the Darkside, K&N Apollo and extra bling fitted.52mm TB
Please Log in or Create an account to join the conversation.
- Gadget2466
-
Offline
Topic Author
- Time served MGer
-
Registered
- Posts: 281
- Thanks: 104
Replied by Gadget2466 on topic Re: HOW TO: Refurb a Spark Steering wheel
Posted 14 years 5 months ago #39440Leigh Ping wrote: Awesome guide(s). Thanks Gadget Gary.
I've added this guide to two sections in the categories thread. 'Painting' and 'Suspension & Steering'.
How did that work out for you?whilst waiting for the Paint to dry, I fitted the Airscarf, so I have two things to try out this afternoon!
Great Leigh. I think I may have pushed the tube in a bit far as the air out is colder than the face vents, it got a bit warmer, after I had turned down the temp knob strangely, I'm going to make sure the flexi-tube is not pushed too far in, or I may need to tape up the small vent too.
Turned to the Darkside, K&N Apollo and extra bling fitted.52mm TB
Please Log in or Create an account to join the conversation.
- Leigh Ping
-
Offline
- Moderator
-
Registered
- Posts: 6840
- Thanks: 1634
Replied by Leigh Ping on topic Re: HOW TO: Refurb a Spark Steering wheel
Posted 14 years 5 months ago #39442That seems to be the case for 5 minutes or so. I always point the heater to the windscreen for that period of 'warming up' then I point the vent to the feet / airscarf. It is much better on a journey over 15 minutes in duration and it isn't an insulated, expensive hose. So, it won't be as hot as the centre vents which are close to the heating matrix. It's still quite noticably warm though.Great Leigh. I think I may have pushed the tube in a bit far as the air out is colder than the face vents, it got a bit warmer, after I had turned down the temp knob strangely, I'm going to make sure the flexi-tube is not pushed too far in, or I may need to tape up the small vent too.
Keep us posted and pics are always good.
Please Log in or Create an account to join the conversation.