We've all been there, either you are removing a bolt and it is rusted solid. You apply some pressure and........snap, the head comes off and leaves the bolt in place. Either that or you are putting the bolt in and it becomes cross threaded or damages the thread through over tightening.
What will you do now (after swearing) ?
If you are lucky, then it is in a piece that is cheap and easily replaced.
If you are not lucky?
Well, the easiest option is a thing called an easy out. It is like a tapered bolt with a reversed cutting thread. You drill a hole and then tighten the easy out into the hole. It bites in and gives you enough grip to remove the bolt.
However, from my experience these seldom work. If the bolt is that seized that it snapped the bolt then it is in there for good.
So. The first thing we need to do is drill the bolt out.
Start with a small pilot hole and work your way up to a size just smaller than the thread size. Once this is done you may be able to clean the threads out with the correct tap set.
If you manage this then you are very very lucky. I haven't managed it yet. You have to get the drill dead centre and the thread spot on. Normally one or the other suffers damage and will not take much load before the new thread strips.
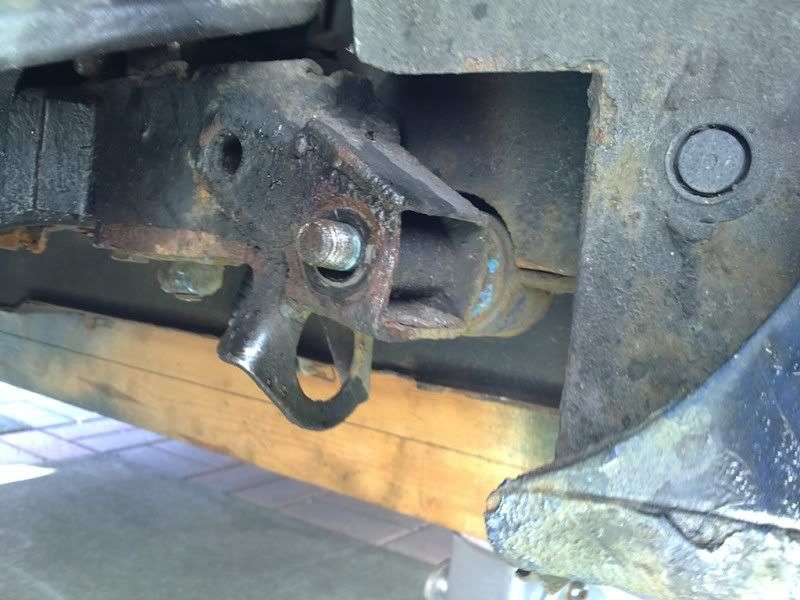
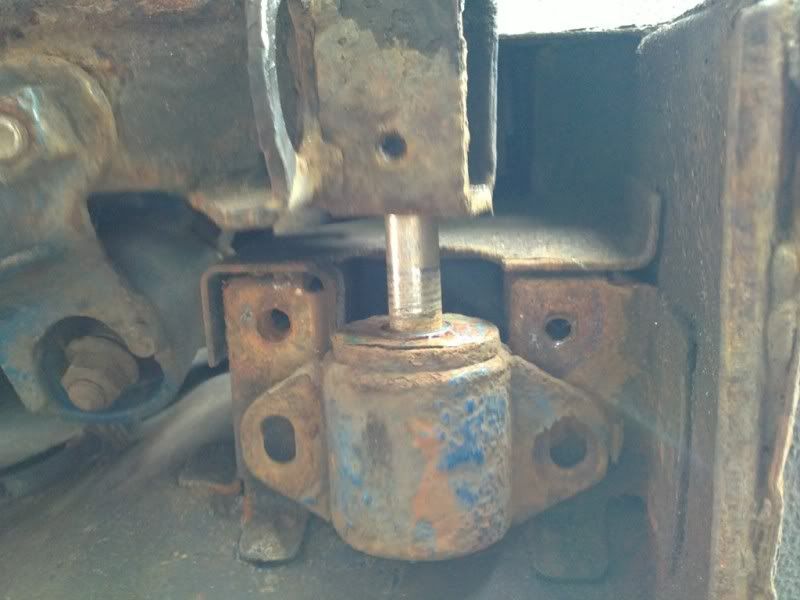
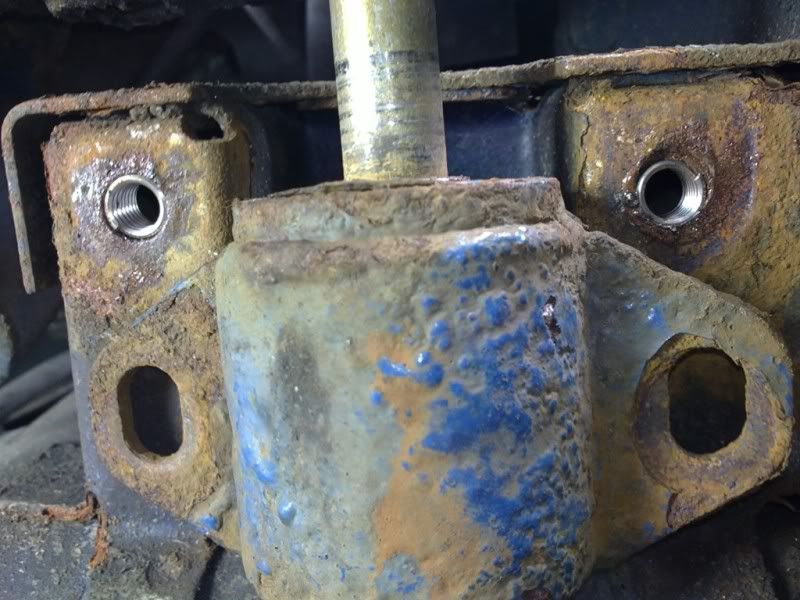
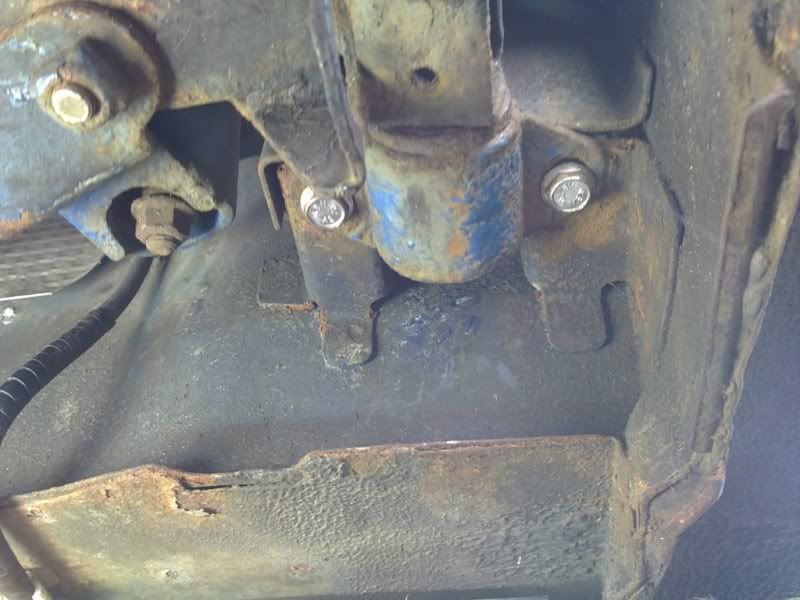
This is what happened to my front offside mount for the rear subframe.
The bolts would not tighten to full torque without the threads stripping.
So, what options are we left with?
You could drill a bigger hole and tap it, going up a bolt size, but even that isn't guaranteed to be a success.
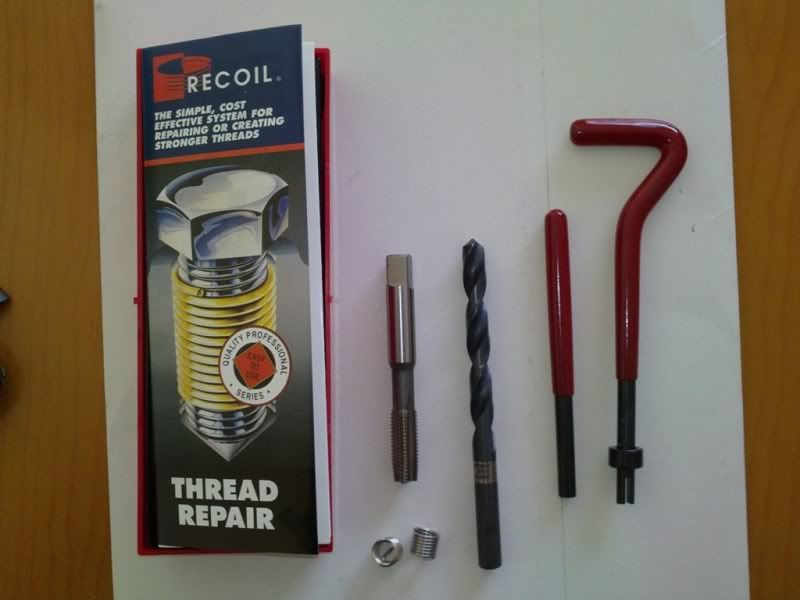
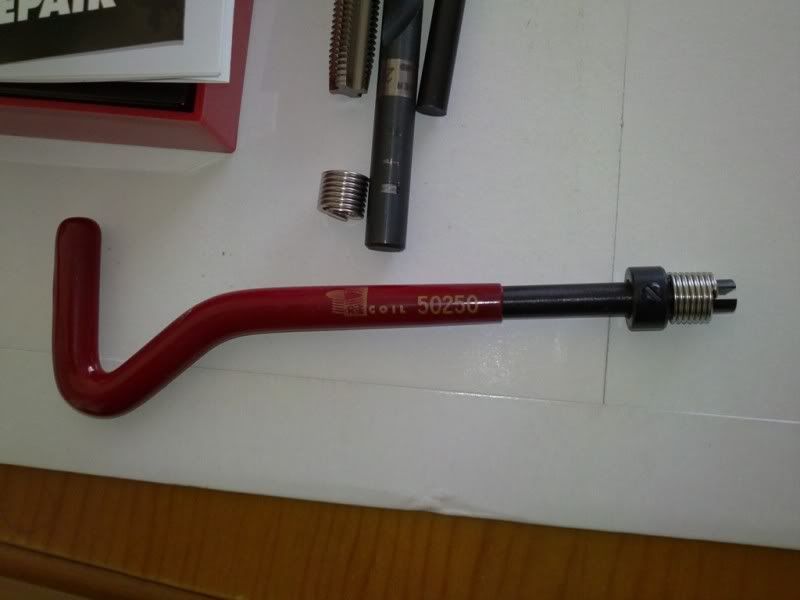
The easiest option is what is commonly called the Helicoil system.
There are many types including recoil, the set that I used.
It looks complicated, but is very very easy to do and may save you an expensive repair bill.
A kit usually comes in the size you need. As I am doing the subframe mount, I need to repair an M8 x 1.25 thread.
The kit comes with everything you need, except for a drill and bit.
The drill bit is mine. You need to use the correct drill size as stated by the recoil size, in this case it is 21/64".
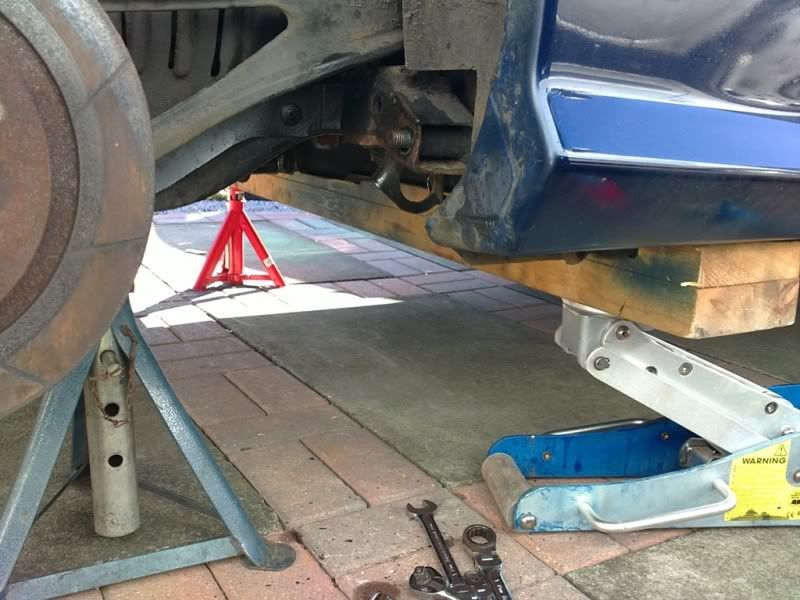
First we need to jack up the car and remove the wheel. Always use axle stands for safety and chock the front wheels.
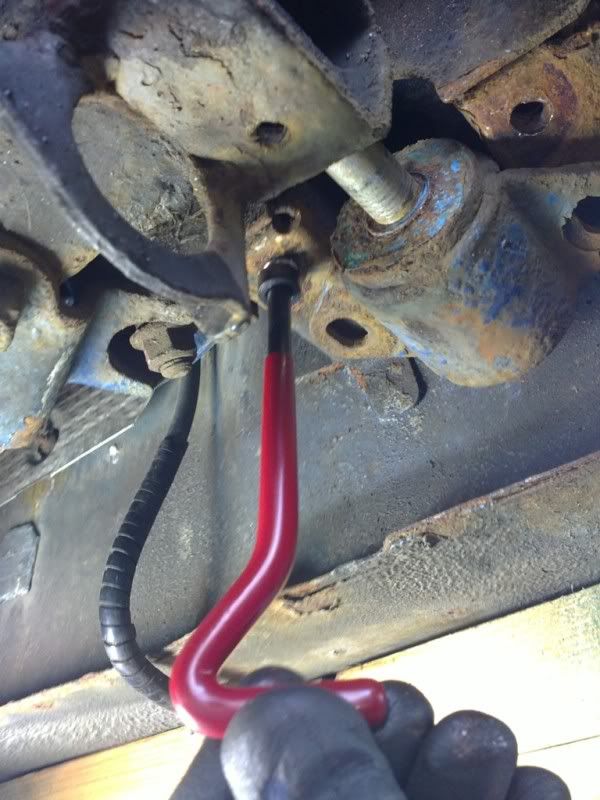
This gives us access to the front subframe bracket.
Loosen and remove the nut holding the main mount bolt.
Now remove the two M8 bolts or drill out the bolts if sheared.
Using something to spread the weight, gently jack up the body so it just lifts slightly from the subframe mount.
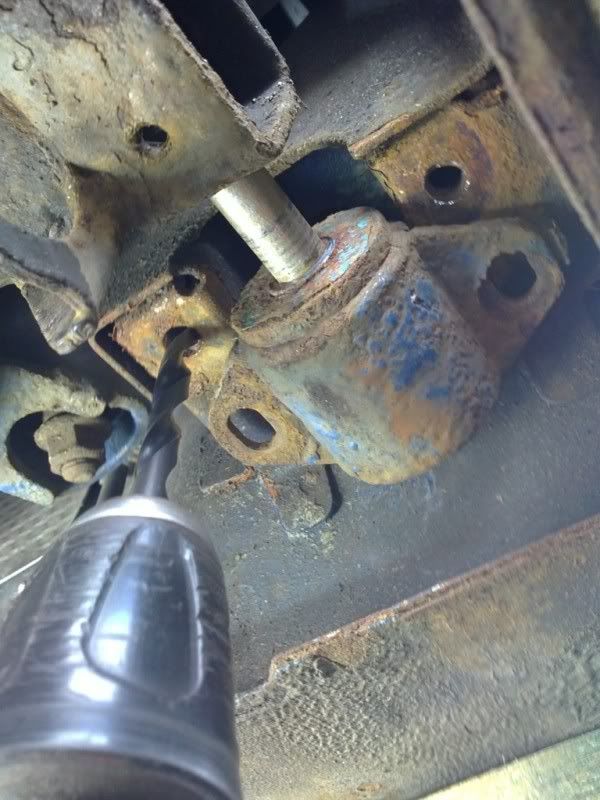
This takes the weight off the mount and allows it to slide back to reveal the bolt holes that we will be working on.
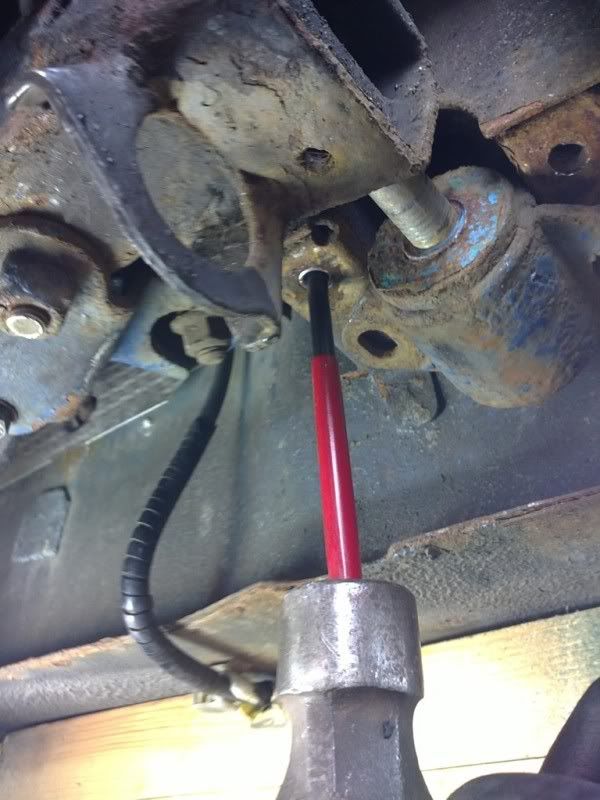
Now, carefully drill out the holes using the 21/64" drill, making sure that you are drilling square to the body and not at an angle. Don't forget to wear goggles etc to avoid getting metal in your eyes.
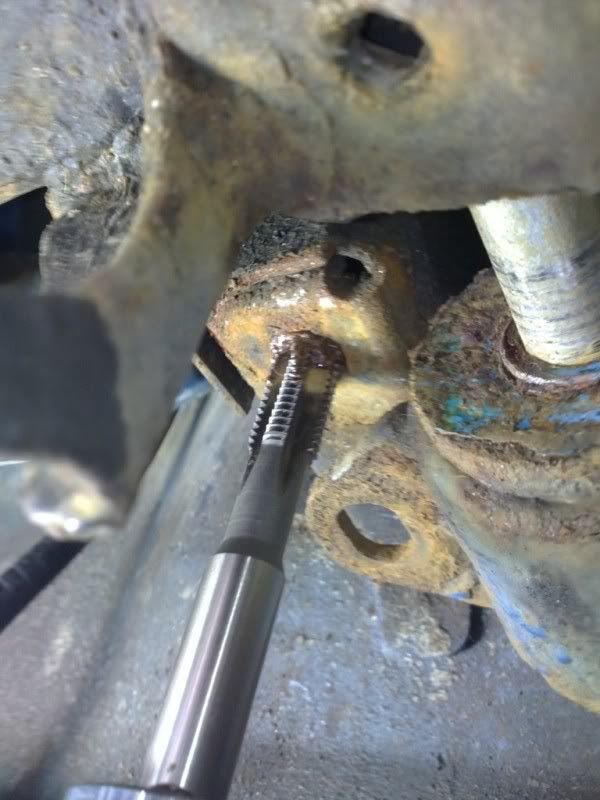
Once you have drilled the holes, lubricate the tap (I used copper grease) and turn it into the drilled hole while pushing against it. Again, make sure that you are tapping square to the body. Turn the tap back a turn or two every now and then to create a cleaner thread.
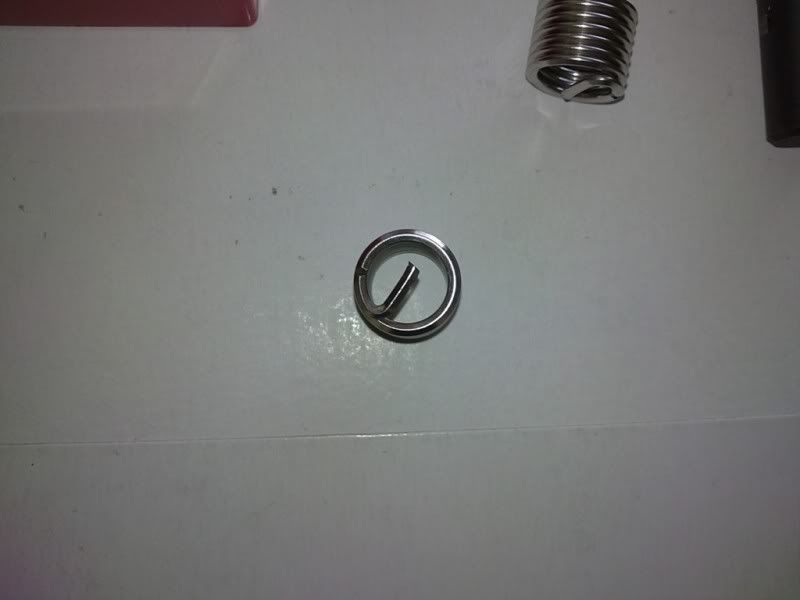
Once the thread has been cut, you need to load a recoil/helicoil
Onto the provided tool
with the tang located in the slot
Clean the newly tapped hole and wind the thread insert into the tapped hole
until the thread insert is slightly below the hole (i.e. not sticking out).
Now, using the second tool provided, insert it into the hole until it touches the tang. Now give it a sharp blow with a hammer.
This snaps the tang off so that the bolt doesn't hit it when you put the new bolt in.
You have now repaired the damaged threads.
So all you need to do now is fit new bolts
and put the car back together.
I told you it was easy.
This method can be used for almost any threaded hole, including spark plug holes, although you may need to remove the head first so that metal doesn't get into the bore.
So, for the sake of £20 for the kit, you may have just saved your car, or at the very least saved a couple of hundred quid in garage bills.


")

 , and well timed, given that that I have 3 bolts to-do. Same darn front of rear sub-frame ones too.