Heated Rear Window Glass Element Repair Guide.
- bryan young
-
 Offline
Topic Author
Offline
Topic Author
- Master MGer
-

Registered
- Posts: 3635
- Thanks: 776
Heated Rear Window Glass Element Repair Guide. was created by bryan young
Posted 14 years 6 months ago #34194
Can anyone tell me if it is possible to repair the heated rear window element??? One of the tags has come off 
It is not my car, but it is on a beautiful 2005 TF Spark that Kim (Kimshros) has just bought and as she has just gone skiing, i have been tasked with the question
It is not my car, but it is on a beautiful 2005 TF Spark that Kim (Kimshros) has just bought and as she has just gone skiing, i have been tasked with the question
Last Edit:14 years 5 months ago
by bryan young
Last edit: 14 years 5 months ago by Leigh Ping.
Please Log in or Create an account to join the conversation.
Rendering Error in layout Message/Item: client authentication failed. Please enable debug mode for more information.
Please Log in or Create an account to join the conversation.
- a Guest
- User
-

Public
- Thanks: 0
I fixed mine tonight. The "glue" /paint stuff was useless...I guess its just for fine breaks in the thin elements, not for the full contact point
OK, update. Circuit was reading 2 ohms...when piggybacking connectors, 2 ohms, when connecting top and bottom of element, etc..but when contacting silver "repair" paint..it was going up to 400 ohms or more.
I had an emergency trip to GP today due to a random attack of Olemecron Bursitis.caused by an infected bursa....ended up with 4 weeks of antibiotics .....so I had a few hours spare (wasn't worth going all the way back to work") )....soooo
)....soooo
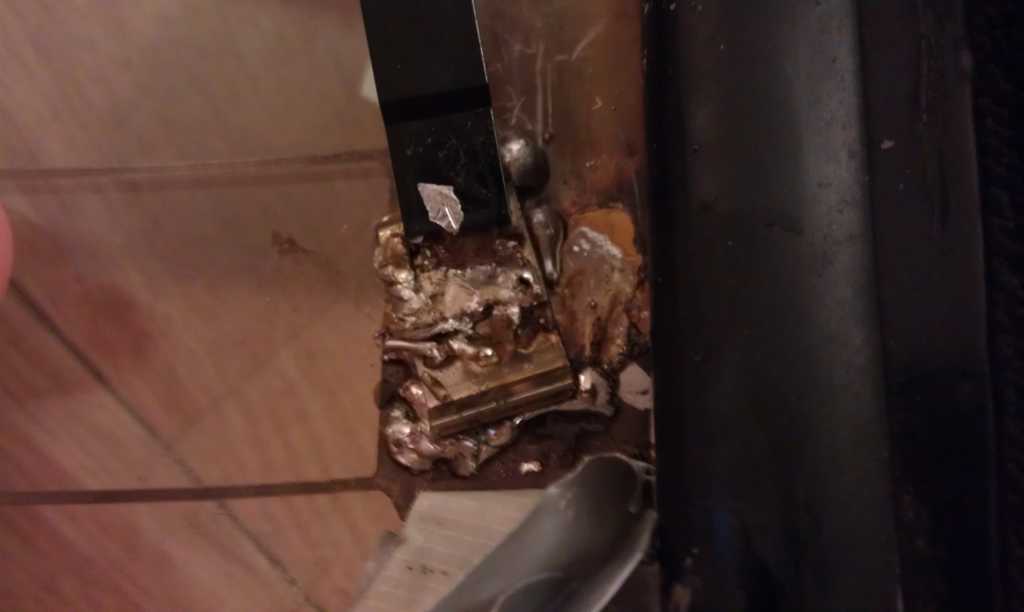
I removed hardtop into living room*, "broke" contact, cleaned window and go the portable soldering iron out...lets just say I have NEVER been good at soldering....and certainly not soldering onto bloody glass!!!.
I first attached the smallest metal thing I could find (one of those screw clips you put between wheel arch and arch liner...dunno what they are called) to the glass with solder...this took ages as the solder would not stick anywhere!! eventually it did, and then I soldered the contact point to the metal clip ..and once cooled down check resistance/ohms again and no there was a circuit between the metal clip and the top contact....result? Possibly the messiest solder job you will ever see (now hidden from view with silver tape)
Well by this time it was very dark (as it had started to sleet/snow) and of course the council save money by having street lights on timer rather than by light sensor, so no street lights and no daylight....so tested it in the house
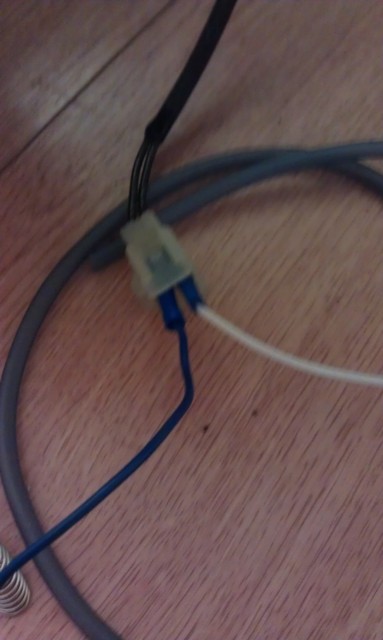
first attached some spade connectors to 2 bits of wire and attached to spades on HRW plug
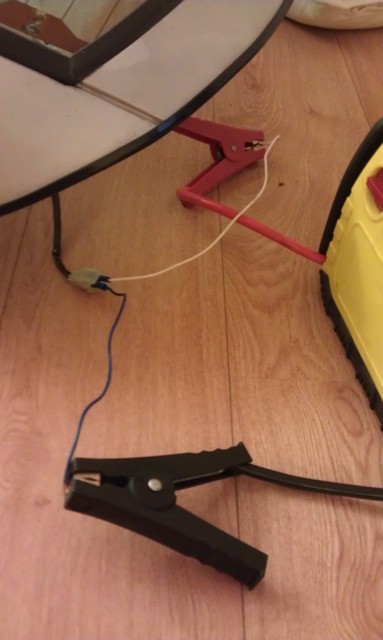
Then attached to 12V battery pack, and placed a bowl of boiling water underneath to generate a steamy window
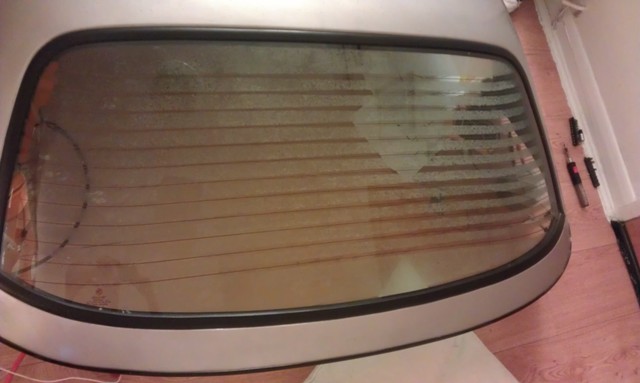
And then switched on power pack and lo and behold.....it worked....started at opposite end of window (RHS)..probably because boiling water was at LHS, but you can see its clearing around wires, after just a few seconds....
Once I was happy, I then bathed the soldered joint in superglue to seal it to window for ever.......
*obviously if anyone asks, I got a "friend" to remove the hardtop , as I had a sore elbow
OK, update. Circuit was reading 2 ohms...when piggybacking connectors, 2 ohms, when connecting top and bottom of element, etc..but when contacting silver "repair" paint..it was going up to 400 ohms or more.
I had an emergency trip to GP today due to a random attack of Olemecron Bursitis.caused by an infected bursa....ended up with 4 weeks of antibiotics .....so I had a few hours spare (wasn't worth going all the way back to work
)....sooooI removed hardtop into living room*, "broke" contact, cleaned window and go the portable soldering iron out...lets just say I have NEVER been good at soldering....and certainly not soldering onto bloody glass!!!.
I first attached the smallest metal thing I could find (one of those screw clips you put between wheel arch and arch liner...dunno what they are called) to the glass with solder...this took ages as the solder would not stick anywhere!! eventually it did, and then I soldered the contact point to the metal clip ..and once cooled down check resistance/ohms again and no there was a circuit between the metal clip and the top contact....result? Possibly the messiest solder job you will ever see (now hidden from view with silver tape
)
Well by this time it was very dark (as it had started to sleet/snow) and of course the council save money by having street lights on timer rather than by light sensor, so no street lights and no daylight....so tested it in the house
first attached some spade connectors to 2 bits of wire and attached to spades on HRW plug
Then attached to 12V battery pack, and placed a bowl of boiling water underneath to generate a steamy window
And then switched on power pack and lo and behold.....it worked....started at opposite end of window (RHS)..probably because boiling water was at LHS, but you can see its clearing around wires, after just a few seconds....
Once I was happy, I then bathed the soldered joint in superglue to seal it to window for ever.......
*obviously if anyone asks, I got a "friend" to remove the hardtop , as I had a sore elbow
Last Edit:14 years 5 months ago
by a Guest
Last edit: 14 years 5 months ago by a Guest.
Please Log in or Create an account to join the conversation.
Time to create page: 0.711 seconds