Before we remove the wings there are a few things we need to remove first.
We need to remove the front bumper and wheel arch liners.
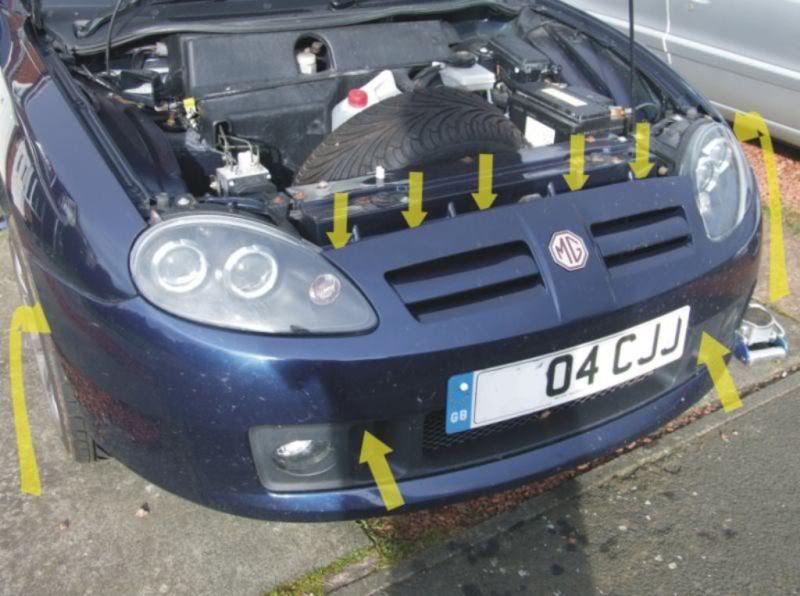
The Front bumper is held in 4 main places.
Across the top of the grill (5 x Cross Head Screws)
Inside the wheel arch (2 x Cross Head Screws on each side)
Underneath the radiator (2 x Cross Headed Plastic Screws)
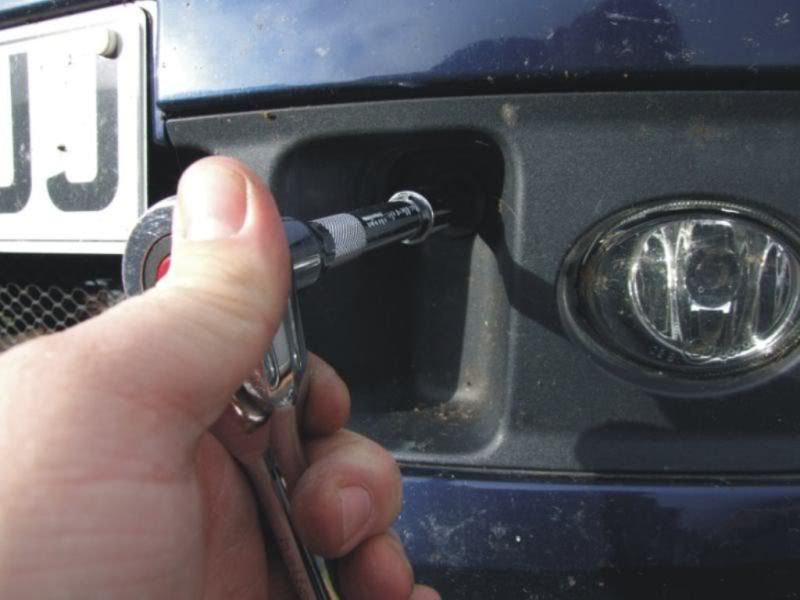
In the recesses each side of the number plate (2 x T50 Torx Screws)
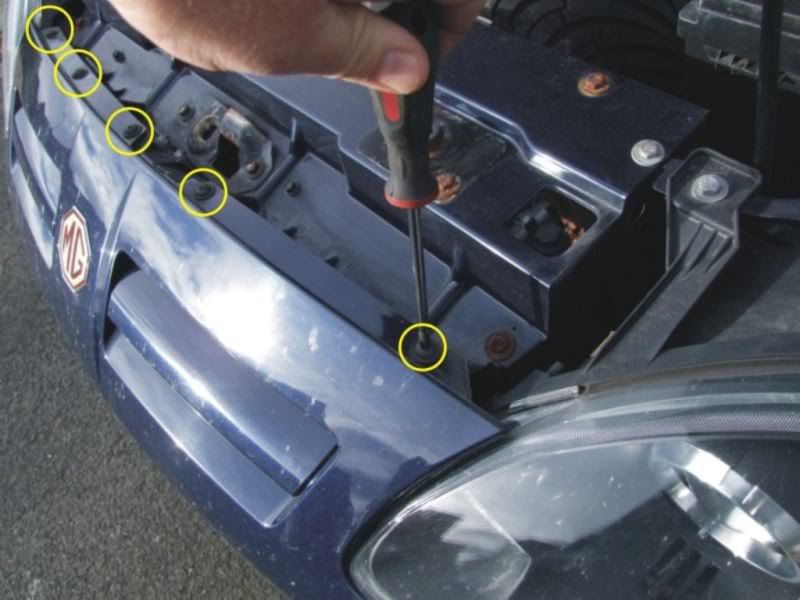
I started by removing the 5 screws at the top.
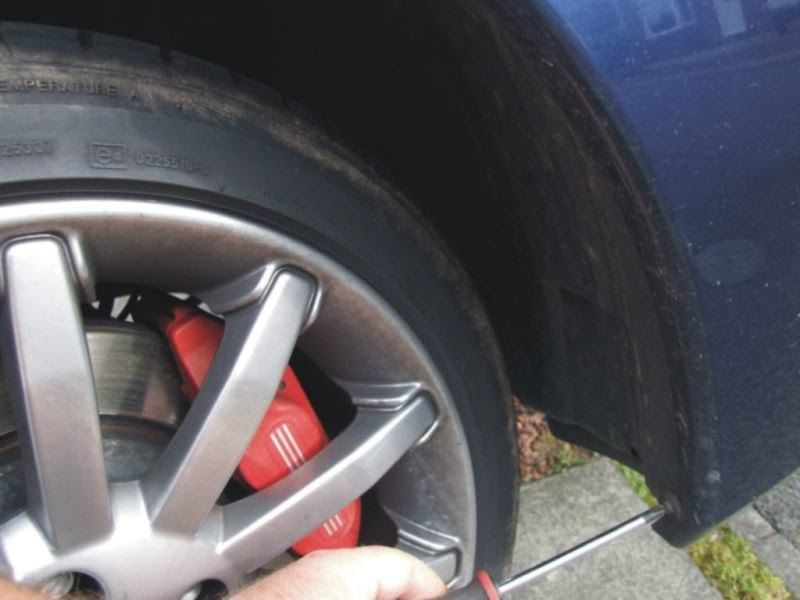
Then I removed the front wheel arch liners. There are 2 metal cross head screws on the front edge of the arch
and one on the rear edge.
and 3 plastic trim cross head screws at the back of the arch, holding the liner in place.
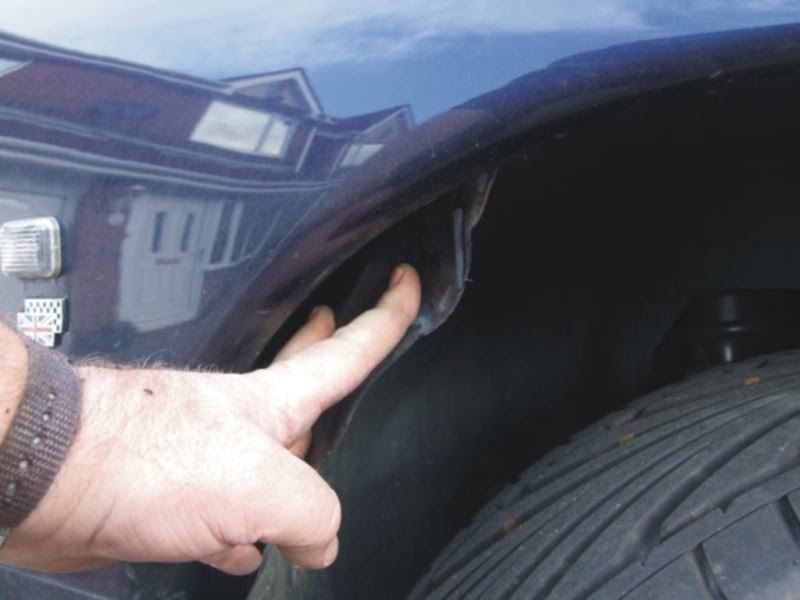
Once all of the liner screws are removed you can remove the liner. Start by peeling the liner from the front of the arch. Try to avoid the liner scraping the paint off the inner edge of the wheel arch. Personally, I think this might be why the wheel arch rusts on the TFs.
Until the whole liner is released and it can be pulled out over the wheel.
Then remove the 4 cross headed screws (2 each side) holding the bumper to the wing.
If you have fog lights, you can now disconnect the plugs to each light. Using thumb and forefinger squeeze (or push) the rear edges of the plug together to release it and pull towards you.
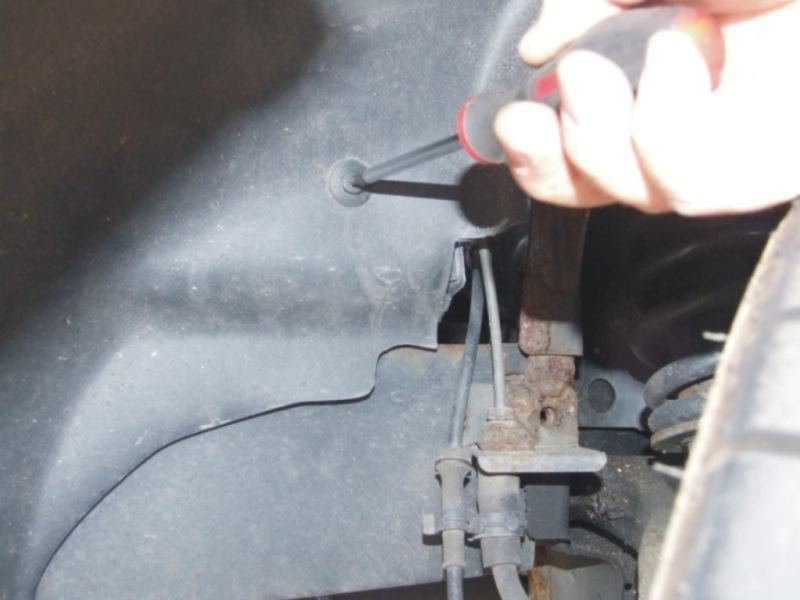
While you are under the car, there are 2 plastic trim screws that secure the underside of the bumper to a central strap. Remove these. You may need a right angled screwdriver or need to remove the plastic panel behind to gain access with a normal screwdriver.
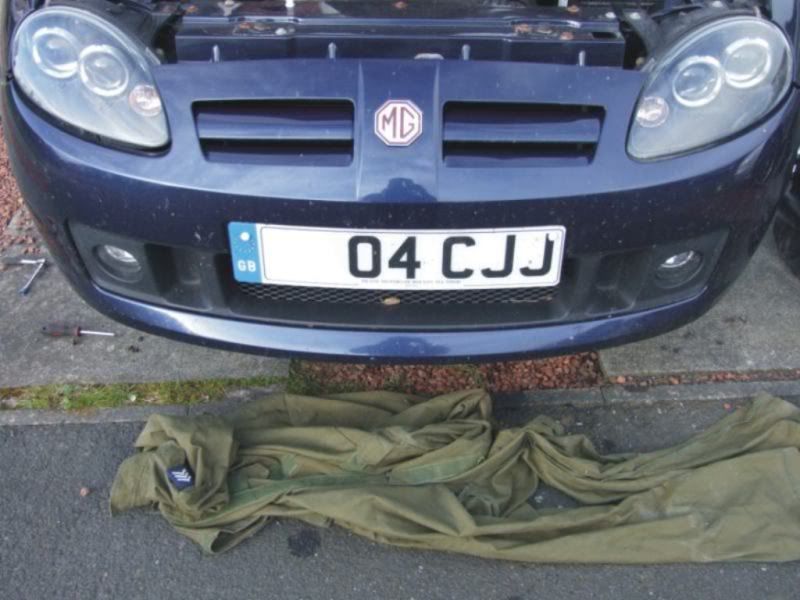
Now lie something soft in front of the bumper in case it falls to prevent it getting scratched.
You can now remove the two Torx screws holding the bumper to the chassis.
You can now carefully remove the bumper by pulling it towards you from the centre. Place the bumper somewhere where it cannot be damaged.
And that is the bumper removed.
First thing you might want to do is disconnect the indicator. On mine the lamp holder unit twists and pulls out.
You can now access the bolts to remove the wing.
It goes without saying (even though I’m saying it) that you might need to go around the bolts with a wire brush and penetrating oil before you start.
There are 3 x 8mm bolts, 2 x 10mm bolts and 3 x 10mm coarse screws along the top. There is also a plastic push in plug in the top rear of the wing where the edge of the door is.
You can do them in any sequence you want to, but I found the safest way was to leave the 3 x 10mm bolts along the top of the wing until last.
Firstly, remove the 8mm bolt at the front of the wing, behind the headlight.
Then the 8mm bolt that attaches the wing to the bracket at the front.
If this bolt is too seized, you can undo the bracket from the inner wing, which is held onto a stud by an 8mm nut.
Now it starts getting a bit more difficult due to positioning of the bolts. Next there is another bracket, at the back of the wing, rearward of where the indicator is. It is about half way up the wing.
And is held onto the inner wing by another 8mm bolt.
Now, there are 2 x 10mm bolts holding the bottom of the wing to the sill.
That is all of the bolts under the wing removed and there should be a little play, at least enough for the next job.
I have to admit, I didn’t know about the plastic fixing near the windscreen when I did it and I had removed all the bolts. Once I realised and pooped the plastic fixing out, I then dropped the wing, scratching it. Luckily It was going away for painting anyway.
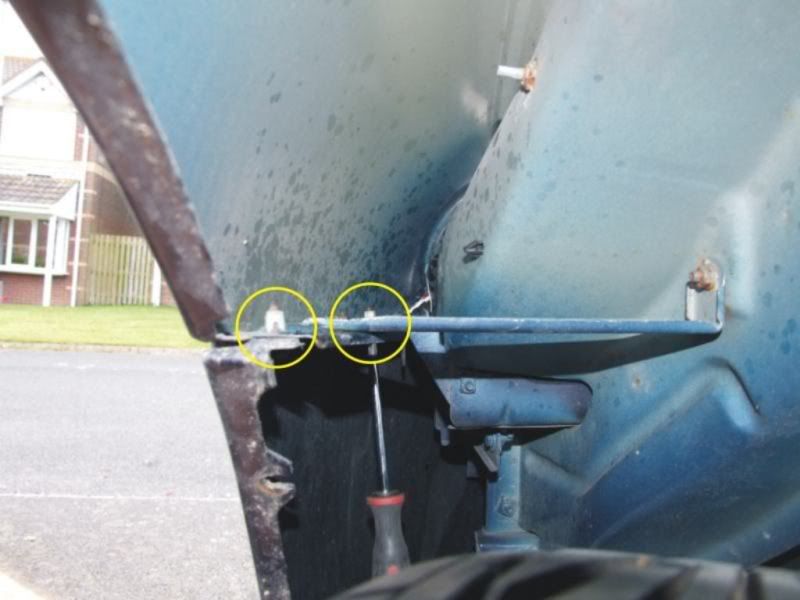
So, while you still have the 3 x 10mm top bolts in place, go to the top rearmost point on the wing, just under the corner of the windscreen and you will find a rubber membrane where a plastic plug pushes through and attaches it and the wing to the bottom of the windscreen pillar.
Here it is with the wing removed, just so you know what I am on about.
You need to slightly pull the top of the wing out and insert a trim removal tool, or a screwdriver, and lever the plug out to release the corner of the wing. Be careful not to damage the paintwork on the bottom of the windscreen pillar.
Ignore the cable, it is just my battery optimiser.
Once the plastic fixing has been released there are just the 3 x 10mm screws along the top of the wing.
Carefully remove these screw/bolts
And the wing can be removed. Place it somewhere safe where it won’t get scratched.
Refitting will be the reverse, but do not tighten the bolts and screws until you have fitted them all in place.
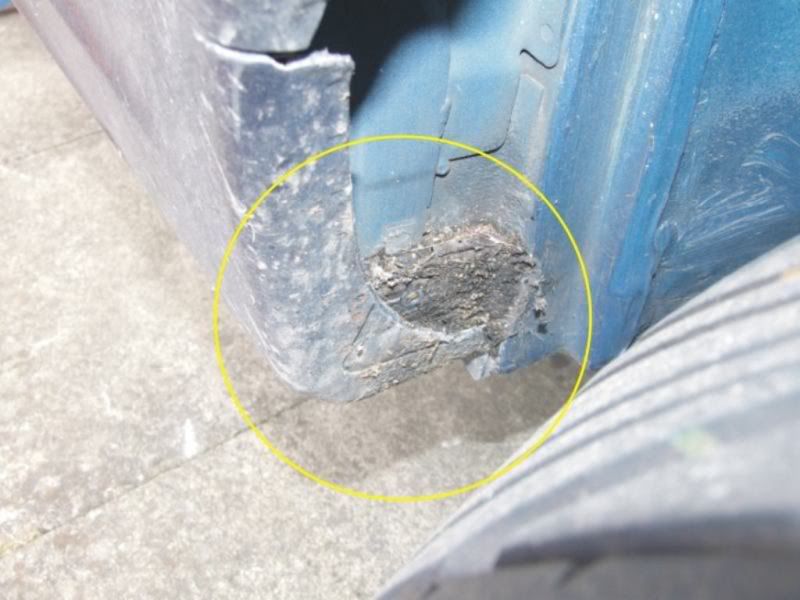
While the liners are out and the wings are off it is worth checking the inner wings. One point of concern is the rear lower part of the wing where it gets packed full of crud which will hold moisture in place and speed up corrosion in this area. Clean out and add waxoil or similar.
Also, while the wings are off it is a lot easier to adjust your door alignment or replace the hinges or bushes. Not necessary, but worth planning in if these jobs need doing anyway.