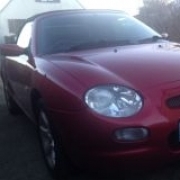
The 2003 MG TF I recently bought came with original 70mm front & rear badges. Sadly, these were faded to an almost uniform colour, and a lot of the (formerly) red enamel in the lettering had chipped off. I didn't think to take a "before" picture

I set out to restore the badges last evening, inspired by this post:
Replacing Faded Badges MG TF - How To
I bought a set of
blue badge inserts
on ebay (£7), to match the colour of the car – trophy blue. These are vinyl with an adhesive backing, and I thought they looked lovely.
Except they didn't quite fit over the old badges, leaving an unsightly 1-2mm border of the old badge, and a rough, sticky edge for grime to accumulate.
Here's what I did:
1. Fetched my manicure kit (Sigh... I won't be giving myself fancy nail extensions anytime soon, not while I restore this car)
2. Buffed the edge of the badges with a
double-sided nail file
3. Applied a layer of
UV base coat
and cured it under a 72W UV LED lamp. The stickers have a protective film, so I didn't have to be too precise.
4. Filled in the border gap with
black polygel
(used for nail extensions), smoothed it over with a brush dipped in rubbing alcohol, cured it under the LED lamp, then filed down to make a fine bevel edge. This. Stuff. Is. HARD.
5. Removed the protective film from the stickers and applied a few coats of clear gloss spray. (
Rust-oleum brand
, left over from spraying some grille meshes)
Manicure kits should be a household staple

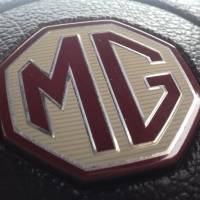
Fresh badge:
A close-up of the dry, final product this morning:

 Topic Author


")