The lower link arm is part of the suspension and helps keep the rear hub parallel when the wheel moves up and down during suspension travel. This part is responsible for keeping correct camber, along with other components.
Earlier models had adjustable arms which allowed for better setup, but later TFs had solid arms with no adjustment. I guess it was a cost saving exercise.
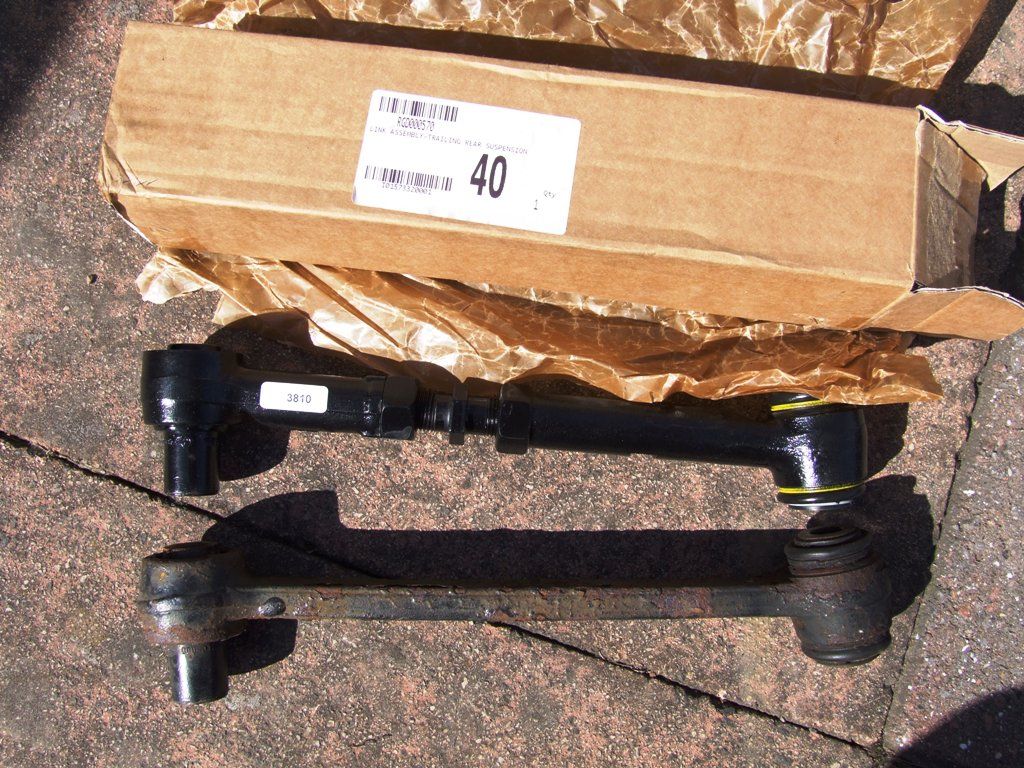
This is the arm we will be changing.
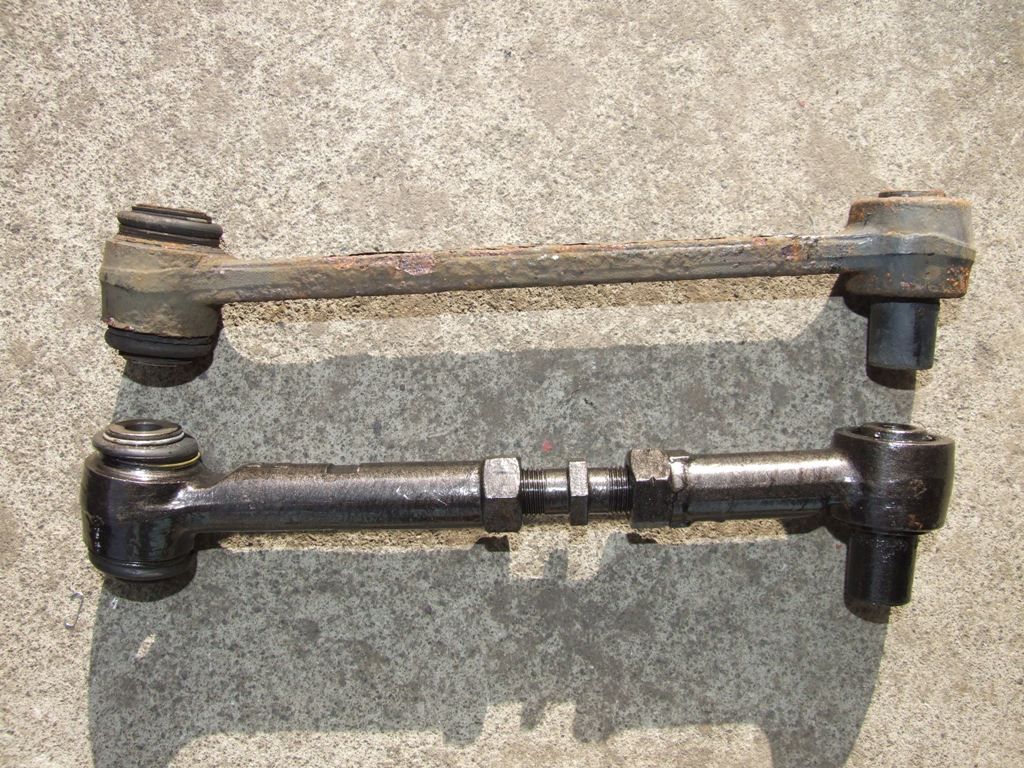
And here we can see the difference between the adjustable and non adjustable arms.
The adjustable arms are very rare now. The 2 that I bought came from far flung lands. One I ordered from Germany and the other came from a strange place called Scotland.
So, why would we need to change the arm?
As with most suspension components, they wear. The rubber bushes at the end become soft and increased play results in movement of the rear hub and the car will wander and feel as though you are driving on ice.
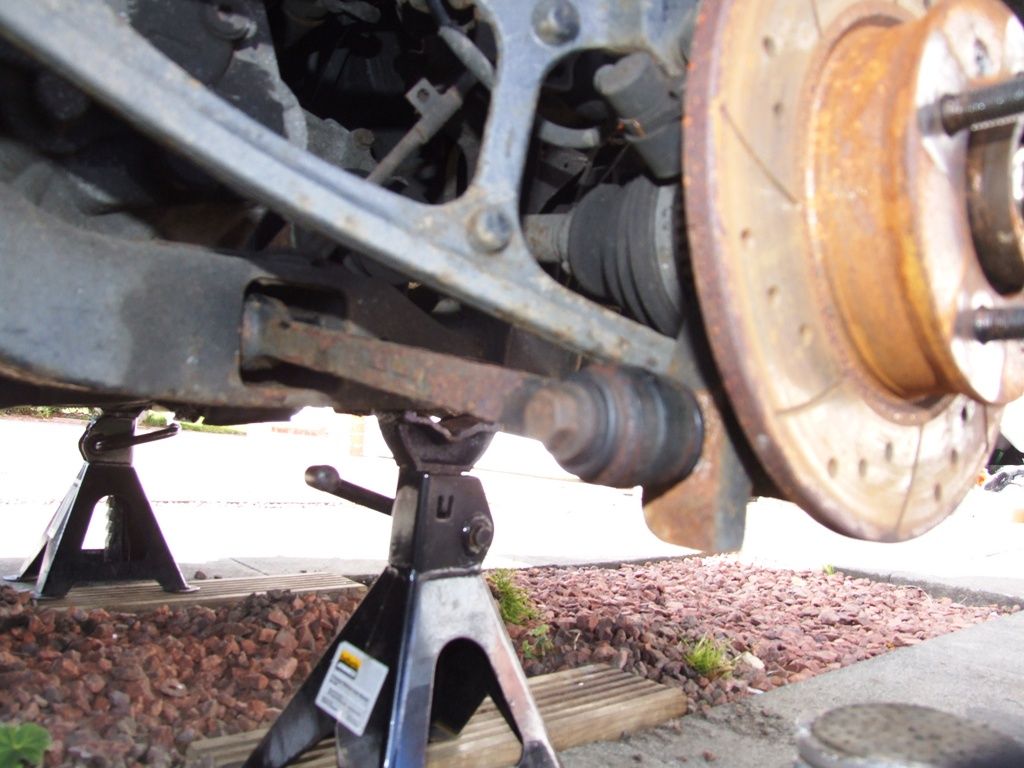
This shows the play that was found in mine. As you can see the best way to check for play is to jack the car up so the weight is off the wheel and firmly move the wheel in horizontal and vertical movements while watching the joints.
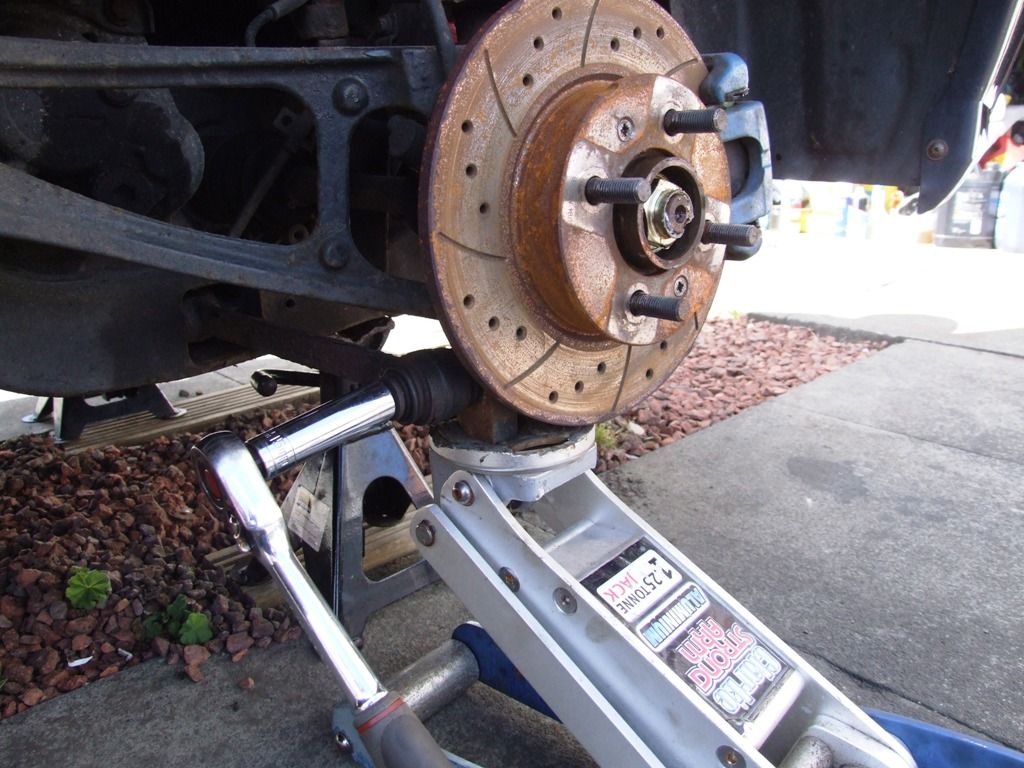
As we have discovered that we that we need to change the arm, we now need to jack the rear end up off the ground. This really is an easy job if you have the correct tools.
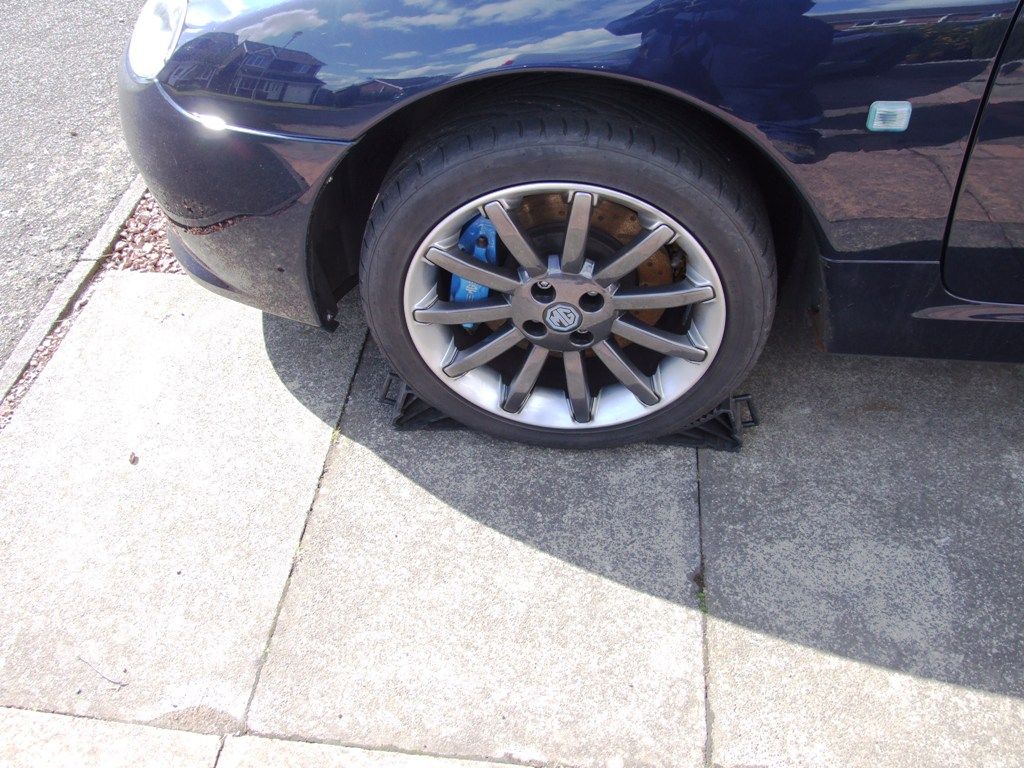
The usual Health and Safety stuff applies.
Only work on level ground using correct equipment, such as a jack and axle stands of the correct rating. Also chock the front wheels as the handbrake won’t work with the rear wheels off the ground.
Remove the rear wheels
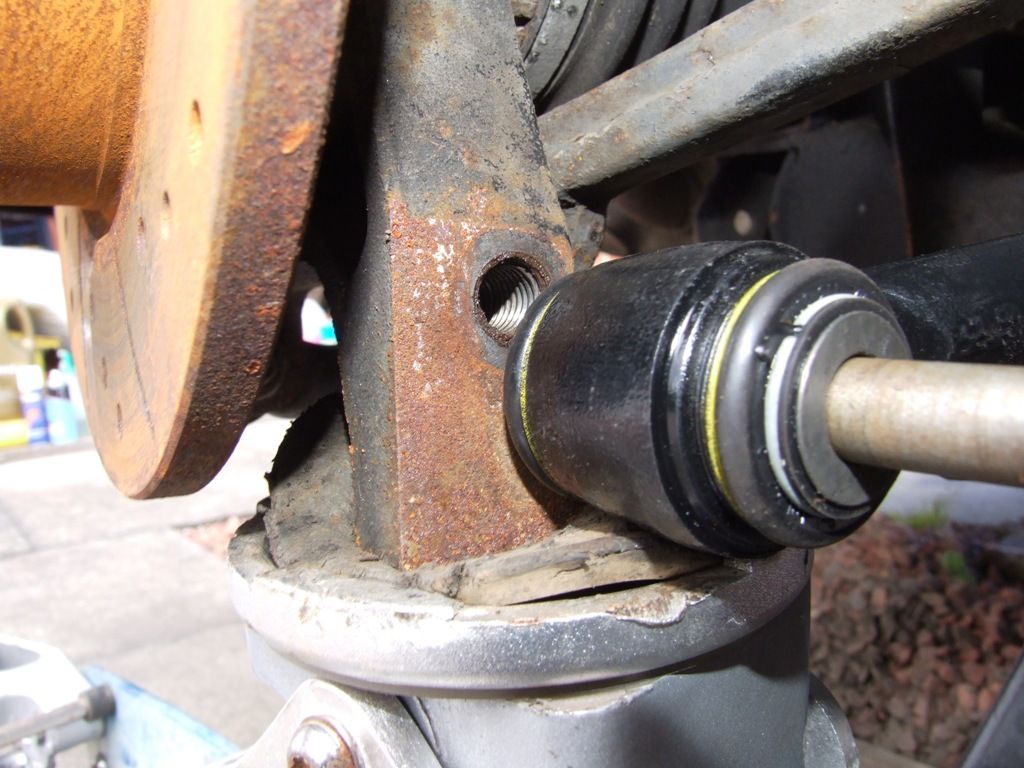
And you now have access to the link arm.
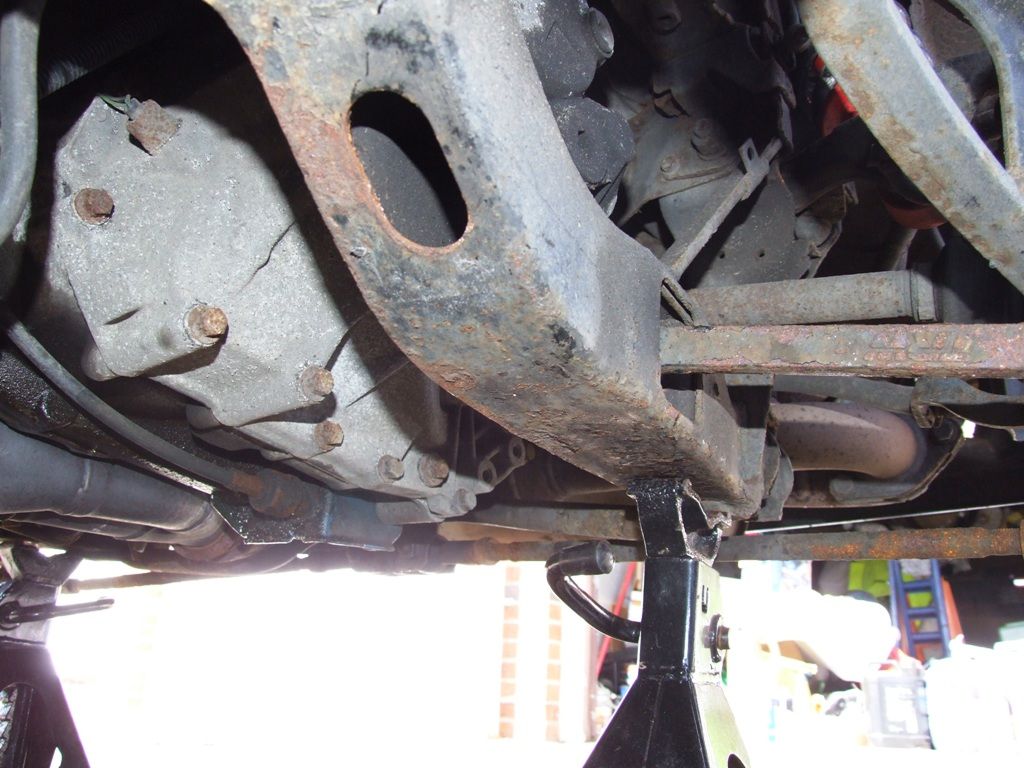
Remove the cover, or the piece of tape that covers the access hole on the front of the subframe leg.
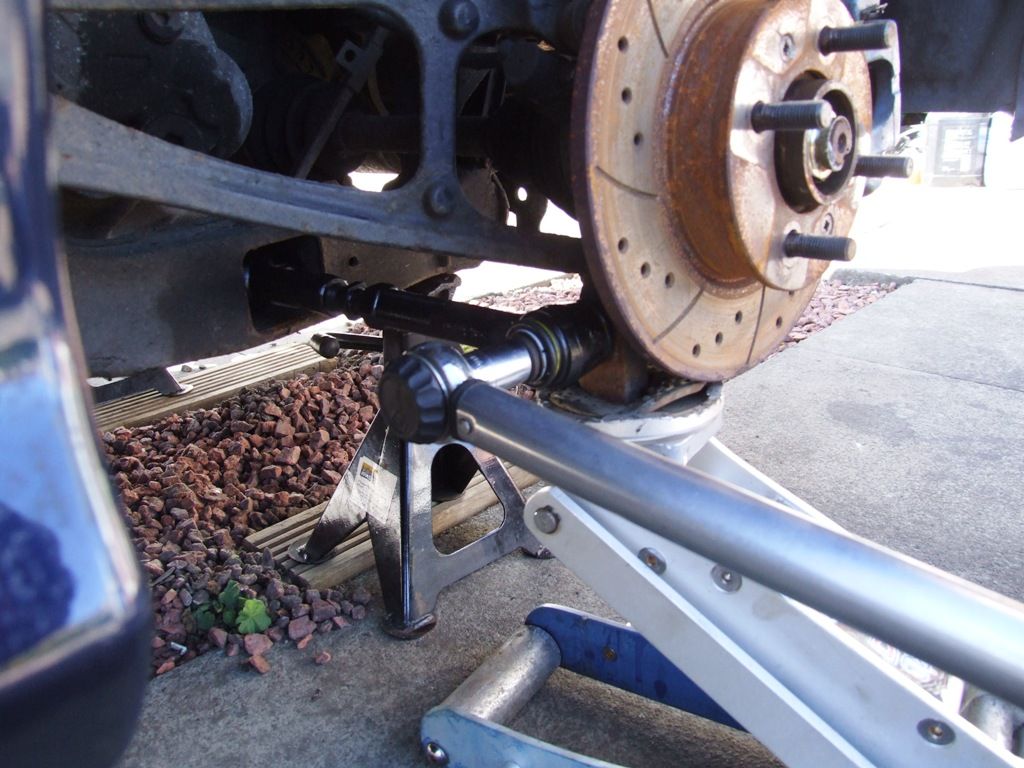
Using the jack, position it under the hub and slowly jack it up until the hub is taking the weight of the car. This should remove the preloading on the link arm bushes and make the bolts easier to remove. Do not put the jack on the brake disc as this could damage it or cause the car to fall.
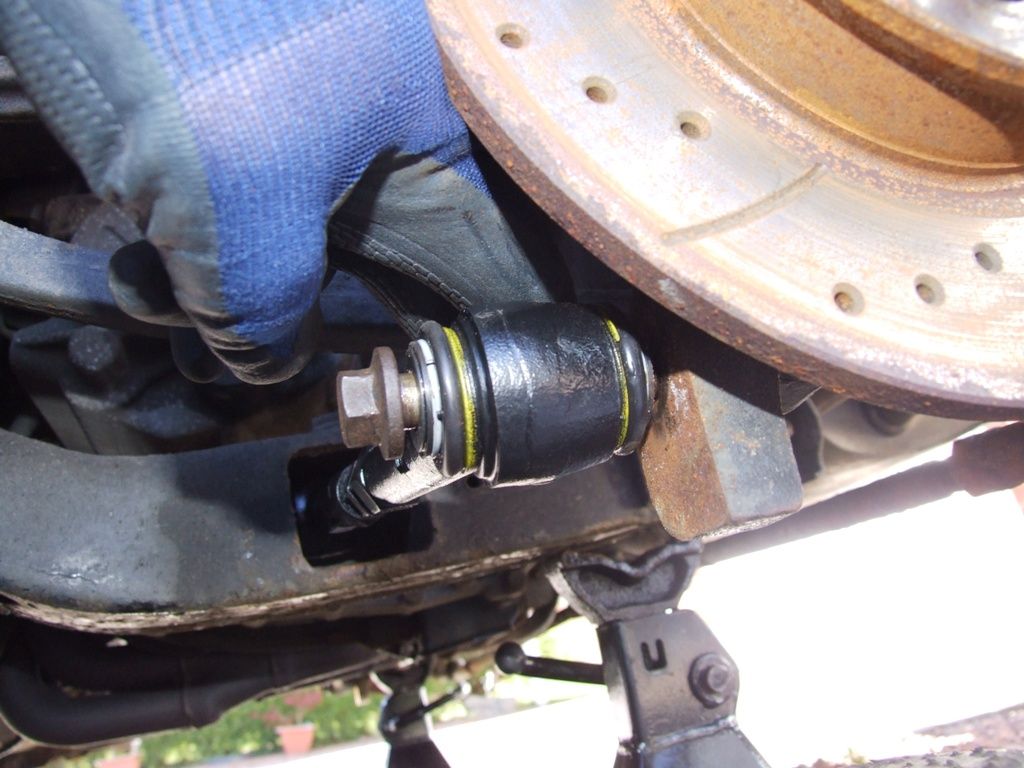
Now, using a 15mm socket, undo and remove the hub bolt.
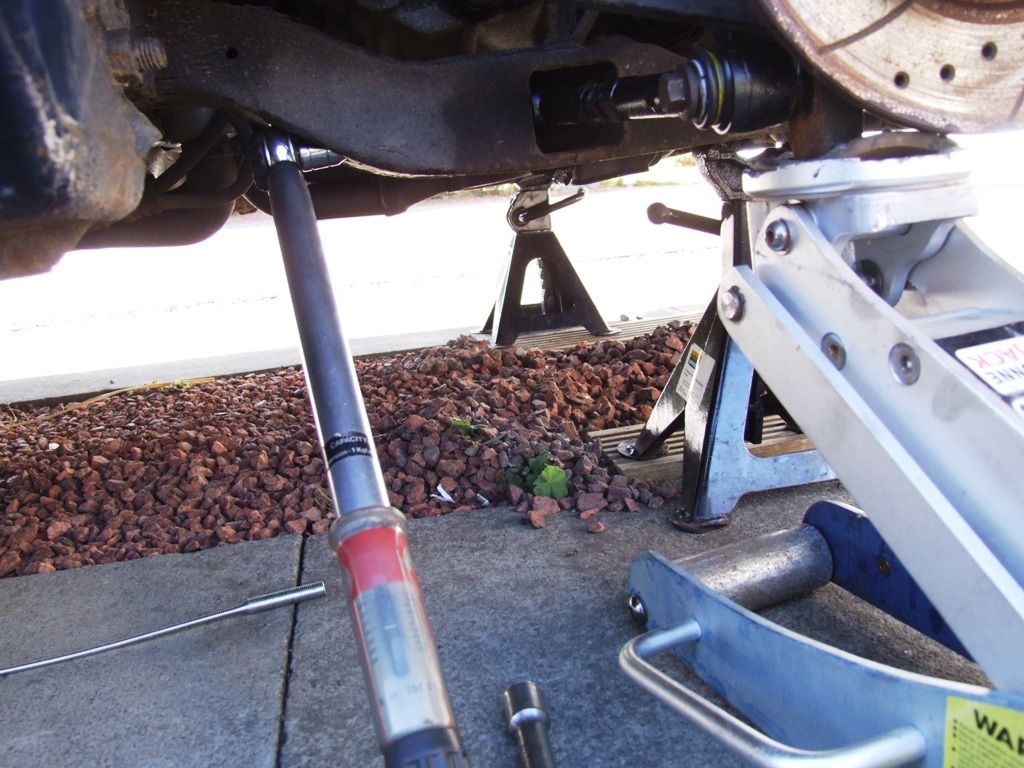
Now, using a 19mm socket and a long reach bar, undo the bolt inside the subframe. It is fiddly, but you should be able to get the socket on with a bit of moving around.
Once the bolt is undone, you need to get the bolt out so that you can remove the old arm. This is a bit fiddly as it won’t come out with the socket. On the nearside it isn’t too bad as there is another hole in the subframe leg that you can get your finger in and move the bolt up.
It is more difficult on the offside as there is an engine in the way and it mostly covers that hole. You will need something to poke in, such as a screwdriver or an allen key.
Now remove the old arm, noting which way around it was. This shouldn’t be a problem as it will only line up with both bolt holes one way, but if you know then it will save some fiddling and head scratching.
Fitting IS really a reverse of removing.
Place the new arm in the subframe leg and manoeuvre the bolt until it lines up. Screw the bolt in but leave it loose.
Now line up and refit the hub end bolt loosely. You may find that you will have to drop the jack and the hub otherwise you might have difficulty lining up the bolt.
Now, raise the hub again so that it is taking the weight and tighten the bolts to the correct torque.
The reason that we jack the hub up or “preload” the suspension when tightening the suspension components is so that the rubber bushes are not over stressed when you lower the car. If you tighten them under no load conditions there will be a constant load on the bushes when your car is sitting normally on the wheels. This will cause premature failure of the components.
The hub bolt is tightened to 100Nm
Set your torque wrench to 100Nm
And tighten the hub bolt until the torque wrench clicks.
Now set the torque wrench to 85Nm and tighten the subframe bolt.
Now you can release the lift off the hub.
Refit the plug or fit a new piece of tape over the chassis leg access hole if required. Probably a good idea to stop crap getting in.
Now fit the wheel and do the other side if needed.
Now lower the car and you are ready to part with £60 to £100 for a proper 4 wheel laser alignment. This is important for correct setup after working with the suspension.
If you are fitting adjustable links, you may want to adjust them so that they are roughly the same length as the ones you take off. You will still need to get it set up, but it shouldn’t be too far off.
Usual stuff applies. This how to is only a guide and you attempt these jobs at your own risk.