Sign In   Register

Topic

Steve's '98 'F' 11 years 3 months ago #97009

Just read this thread very interesting, thanks for going into so much detail. She looks really good when under sealed that shoud add a year or two to her life

Looking forward to reading more
"When faced with a choice of two evils, I always pick the one I haven't tried."
The following user(s) said Thank You: stevecrx

Please Log in to join the conversation.

Steve's '98 'F' 11 years 3 months ago #97032

Thanks.

I thought it would make a good record of what I've done to it to remind myself if anything.

I've still got loads to write up too, stuff like the interior, coolant system and bodywork. I'll take some more photos of the stuff I've done to keep it interesting too.

I probably shouldn't have gone so far on a £300 car but I've found it really enjoyable searching out the bargains, solving the problems and doing the work on it.
stevecrx
'98 'F, BRG Poverty Spec Edition
Build Thread
The following user(s) said Thank You: Leigh Ping

Please Log in to join the conversation.

Steve's '98 'F' 11 years 3 months ago #97056

So...I thought it was about time that I started it up. I turned the key and...nothing. I thought that the battery must be tired after the car had sat for so long so out with the trusty Halfords battery charger and an injection of electrickary. I refitted it and turned the key the key for a second time. It spluttered before firing into life. I’d like to say at this point that it sounded glorious with the roar of the mighty ‘K’ through stainless pipes but no, all I could here was the squeal of the alternator belt as it deposited itself all over the drive. Bugger. Still, the engine sounded nice without the squeal of the belt.

I shut it down and proceeded to remove the alternator which I have to say was a bit stiff. I took it down to Greens in Leicester who have rebuilt alternators for me before (memories of me removing the alternator from my 205 gti on the road outside their shop for them to fit a new regulator to it spring to mind) expecting a new set of bearings to cure it. Unfortunately it was not to be. The comutator (the spinney bit in the middle) had somehow expanded so much that it had cracked the outside casing. Doh! Anyway, some haggling later and I come away with a recon Quinton Hazel unit for £65. A new belt was about £4. Ready to fit:-


So, it fitted without hitch and I now have a properly charging electrical system.


The other thing I noticed was a bit of smoke coming from the newly heat wrapped manifold. I knew this may be a problem as I wasn’t happy with the fit of the adapted lambda sensor when I fitted it first time round so off it came, along with the newly fitted heat wrap.

Despite boring the manifold out for the bigger sensor, I was never comfortable with the amount of thread left for the sensor to grip into. To cure this I bought a stainless boss from eBay (£3 delivered), turned it down to 7mm length and welded it onto the manifold like so...


I rewrapped the manifold, refitted it and this cured it – no more smoke!
stevecrx
'98 'F, BRG Poverty Spec Edition
Build Thread
The following user(s) said Thank You: mgfnortheast

Please Log in to join the conversation.

Steve's '98 'F' 11 years 3 months ago #97155

I enjoyed reading this and thats a great job on the underseal.
The following user(s) said Thank You: stevecrx

Please Log in to join the conversation.

Steve's '98 'F' 11 years 3 months ago #97213

Excellent fix on the lambda sensor port!:broon:
David
:shrug:
The following user(s) said Thank You: stevecrx

Please Log in to join the conversation.

Steve's '98 'F' 11 years 3 months ago #98641

Next on the job list was the interior. It wasn’t too shabby but I felt some improvement was due. Eyeballing eBay (again!), I found a bloke breaking a VVC with a half leather interior local to me, so I went and had a look. For £40 I relieved him of two half leather seats, a full set of carpets and both door cards.

On the face of it my seats were in good condition but cloth, the original carpet was worn through next to the throttle pedal where your heal sits, and on the driver’s side door card the foam was falling out from behind the cloth pattern so out it all came.

The floor looked very clean underneath the old carpets, no damp or rust:-


Almost too nice to put carpets over. Or not. I hoovered and shampooed the new carpets and plonked the new seats and doorcards in too. And, while I was at it I fitted a leather steering wheel too that the previous owner kindly left in the boot when I bought the car.

It now looks like this:-


Needs a bit of ICE (which I have) but there’s plenty of time for that...
stevecrx
'98 'F, BRG Poverty Spec Edition
Build Thread

Please Log in to join the conversation.

Steve's '98 'F' 11 years 3 months ago #98689

The ebay item id given is invalid, no result has been sentInvalid or non-existent item ID.And – back under the car. I mentioned in the thread earlier about remaking this in stainless:-


Looks better like this:-


And how it looks on the car:-


It’s not the only stainless bit either. I’ve been slowly replacing all the rusty old BZP fasteners on the car with stainless ones from this bloke: eBay fastener bloke

This started under the bonnet as I didn’t have to lie under the car to do it and therefore it was an easy mojo boost. So I selected gloss black hammerite from my exquisite collection of shiny paint (stored in a temperature controlled vault in my shed) to sort out the rusty radiator mounts and bonnet catch and I got busy pebble dashing with the stainless screws and it looks like this now:-


Well, that went well, so I splashed some more MG tokens on the kit for the underside. The under tray needed to come off anyway to fit the new brake line so it made sense to replace the screws whilst I was at it. Oh, and I painted it too.

As I was under the ‘F attaching the under tray, my dreams of MOT passes were dashed by a pin hole leak in one of the coolant pipes. Queue a good excuse to spend more MG tokens on the set of stainless pipes that I’ve being ogling for a while:-


And while that was going on it made sense to do the relocate the ‘stat with a land rover remote thermostat as has been discussed many times on Mg and Freelander forums (the #124th most discussed topic on Google, probably) Anyway, this is the one I chose:-

LR Direct

To go with this I needed a T piece to join the bypass element to. This is a bit of an arse because the hose size is 1.25” on the ‘F which it appears is a bit odd. In the end I found this from a pond fitting supplier:-

eBay Pond purveyor

I ripped it out of the packaging and chucked it in a cup of boiling water and long and short is it didn’t go all floppy so I think it’s going to be ok for the job.

So all in with some stainless clamps (x10) this little lot cost £31.60 delivered:-


After a cold afternoon fitting this stuff today (and it was cold, I had to cough several times to extract my frozen nuts from the warmth of my body) it now looks like this:-


Just for reference the bypass pipe was made from the 80mm of material that I removed to fit the ‘stat housing.


One final thing, I’ve probably mentioned it but I bought these at Christmas when it appears no one else was bidding on MGF bits:-


To be fitted after the MOT...
stevecrx
'98 'F, BRG Poverty Spec Edition
Build Thread

Please Log in to join the conversation.

Last edit: Post by stevecrx.

Steve's '98 'F' 11 years 3 months ago #100256

Soooo...I'm really board. The weather is cold and I haven't been near the MG for over a week now because of said coldness, snow, etc. This is frustrating because it only needs three small things doing to it before I can punt it up the road in the direction of the MOT station.

Firstly I need tighten up the nearside handbrake cable - hopefully an easy job.
I also need to remove the old thermostat from behind the engine and either cut out the middle or replace with a suitably large washer that I acquired from work, to give the old (redundant) 'stat housing something to seal around. I also need to refill the coolant and bleed it (I've got the correct pinky fluid to do this).

Anyway, at the weekend I was having a tidy up in the shed and I found these:-


They're a set of Mugen (Honda) aluminium pedals that I must have bought for another project and never used.
I think that the 'F is perfect for them to be fitted to so tonight I dug out my spare pedal box to trial fit them to. I think they'll look quite good:-


I've just stripped down this pedal box so I can clean and paint it. I might even drill some holes to take some weight out it - the main pedal arms are 5mm thick and the whole thing is on the heavy side!


Whilst I think about it, has anyone ever considered relocating the brake reservoir over to the drivers side? I've had a look and I cant see why my car (no abs or powersteering) can't have this done. It even appears that MG have made it easy by putting holes in the bulk head for both left hand and right hand cars. Benefits as far as I can see are less parts and so less flex in the system (I've see a video where the reservoir moves quite a lot when the brake pedal is pressed). What do people think?
stevecrx
'98 'F, BRG Poverty Spec Edition
Build Thread

Please Log in to join the conversation.

Steve's '98 'F' 11 years 2 days ago #115650

Update time!

So, Saturday was spent installing some tunes into the 'F as I've not had a stereo in it since I've owned it.

Removing the door cards and inspecting what was there, I found the standard speakers were perished and the cable leading to them thin and frankly, crap. Wont be using those then...

I started by removing the standard speaker from the plastic basket to see if it could be adapted to take a new speaker, and whilst it could it would leave me limited space between speaker and the door panel grille so I decided to break out the MDF and make a new one. I checked mounting depths and with a 12mm thick mdf baffle it gave me enough room at the back of the speaker to clear the window mechanism, and enough for that clearance at the front.

I started by tracing the profile of the orginal basket onto my MDF:-


Which I then cut with the Jigsaw and sprayed with black car paint so it would look a bit more OEM.

Looking at the doors, there was no sound deadening at all on or in them. Not even the bit of cursory foam that manufacturers often chuck into doors to give them more of a 'thunk' when you shut them. So, I broke out my Sound-Deadening-On-The-Cheap. I'll be the first to admit that Dynamat Sound Deadening is class leading and very nice stuff, etc, but it is pricey.
This is what I used instead:-


It's flashing tape from any good (or bad) DIY-type place which is basically a foil backed bitumen, like car specific sound deadening but a third of the price! Also in the pic is the stuff I used to cut and attach it with; note the roller and heat gun which are very useful for getting it to bond really well to the panel.
I cut it into sections and applied it to anywhere on the door where there was a largish surface area, like behind the speaker baffle and inside the door:-


So, what to fit in the hole then? I though these would do the job:-


They are CDT audio (used to be known as Cliff Design) tweeter and 5.25" Mid bass which I bought a couple of years ago but never got around to fitting into anything.

They look like this:-


If you see above, the cool thing about them is that the tweeter can either be mounted stand-alone in the door panel somewhere or centrally on a pole that scres into the centre of the mid-bass which is what I've done.

I also needed some cable which I had spare in the shed. A bit of soldering and heatshrinking and I had this:-


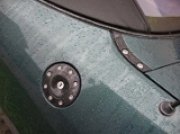
The other job was to find somewhere to put the crossover. I decided that inside the bottom of the door was as good as any place, but it does get damp in there so I bagged and tagged it:-


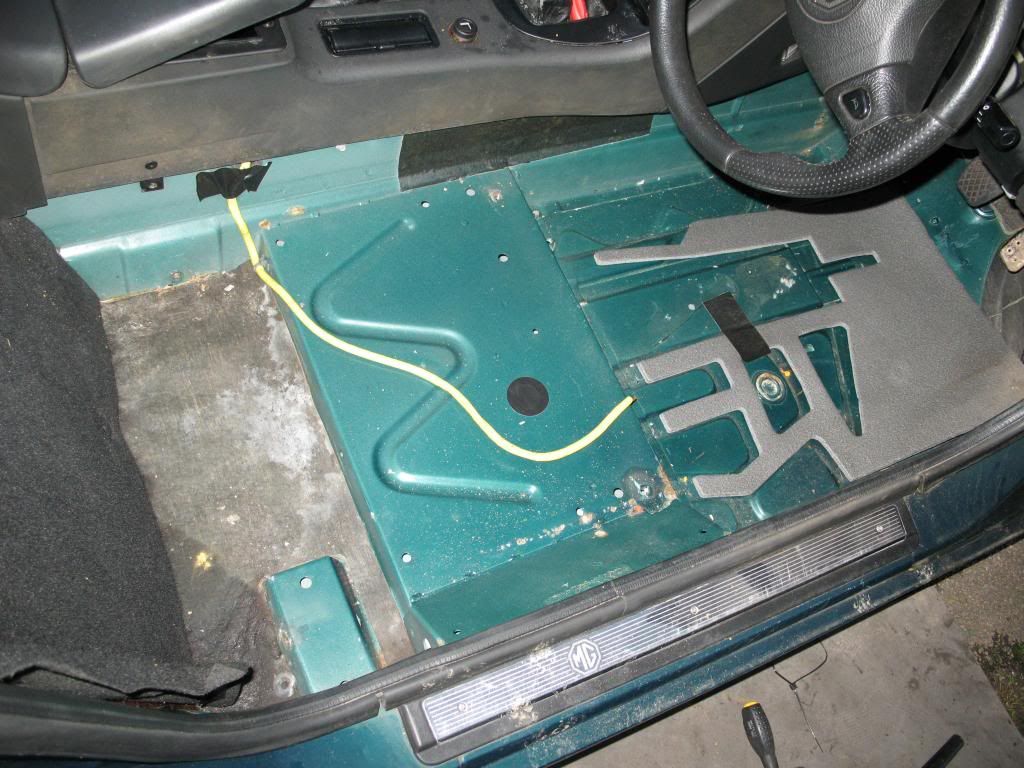
With that done it was a case or routing the new cable through the existing cable grommet in the door, and under the dash to the centre console. To make this look factory, I wrapped the cable in black tape, anywhere where it was visible. With that, I could fit the new speakers in place:-


I then soldered the new cables to a spare ISO loom that I had (therefore avoiding cutting the car or the stereos original loom), and plonked the radio in.

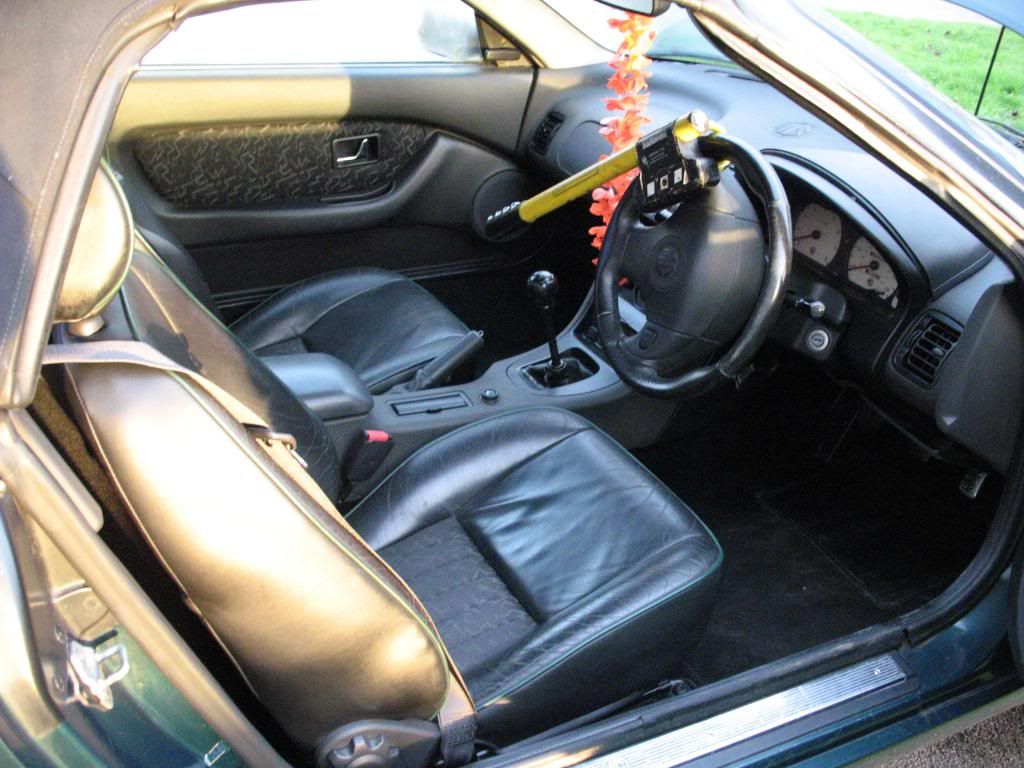
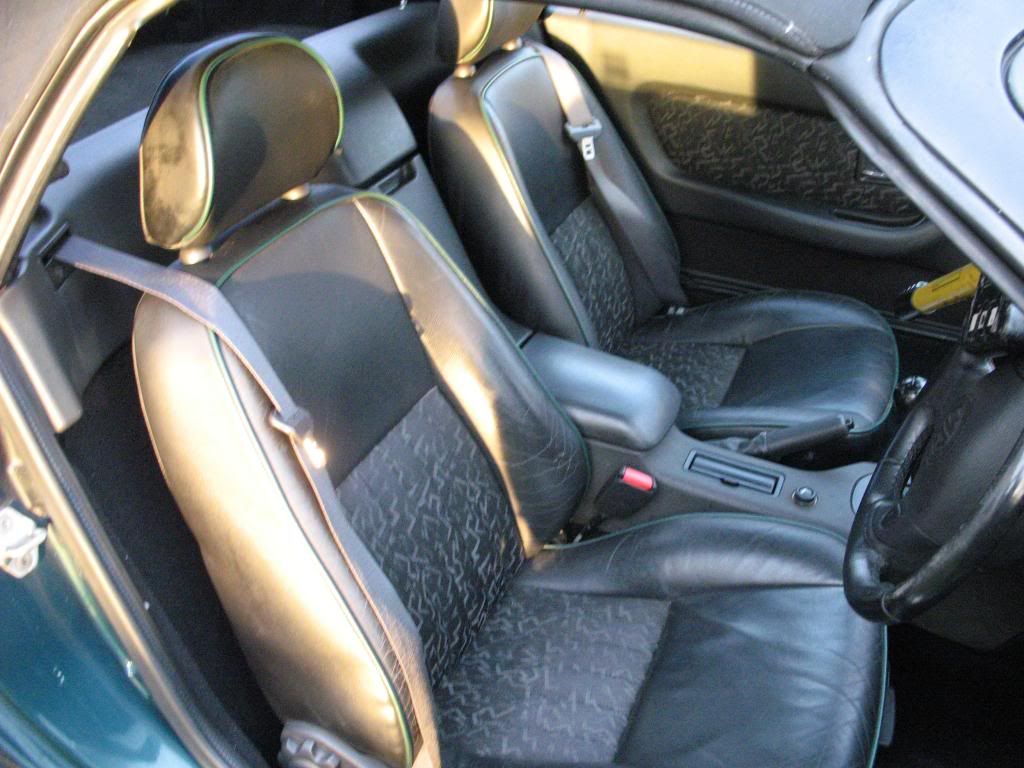
The finished system looks like this:-


As you can see, the new speakers are hidden and other than my trusty JVC headunit (bluetooth and ipod control)it looks nice and stock in there.

It also sounds pretty good, despite being in a noisy convertible. Punchy, with a decent volume but not harsh at all. Simple too, with no amps, etc.
stevecrx
'98 'F, BRG Poverty Spec Edition
Build Thread

Please Log in to join the conversation.

Steve's '98 'F', Car Audio 22/04/13 11 years 2 days ago #115660

Cracking read..

Its really coming on..

B)
Diesel Destroyer.. 'The bringer of dreams'
The following user(s) said Thank You: stevecrx

Please Log in to join the conversation.

Steve's '98 'F', Car Audio 22/04/13 11 years 2 days ago #115715

Cheers Allan!

Other jobs worth mentioning - the rear bumper supports which it seems are designed to collapse in a collision which means that they are quite torsionally weak so when you try and remove rusty bumper screws they just twist.
I managed to get mine off by cutting the bumper from around the screws (it was knackered anyway and I had another one to go on) and chiselling out what was left.

After lots on penetrating fluid and some gentle persuasion, the original bolts came out. I then knocked up some stainless steel plates at work and combined with some stainless steel screws and loads of copper slip hopefully they wont become seized in again:-


Some will notice that I've also now got the car on the road and been to a couple of meets (Donnington & POL). To do this I obviously had to get it through that pesky MOT.

So, jobs from earlier up the thread:-

- Nearside Handbrake cable; After checking the cable, it seems that was fine, not so good was the calliper on which the handbrake mechanism had seized. I read up on the subject and it looked fairly straight forward to rebuild it but I've already been covered in brake dust and muck a couple of times on this build so I elected to save myself some hassle and buy an exchange unit for a paltry £52. Fitted and fixed!

Thermostat; I'd already relocated the new 'stat at the front of the car, so all that was required was to remove the old one and replace it with a washer. Sounds easy when you say it quickly - it wasnt! The old 'stat is tucked nicely under the inlet manifold so to get to it wise old men on the internet say remove the manifold. I didn't listen and endured several hours of pain and swearing instead.
Basically the steel pipe that joins to it has to be moved out of the way, and the coil and coil bracket needs to be removed to do this. So far so good. The tricky bit is actually removing the 3 bolts that locate the 'stat.
I did this with a ratchet spanner. One click at a time. I imagine the North Korean government inflict similar torture on their subjects in one of their many labour camps, but its probably easier for them because they have smaller hands.
Anyway got the old one out and removed the centre from it by twisting the tabs off with with a pair of pliers. And in great Haynes tradition refit is the reverse of removal...

Coolant; Filled and bled. No leaks there so all good.

Emissions; Had a bit of grief with this and couldn't work it out because the car was running great but they were still too high. In the end I took it to a mate who plugged it into his snap-on analysis machine and this showed odd readings from the lambda sensor. Back to the wiring again then. Long and short was a break in the wiring. Repaired and all good now!

With this lot sorted out I now had MOT and road legality so on with the tinkering...
stevecrx
'98 'F, BRG Poverty Spec Edition
Build Thread

Please Log in to join the conversation.

Last edit: Post by stevecrx.

Steve's '98 'F', Car Audio 22/04/13 10 years 8 months ago #125445

Quick update: new wheels...


I bought them for temp use whilst I refurb my cups but I have to say that I really quite like them. The ride is better and the toyo's fitted to them grip well. If only they would go over AP's.
stevecrx
'98 'F, BRG Poverty Spec Edition
Build Thread

Please Log in to join the conversation.

Time to create page: 0.129 seconds
© 2024 The-T-Bar.com All Rights Reserved. Hosted By SEBS IT