Sign In   Register

Topic

Cybox stainless steel exhaust 9 years 7 months ago #149276

  • John and Sue's Avatar
  • John and Sue
  • Offline
  • Master MGer
  • Master MGer
  • 06 TF 135. One of the last from Longbridge.
  • Posts: 4732
  • Thanks: 1138

Found Whiz's story. It's a great read :yesnod:

One other thing, when I did mine I found it easier to take the back box and cat off together, then separate the cat and back box.


I was part of the Great Whiz Exhaust Story.....

Several hours of my life I'll never get back.... :(
It will be all right in the end. If it isn't all right yet, then it is not yet the end..

Please Log in to join the conversation.

Last edit: Post by John and Sue.

Cybox stainless steel exhaust 9 years 7 months ago #149319

  • CR41G's Avatar Topic Author
  • CR41G
  • Offline
  • Time served MGer
  • Time served MGer
  • Posts: 348
  • Thanks: 57
Thanks for the link very helpfull !!
It dont seem to bad 3 flange bolts , silencer strap and 2 hangers to slide off

Guessing ill find out shortly

Please Log in to join the conversation.

Cybox stainless steel exhaust 9 years 7 months ago #149335

Ahhh actually you have to undo rusty bolts holding the heat shield in place and then undo two more rusted bolts for the exhaust hanger with the fixed hanger type boxes anyway as I found out last Thursday when I fitted the Bosal rear box. Took longer than expected.

"Elsie" now has a complete new system except for the manifold.

Please Log in to join the conversation.

Cybox stainless steel exhaust 9 years 7 months ago #149362

  • John and Sue's Avatar
  • John and Sue
  • Offline
  • Master MGer
  • Master MGer
  • 06 TF 135. One of the last from Longbridge.
  • Posts: 4732
  • Thanks: 1138

Thanks for the link very helpfull !!
It dont seem to bad 3 flange bolts , silencer strap and 2 hangers to slide off

Guessing ill find out shortly


Angle grinder at the ready! :yesnod:
It will be all right in the end. If it isn't all right yet, then it is not yet the end..

Please Log in to join the conversation.

Cybox stainless steel exhaust 9 years 7 months ago #149367

  • CR41G's Avatar Topic Author
  • CR41G
  • Offline
  • Time served MGer
  • Time served MGer
  • Posts: 348
  • Thanks: 57
We'll well well

What an arse hole that was !!!

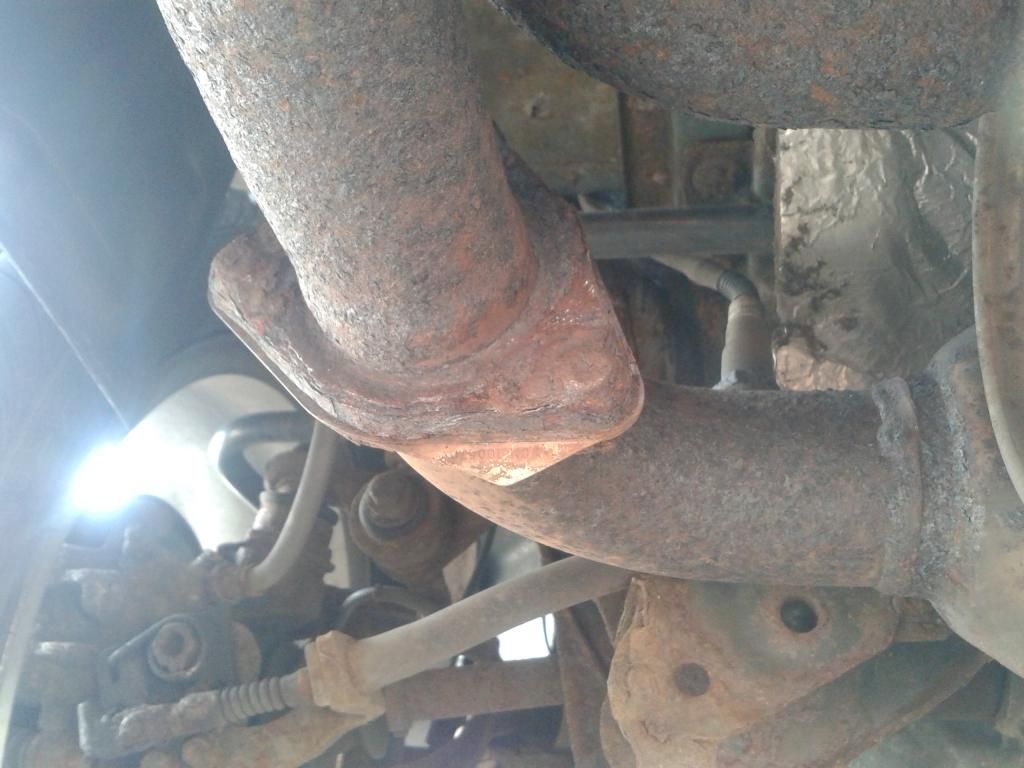
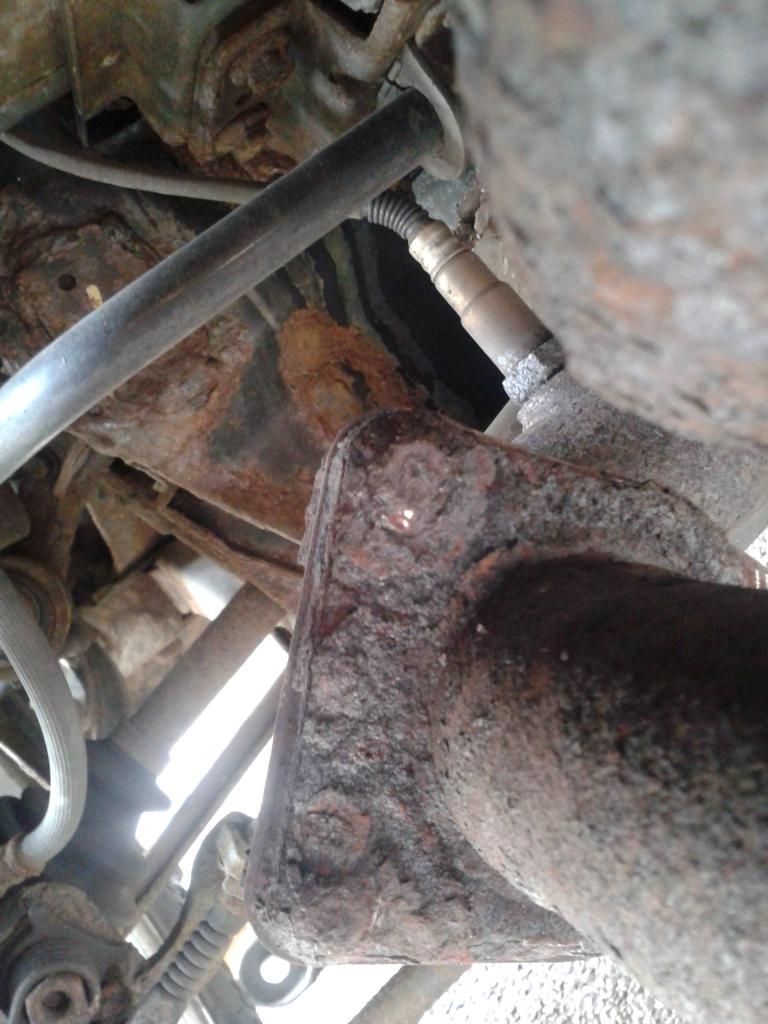
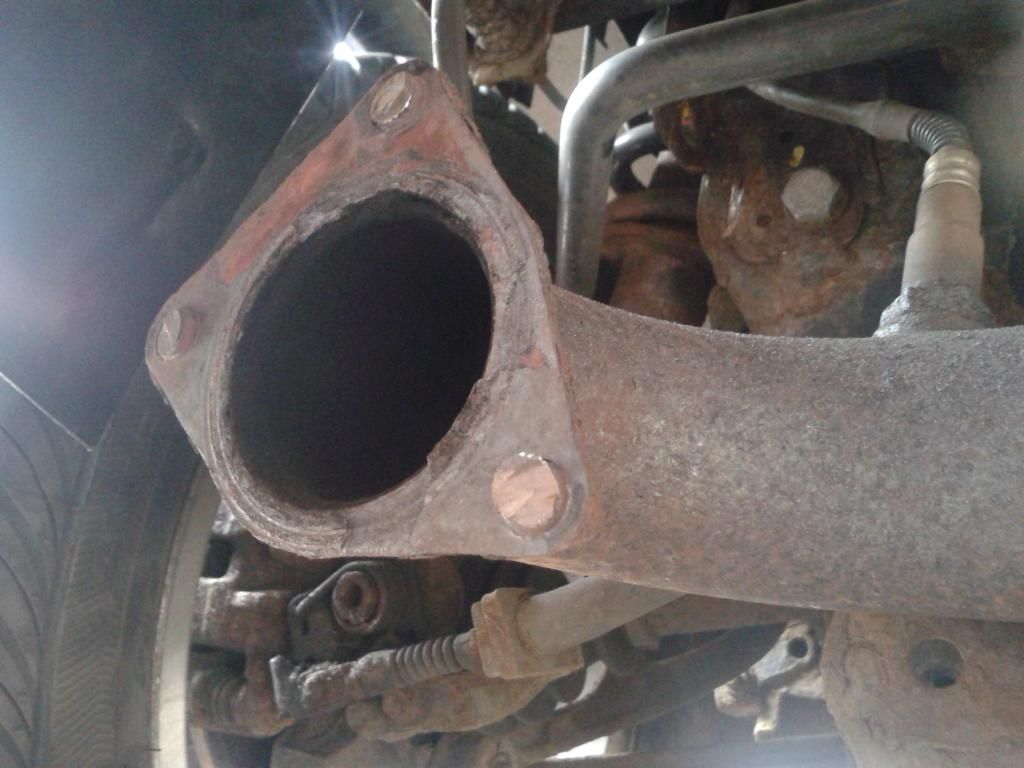
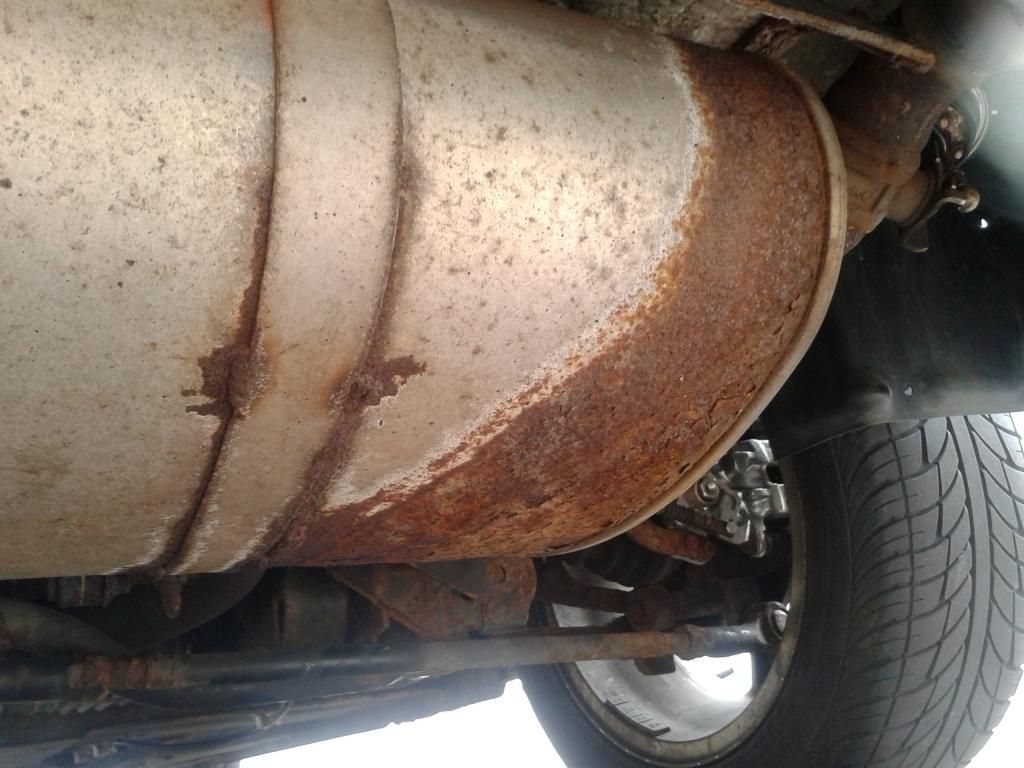
The bolts holding the backbox to the cat wasn't actually bolts any more rather just lumps of rust ..if it wasn't for actually knowing it was bolted I would have never had guessed!!

Had to grind down both sides of all 3 bolts and it still wouldn't split due to the rust fusing it all together , had to use a cutting disc and using the gasket as a guide cut through the middle of the whole thing to separate the two.

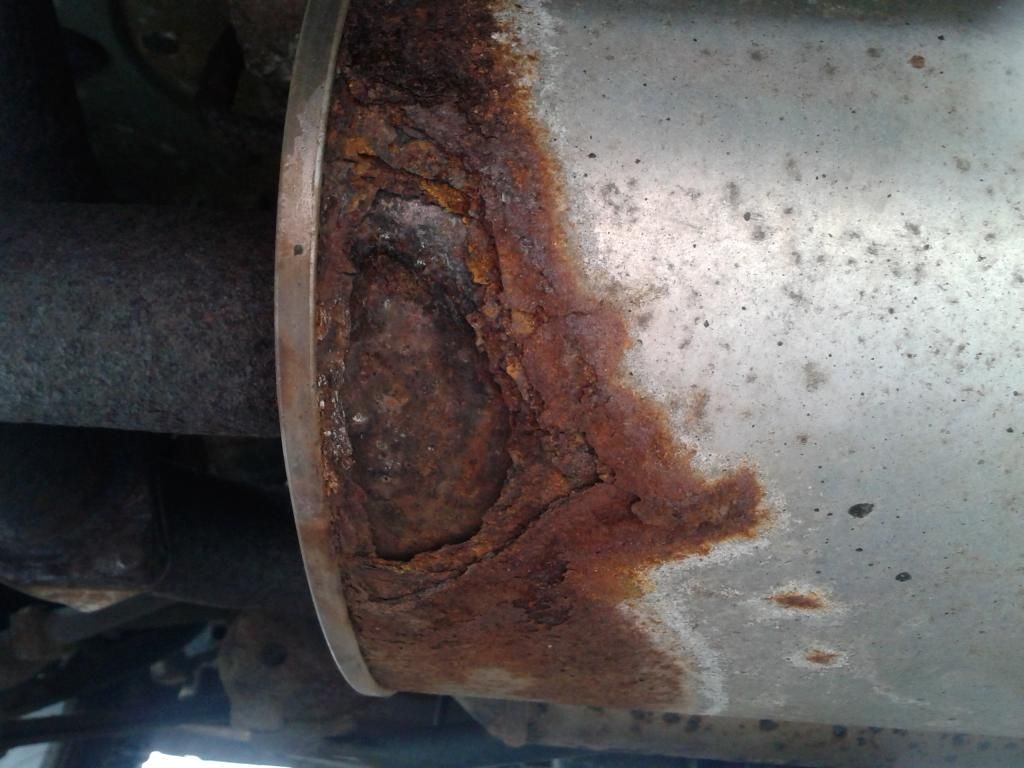
Off side hanger bolts where soaked in plus gas but just sheared off as soon as the ratchet was turned so made life easier so at this point old tatty rotted out backbox was out (weighs a ton)

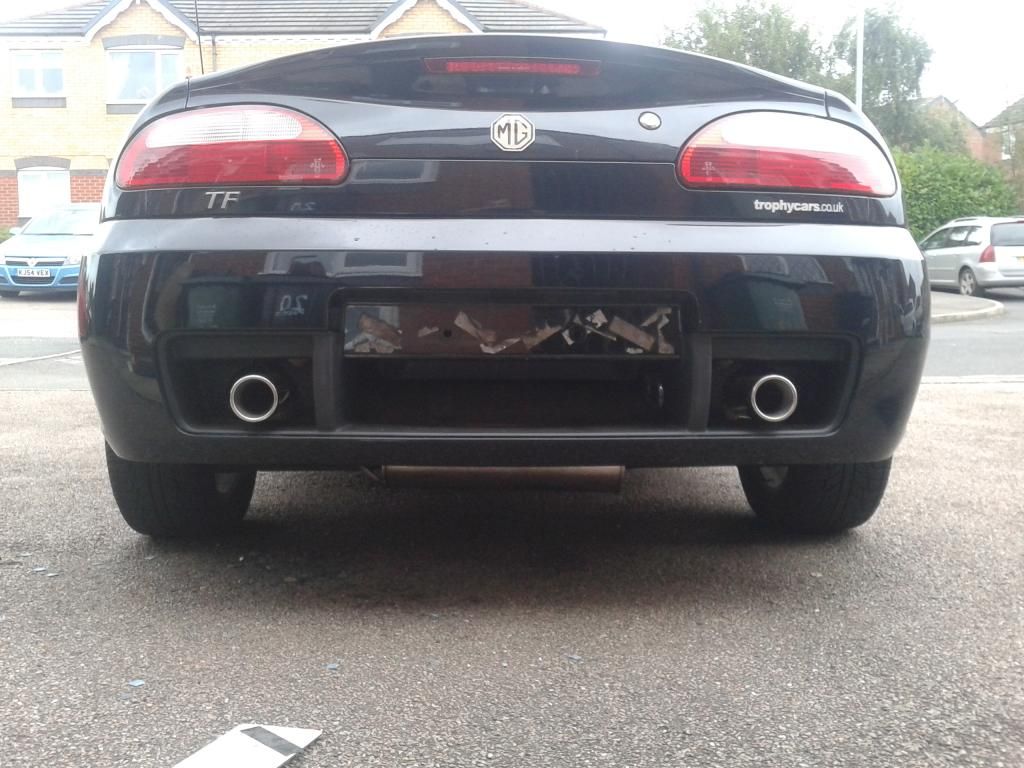
I didn't remove rear bumper ,cat or heat shields at any point during the removal or fitment.

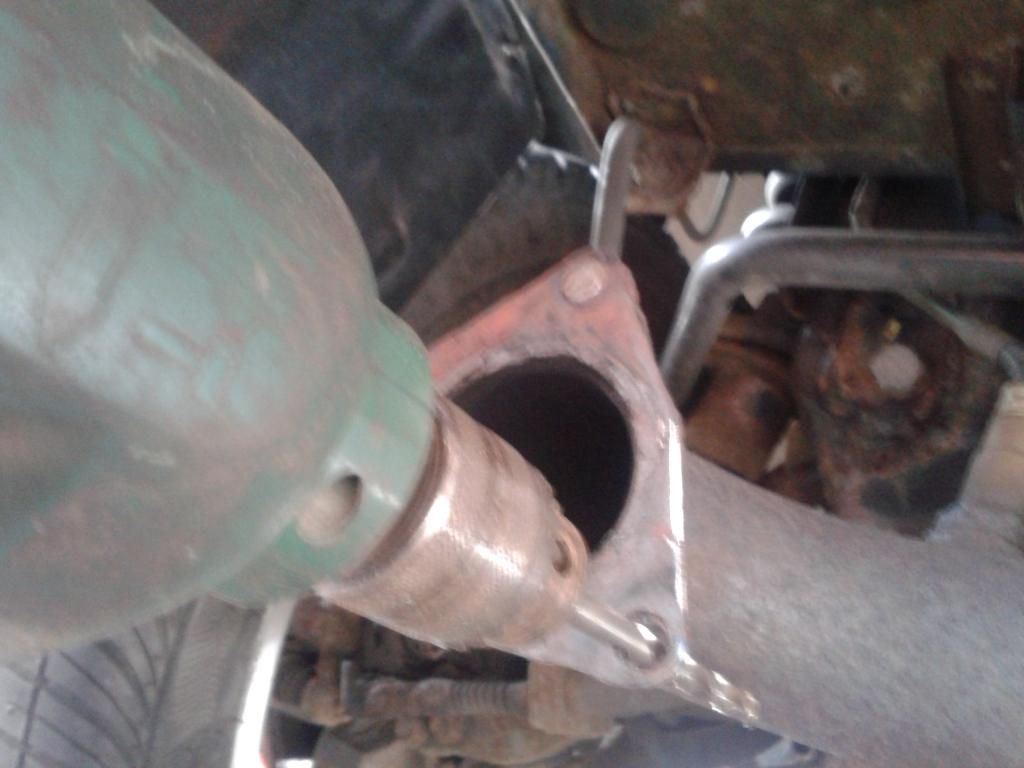
Any way I then tried to drift out what was left of the bolts on the cat . . . Didn't work so I centre punched them and drilled pilot holes with a 2.5mm bit gradually getting bigger until all of the bolt had finally been removed from the holes.

Finally it was all ready to fit the new backbox !!!

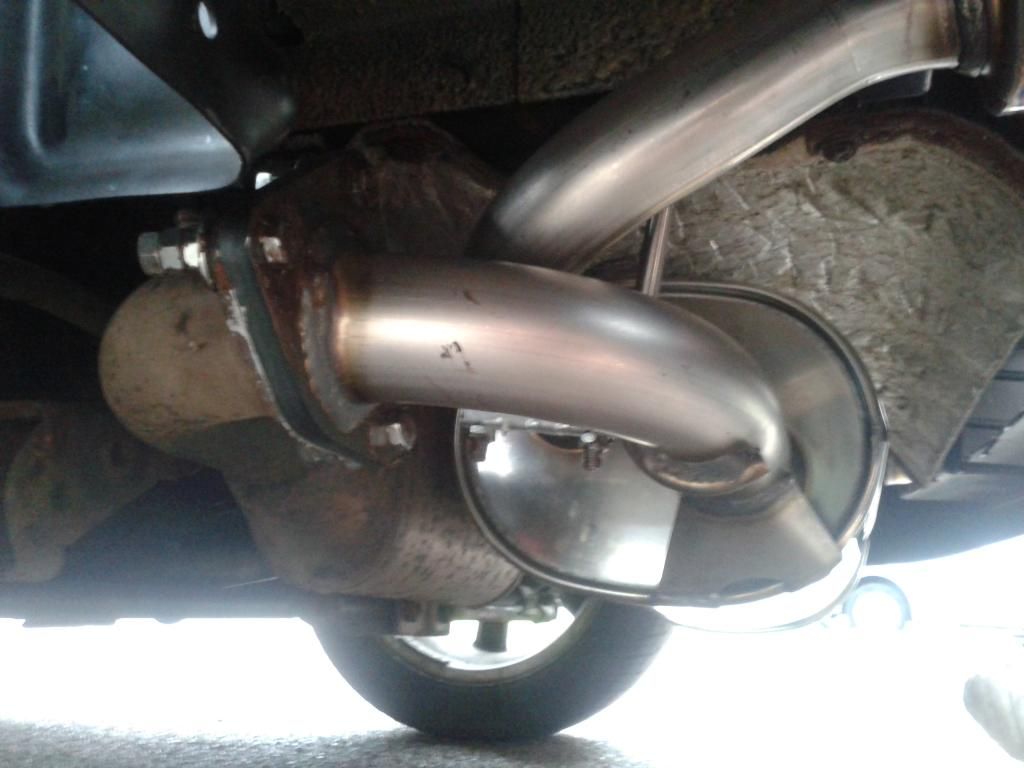
Thank god it was so easy to fit , I used exhaust sealer on the cat and stuck the new gasket to it ,slid the backbox on to the near side hanger and propped the off side up on an axel stand , and bolted up the box to the cat .

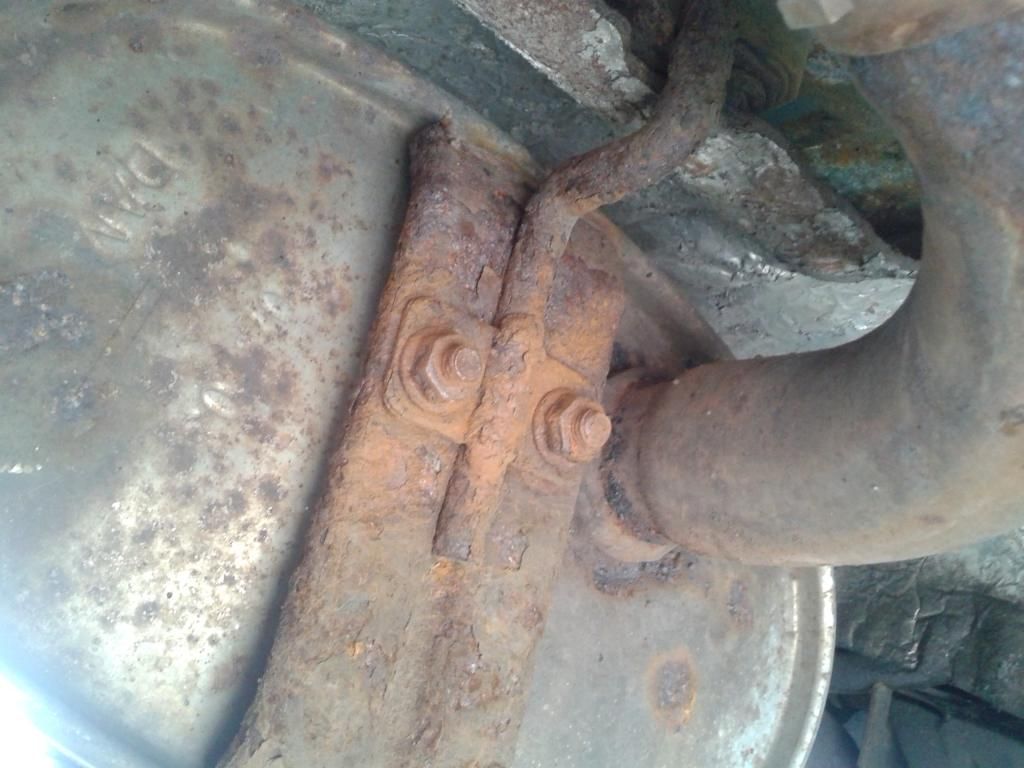
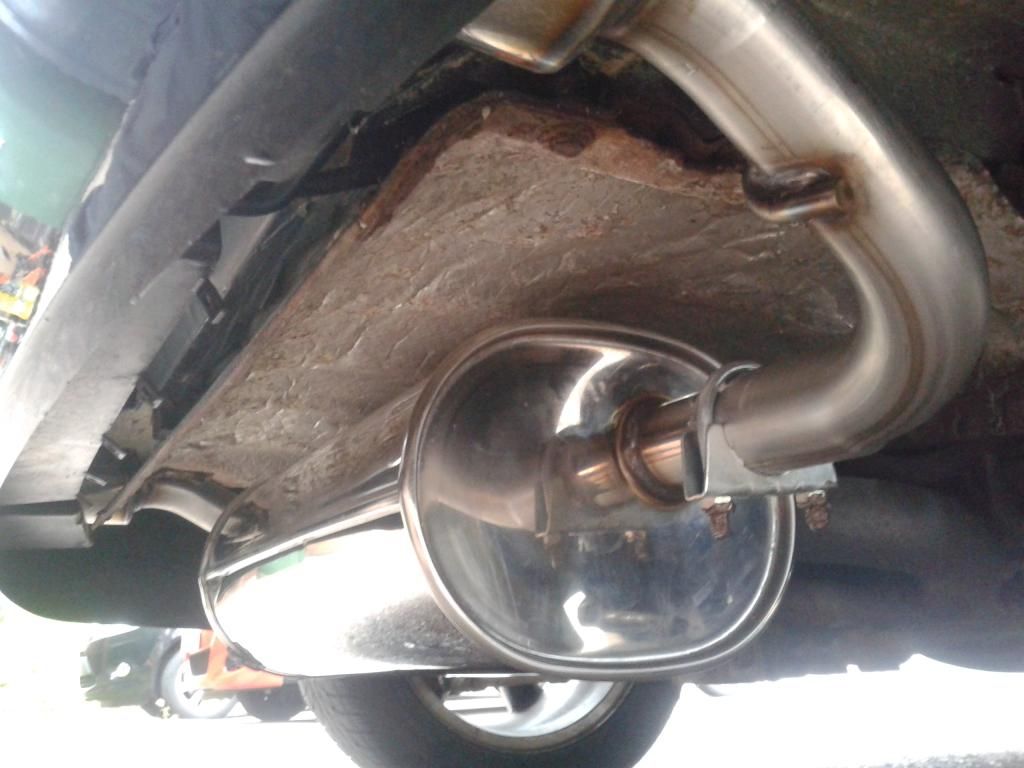
The off side hanger was welded to the removable tailpipe so run some exhaust sealer round the backbox port , slid on the pipe set the finisher where I thought it looked good in the bumper and tightened up the clamp.

Near side tail pipe again run some exhaust sealer round the backbox port and simply just slid it on got it looking level with the off side and tightened up the clamp .... Done!!

Fitting of new box took around 20 - 30 mins mainly gettin tail pipes where I wanted them to be,removal of old box took around 3 and a half hours!!

All done on my drive with the car on axel stands and to be fair the cars rear tyres where only around a cm off the deck and I found it quite easy to work on even with the grinder .

Pictures to follow

Please Log in to join the conversation.

Cybox stainless steel exhaust 9 years 7 months ago #149371

  • John and Sue's Avatar
  • John and Sue
  • Offline
  • Master MGer
  • Master MGer
  • 06 TF 135. One of the last from Longbridge.
  • Posts: 4732
  • Thanks: 1138
Yep, that's about par for the course!

I ground what was left of the nuts off then split the flange with a big through-blade screwdriver.

Nice feeling when it's all done!
It will be all right in the end. If it isn't all right yet, then it is not yet the end..

Please Log in to join the conversation.

Cybox stainless steel exhaust 9 years 7 months ago #149372

  • CR41G's Avatar Topic Author
  • CR41G
  • Offline
  • Time served MGer
  • Time served MGer
  • Posts: 348
  • Thanks: 57
I tried splitting with a chisel even attacking it with a hammer I couldn't get anywhere I tried a screw driver prior to that to no avail , just assumed it had rusted that heavily it had fused the hole bolt to the flanges inside and out so just ran a very thin cutting blade through round the hole connection and bolts to get it all free.

Totally pissed me off when I could drift the remaining bits of bolt out the cat flange I killed around 10 drill bits getting them out!!

Needless to say it's now got stainless nuts and bolts and I used copper slip on everything to stop seizing as the down pipes will be next to be replaced.

Sub frames got a bit of surface rust aswell so that's on my todo list

Please Log in to join the conversation.

Cybox stainless steel exhaust 9 years 7 months ago #149378

  • CR41G's Avatar Topic Author
  • CR41G
  • Offline
  • Time served MGer
  • Time served MGer
  • Posts: 348
  • Thanks: 57


There you go few pictures I took during removal and fitting

Please Log in to join the conversation.

Last edit: Post by CR41G.

Cybox stainless steel exhaust 9 years 7 months ago #149396

Looks good! :yesnod:

Absolutely standard operating procedure for the old box. They used special rust impregnated bolts, soaked in seawater to fit the original, apparently. :bust:

Now how does it sound?
David
:shrug:

Please Log in to join the conversation.

Cybox stainless steel exhaust 9 years 7 months ago #149415

  • CR41G's Avatar Topic Author
  • CR41G
  • Offline
  • Time served MGer
  • Time served MGer
  • Posts: 348
  • Thanks: 57
Believe it or not I haven't even started it yet !!
I literally finished it with the mrs breathing down my neck because she was goin away for the night and I've got my 2 year old son so yeah I literally finished it got all my tools away and off she went and not back until tonight and she took the car seats with her in the family wagon so I'm stuck !!

The joys

Please Log in to join the conversation.

Cybox stainless steel exhaust 9 years 7 months ago #149424

  • John and Sue's Avatar
  • John and Sue
  • Offline
  • Master MGer
  • Master MGer
  • 06 TF 135. One of the last from Longbridge.
  • Posts: 4732
  • Thanks: 1138
Further to David's comments re corrosion, I continue to be amazed at what spontaneously decided to rust on these cars. Having an hour or two today I tackled some under bonnet tidying I've been meaning to get around to: the ABS pump carrier and the horn brackets: the surface rust offended mine eye...... Now nice satin black.
Unlike MGR, I applied some primer before the top coat.... :yesnod:

I removed the black plastic centre cover to give a little more movement on the brake pipes.... Bugger me, the wiper motor casing was also rusty. Dealt with that too.

I'm inclined to think that, to save cash, they diluted the paint with canal water rather than thinners....
It will be all right in the end. If it isn't all right yet, then it is not yet the end..

Please Log in to join the conversation.

Cybox stainless steel exhaust 9 years 7 months ago #149465

  • bensewell's Avatar
  • bensewell
  • Offline
  • Grand MGer
  • Grand MGer
  • A Bargain Spotter, Can-Do-er and eBay Addict!
  • Posts: 6036
  • Thanks: 750
Well done... But when i did mine there was blood. No better feeling than winning with an angle grinder. I went through stages of hammer and in the end the lump hammer did it with an assortment of cold chisel's the last one that really cracked it open was like a door wedge kind of thing.

I've done it twice though now so it was easier the second time.

If your flexi pipe goes you know whats in store for you know.

I cut it straight off and dealt with the offending flange nuts in a vice attached to the cat.

Was a lot easier this way.

Welcome to the supreme world of DIY Exhausts.

Quick Fit will take you on now if required.

Please Log in to join the conversation.

Time to create page: 0.139 seconds
© 2024 The-T-Bar.com All Rights Reserved. Hosted By SEBS IT